Origami is a great activity to do with kids! It helps teach them about shapes and symmetry and is also a lot of fun. This paper puppet dog is perfect for kids who love animals! It’s easy to make and only requires a few materials. Plus, it’s a great way to teach kids about cooperation and working together. This step-by-step puppet dog tutorial is rather simple but perhaps a bit more challenging than my latest origami ideas. It is on the same level as the spider tutorial. So, if you want to get started with something a little more manageable, please choose from one of the tutorials below:
- How to Make a Kite Out of Paper?
- How to Make a Boat Out of Paper?
- How to Make a Heart Out of Paper?
- How to Make Fidget Toys Out of Paper?
- How to Make Flowers Out of Tissue Paper?
- How to make dice out of paper?
- How to make a spider out of paper?
- How to Make a Snowflake with Paper and Scissors?
- How to make a cone out of paper?
Now let’s get started with the paper dog puppet
Step 1: Make sure you take a squire paper.
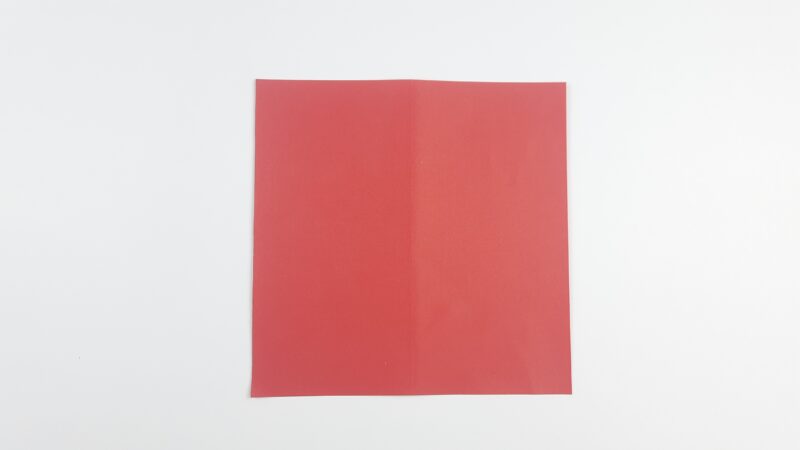
Step 2: Fold the right edge of the paper over to the left.
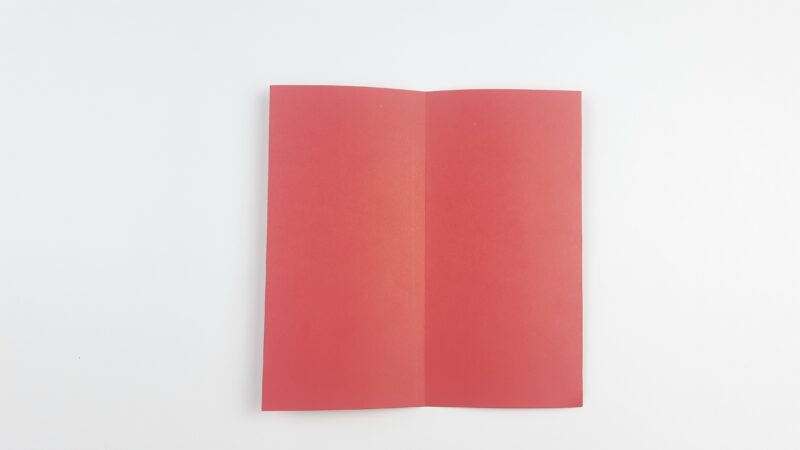
Step 3: Unfold.
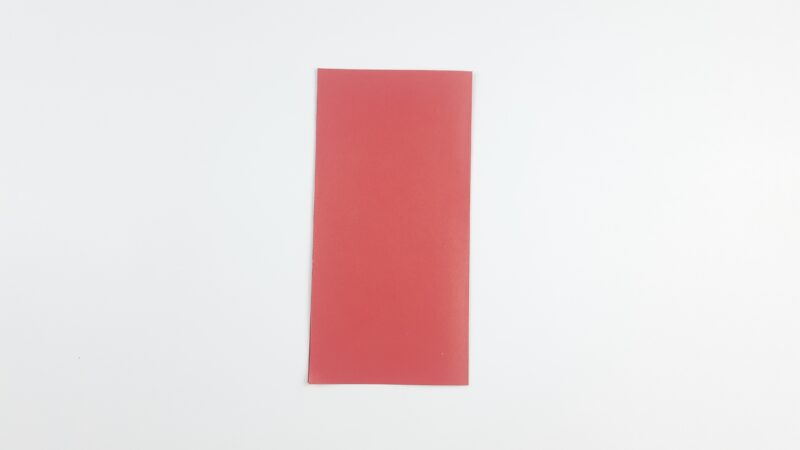
Step 4: Fold the top edge of the paper down to the bottom edge.

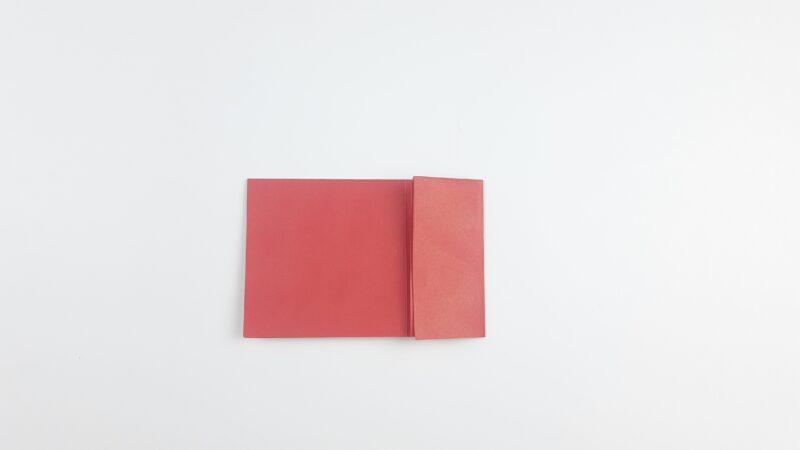
Step 5: Fold the right edge to align with the central vertical crease that you created in the previous step.
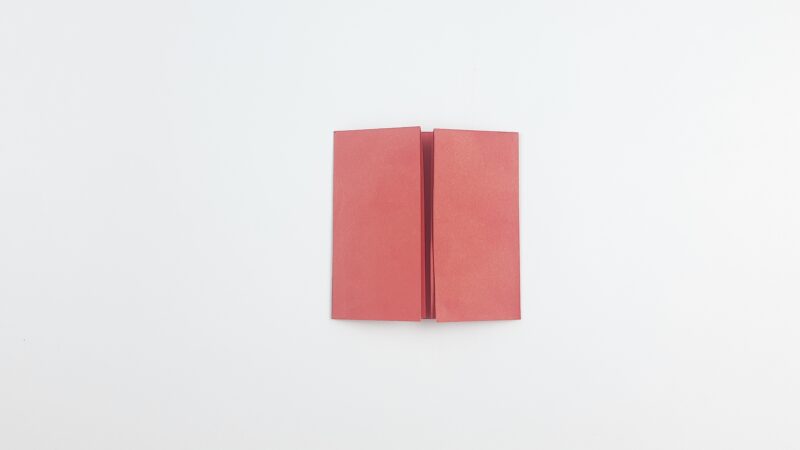
Step 6: Fold the left edge to meet the central crease.
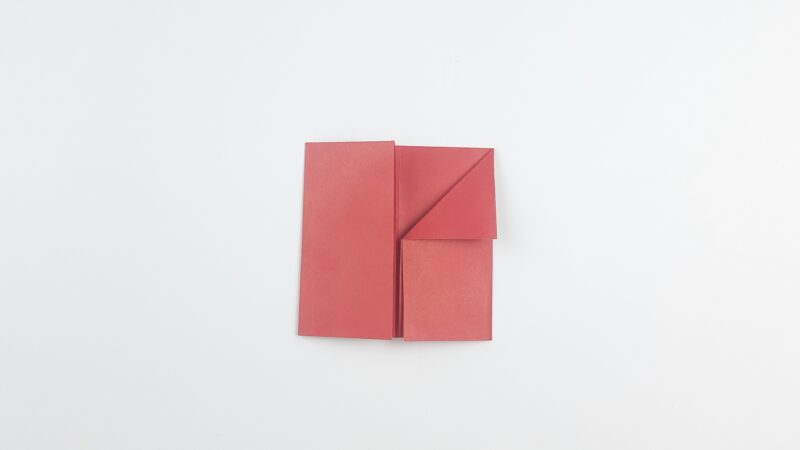
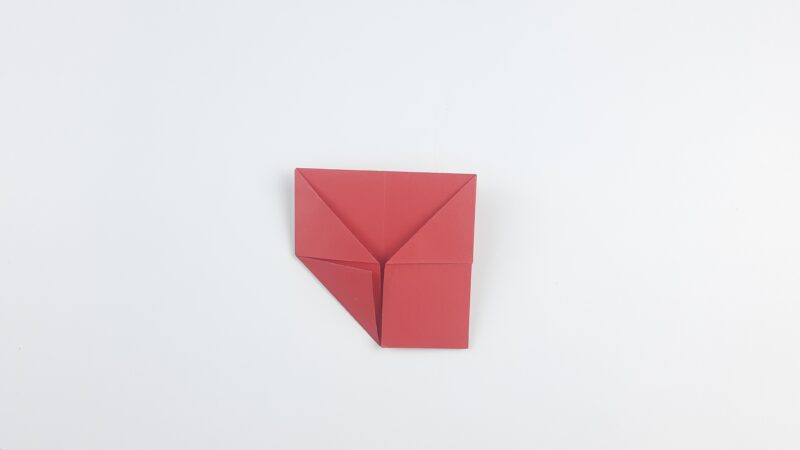
Step 7: Fold the top-left point of the right section diagonally down to the right.
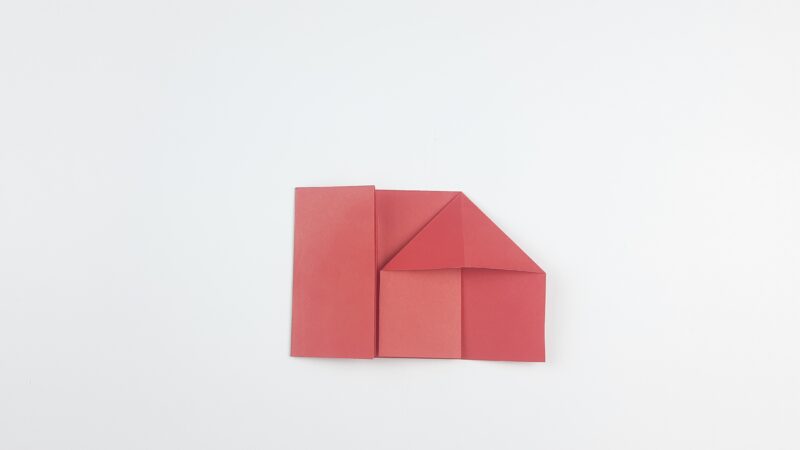
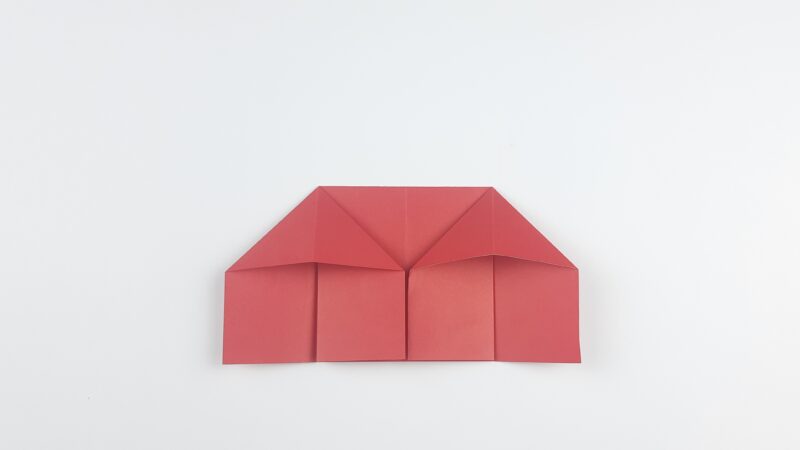
Step 8: Unfold the previous step and flatten the right section, using the diagonal crease to create a house shape.
Step 9: Repeat the same process on the left side.
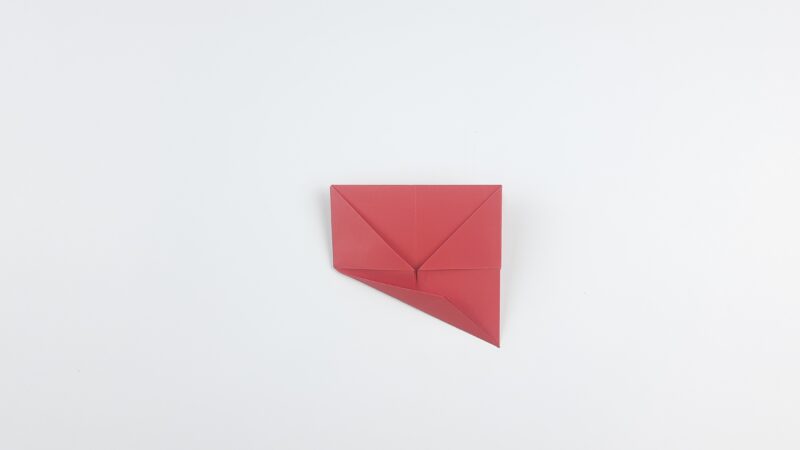
Step 10: Flip the paper over to the other side.
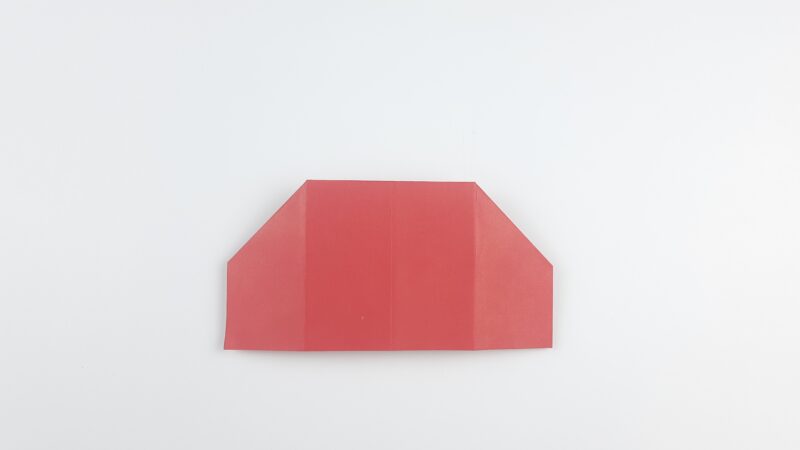
Step 11: Fold the right & left edge to the middle.

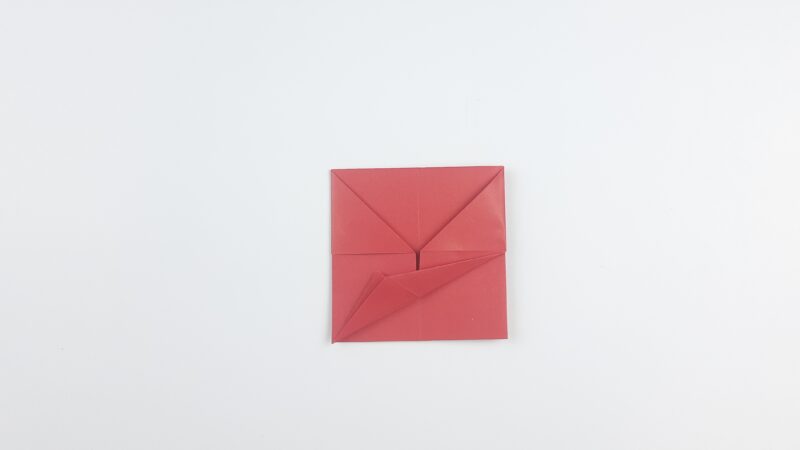
Step 12: Fold the top layer of the bottom right point diagonally up to the left.

Step 13: Fold the top layer of the bottom section diagonally up, creating a crease that runs from the bottom left corner up to the top right corner of the lower section.
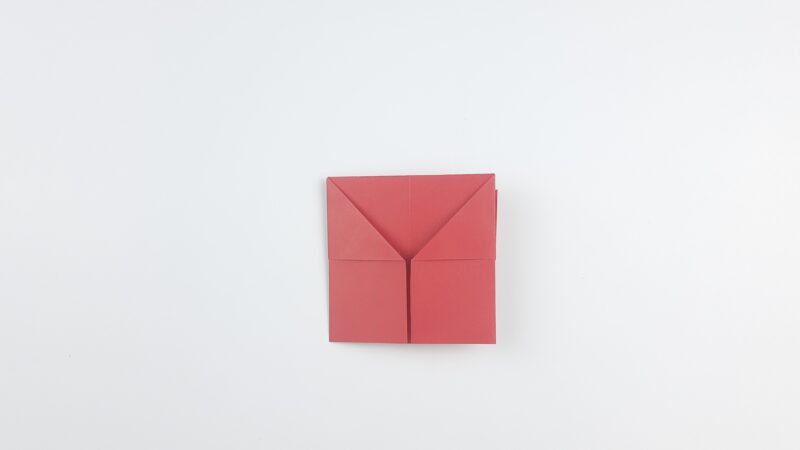
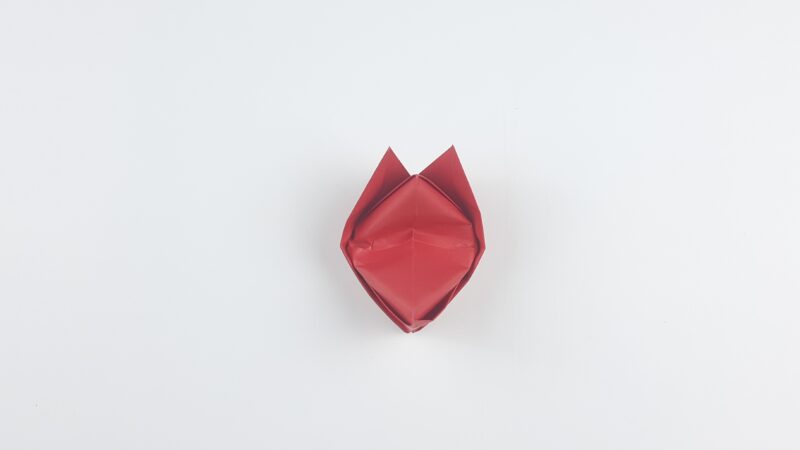
Step 14: Fold the front layer up to the top. This has created an ear.

Step 15: Flip the model over.
Step 16: Repeat the same process on this side, but this time it’s the left side.
Step 17: Fold the bottom left point diagonal up.
Step 18: Fold the bottom section up to create the other ear.

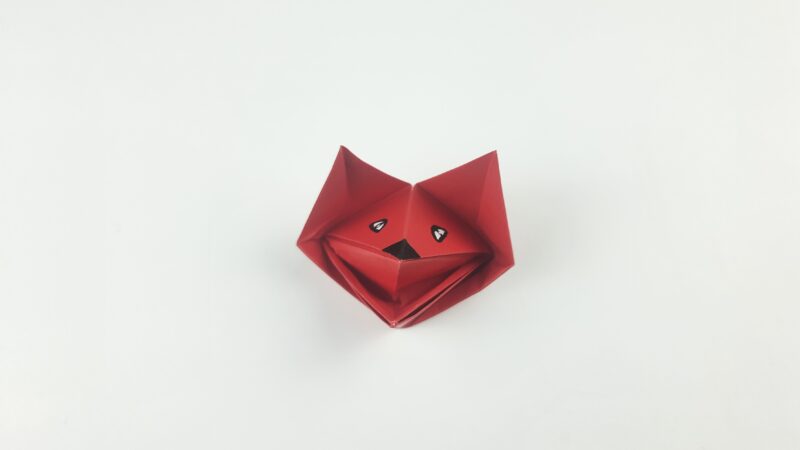
Step 19: Rotate the model.

Step 20: Pull the model open from behind and squash the mouth inwards.
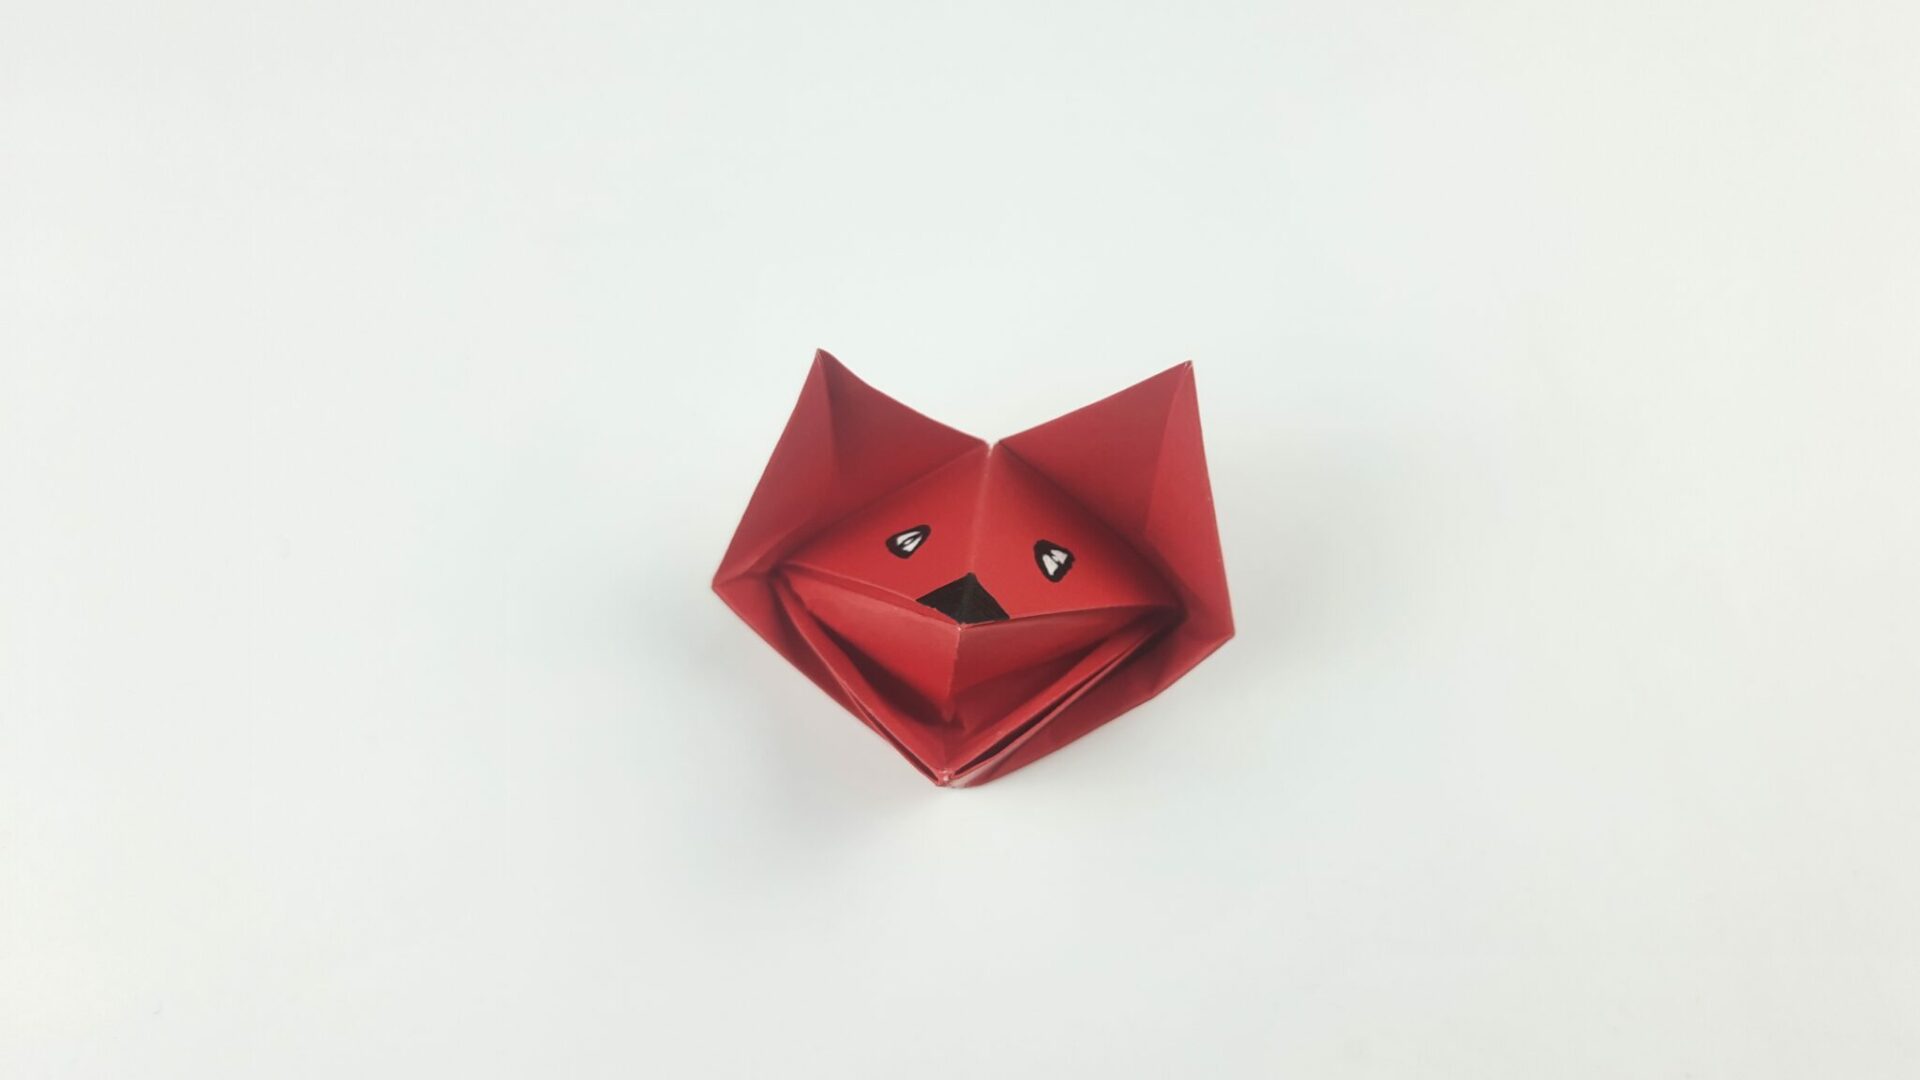
Step 21: The fox puppet is complete.

Step 22: Draw Fox eyes and nose & use your hand to open and close.
Related: How To Make An Origami Crane – Step-By-Step Video Instructions