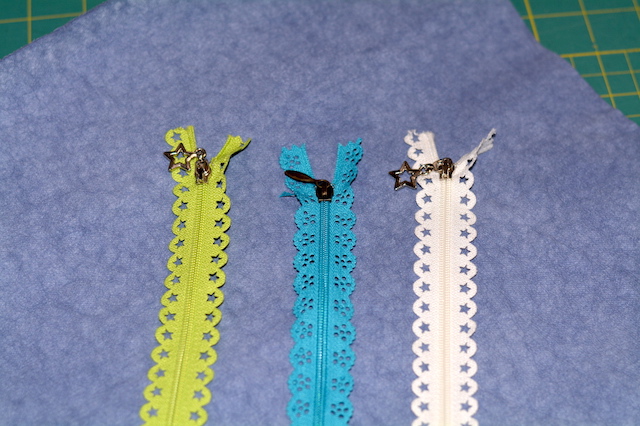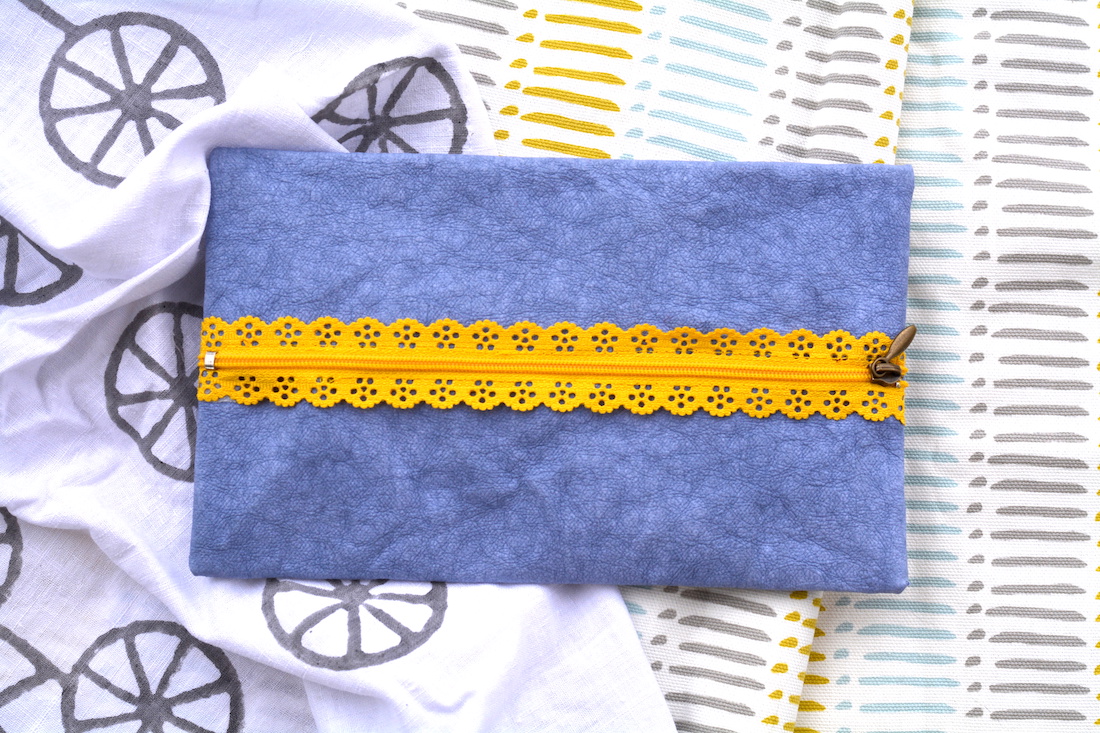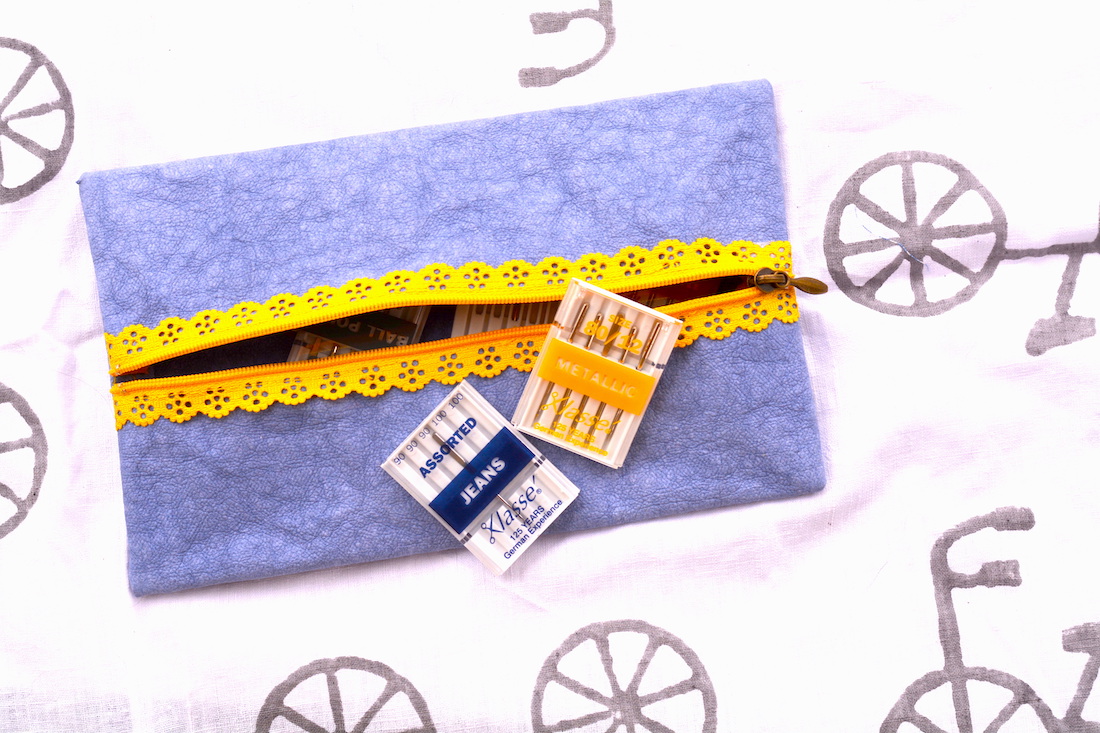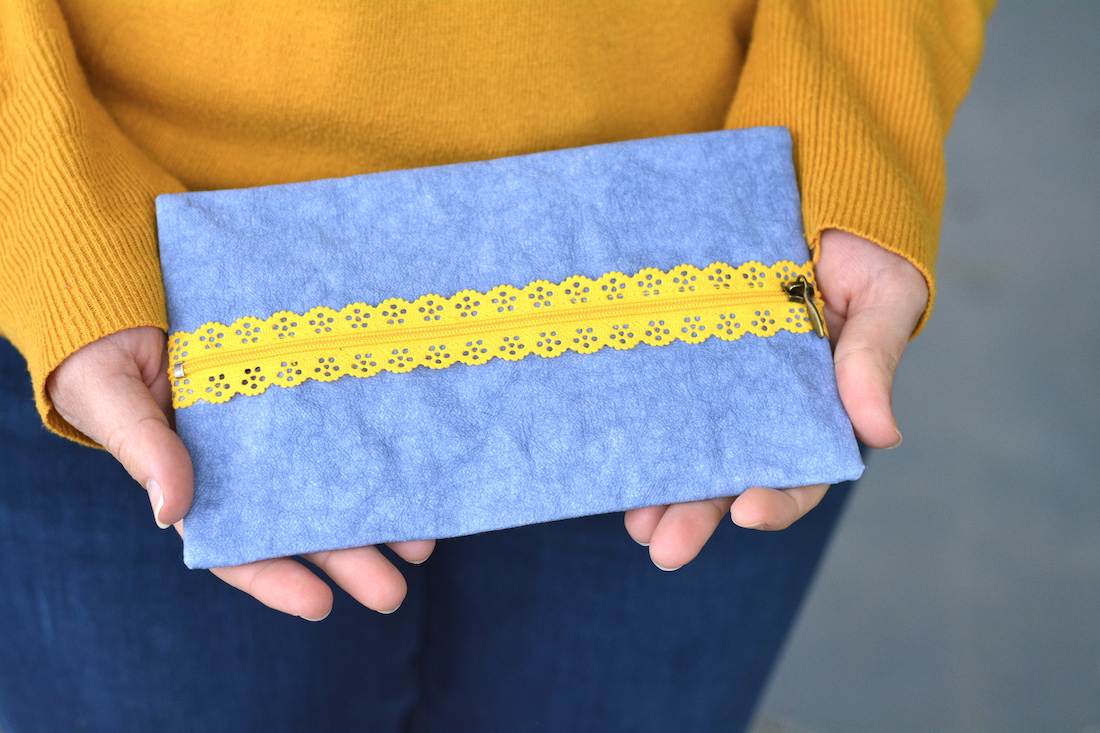
A few years ago, I picked up these pretty lace zippers at a sewing shop while I was on vacation. I hadn’t found the right project for them until now! I realized that Kraft-tex (the leather substitute that’s a cross between fabric and paper) was the perfect material for me to put these decorative zippers to use finally!
I decided to make a flat zipper pouch as part of the Kraft-tex Color of the Month 2020 challenge. If you’ve never tried Kraft-tex, know that you can cut it like paper and sew with it like fabric!
If you don’t have kraft-tex, you can still do this project with some tips from Mary’s post on making flat pouches with quilting cotton fabric. These are great for storing pencils or pens, a small notebook, sewing needles, or other notions—you name it!
Note: There are many other kraft-tex patterns in the book I compiled called Kraft-tex Creations. Check it out here!
kraft-tex Flat Zipper Pouch
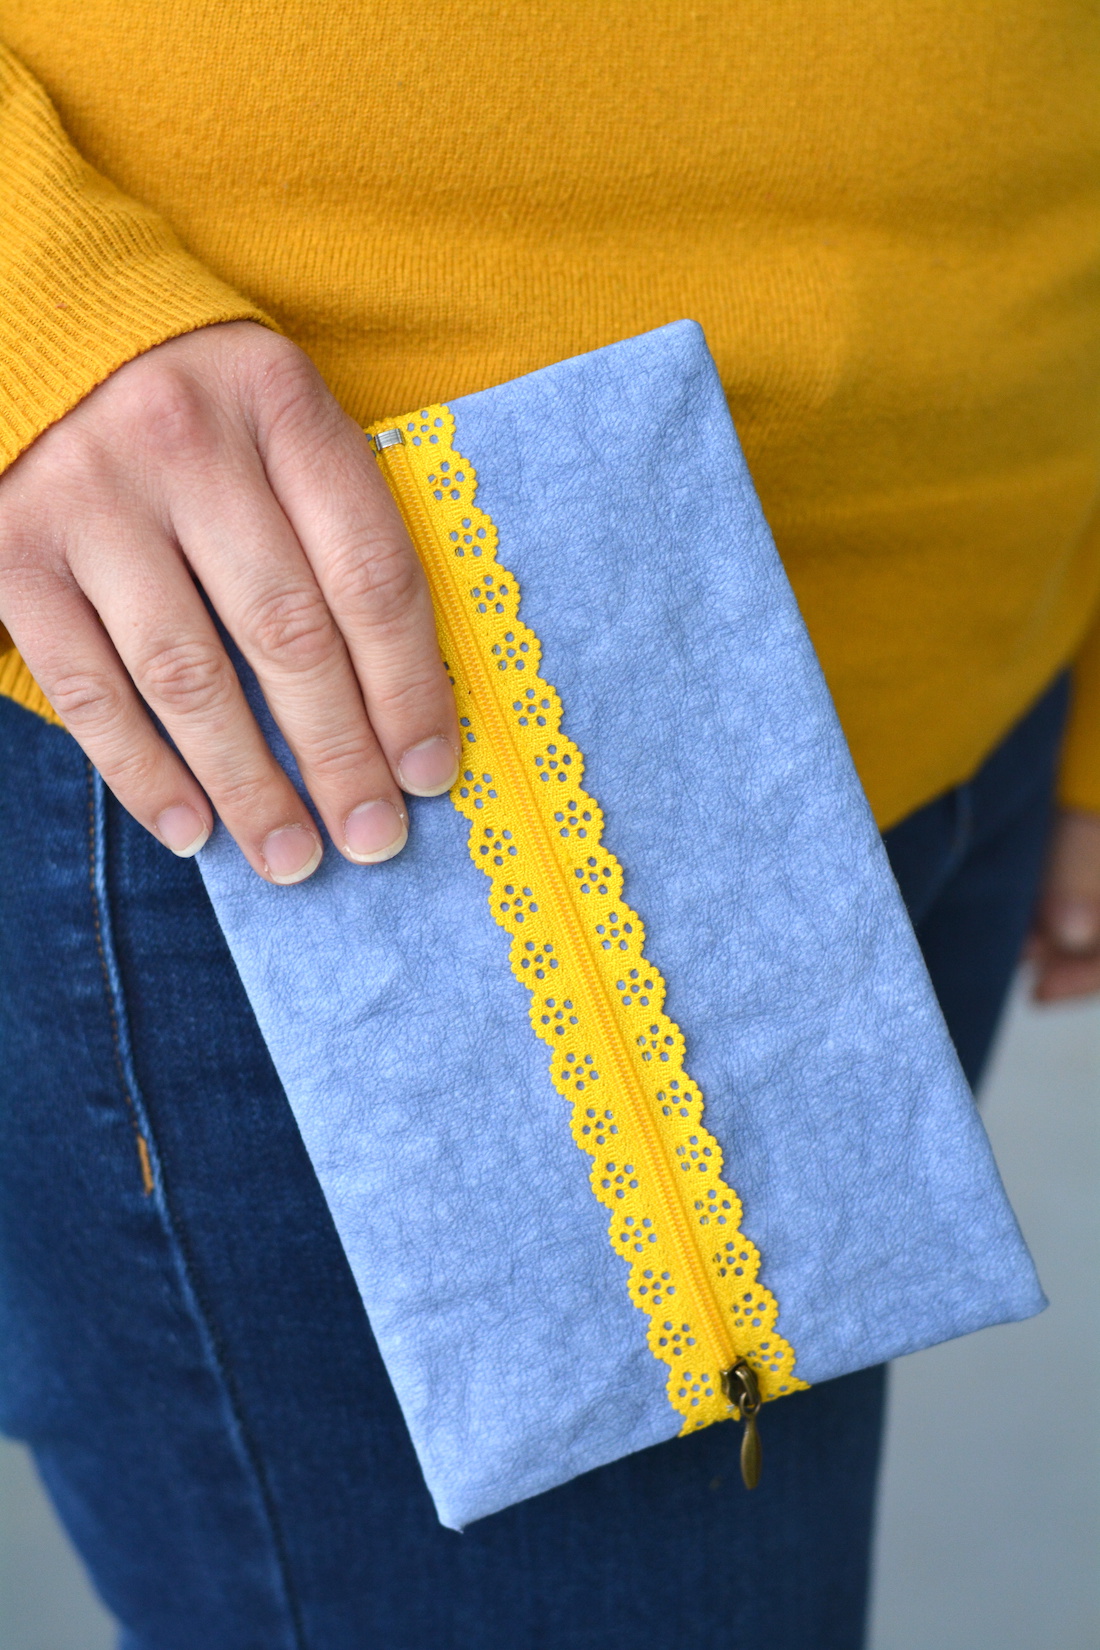
Finished size: 8″ long x 5″ wide x 1/4″ tall
Materials:
9″ lace zipper (Amazon affiliate link)
Denim Kraft-tex, one-piece 9″ x 9.5″ (Amazon affiliate link)
sewing machine, thread matching the zipper
Clover Wonder clips (Amazon affiliate link)
Dritz wash away Wonder tape (Amazon affiliate link)
Step 1
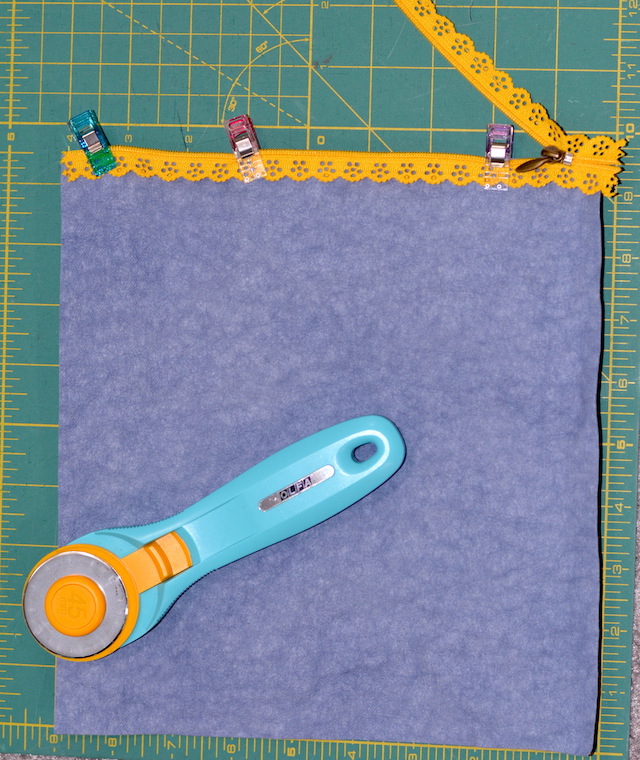
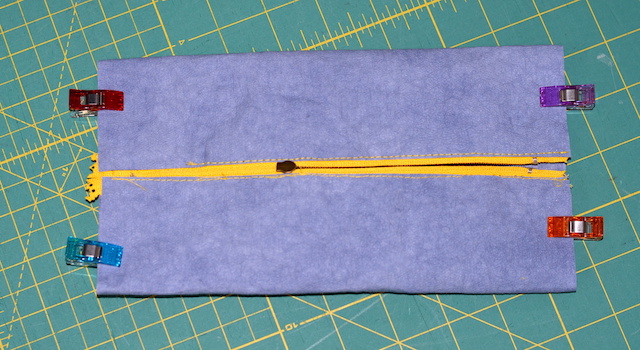
With the zipper pull facing up, clip one side of the zipper to the 9″ top edge of the kraft-tex.
Step 2
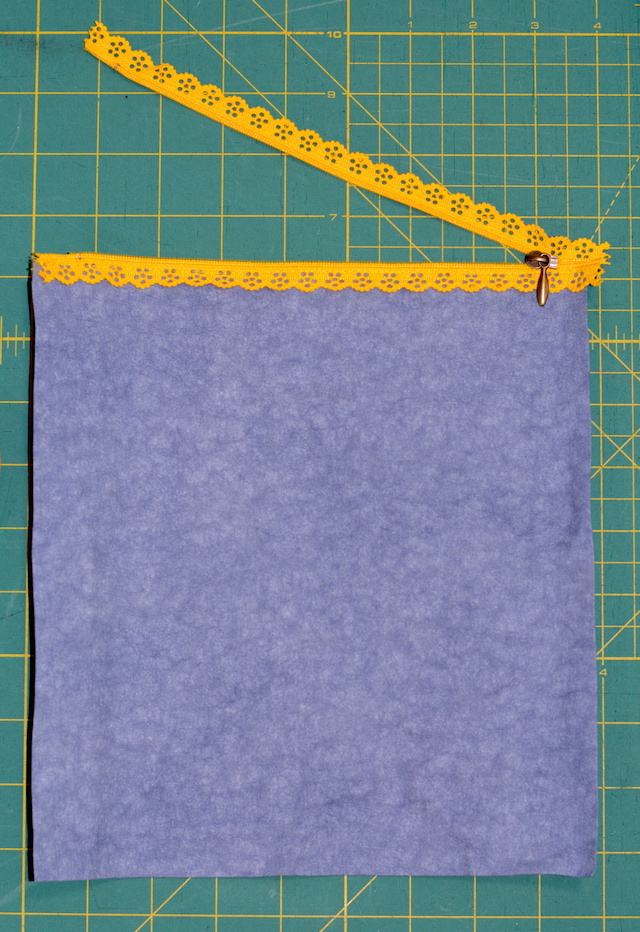
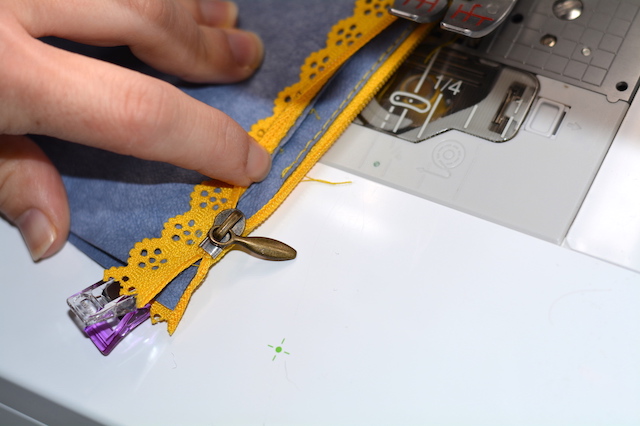
Stitch the zipper side onto the Kraft-tex (with matching thread), making sure the teeth extend off the edge. Back-stitch on both ends.
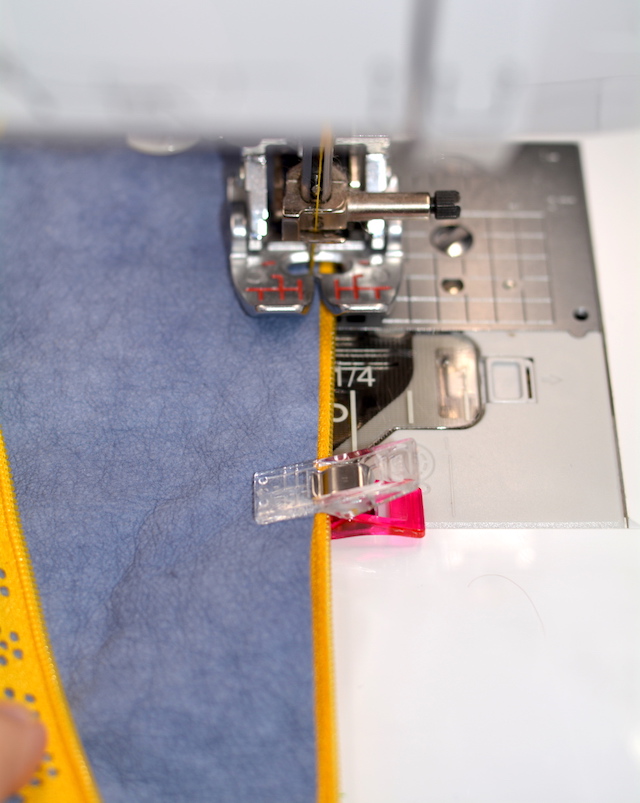
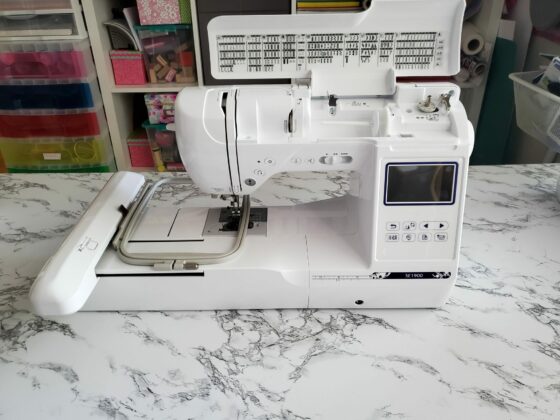
(Tip: You’ll notice below that I don’t use a zipper foot for this project. I used my Baby Lock Digital Dual Feed sewing machine foot, which glides right over the zipper teeth and Kraft-tex layer, and feeds them evenly through the machine. Use your best judgment for your own setup!).
Step 3
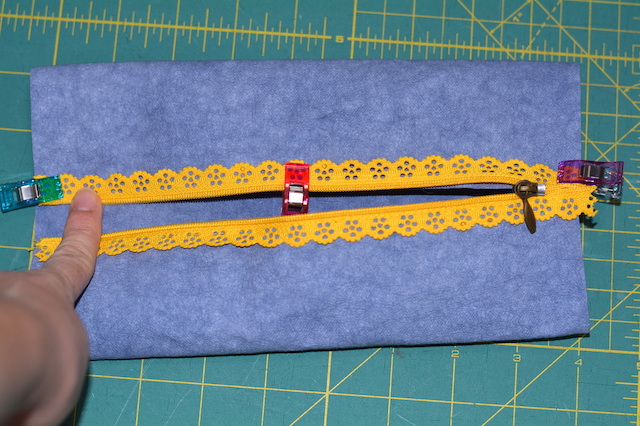
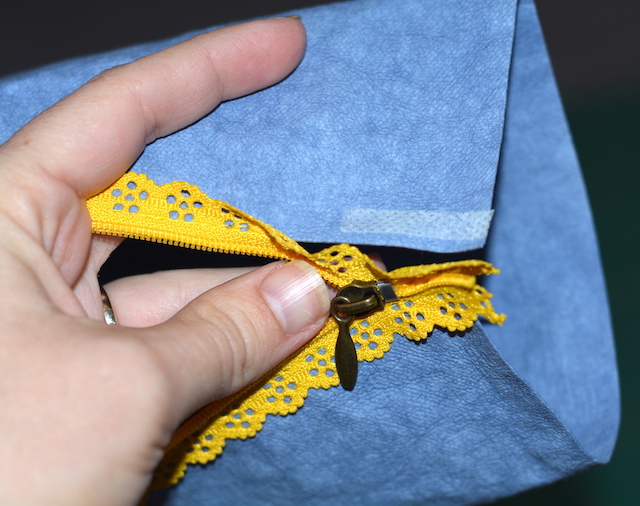
Roll the Kraft-tex into a tube, making sure the zipper pull is still facing up. Clip the other side of the zipper onto the other 9″ edge of kraft-tex.
Step 4
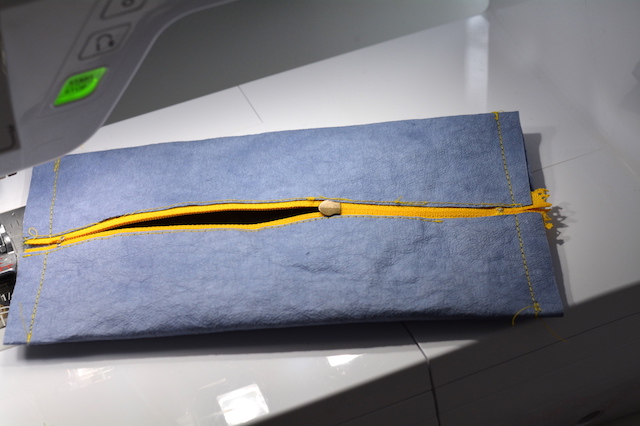
With the zipper facing down toward your sewing machine, stitch the clipped zipper piece onto the Kraft-tex, making sure the zipper teeth extend just off the edge…
Stop sewing when you can’t go any further, about an inch from the zipper pull. Back-stitch.
Step 5
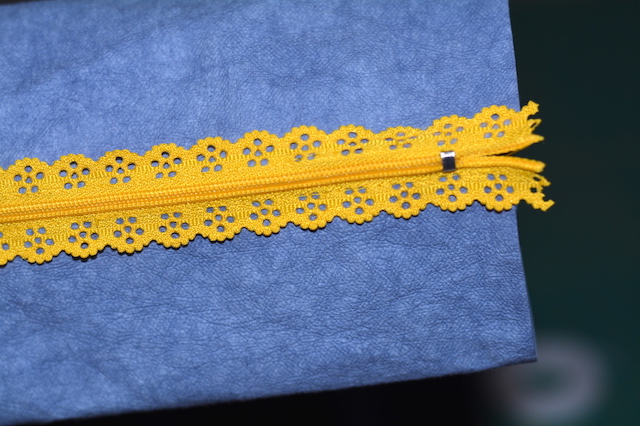
Use a small Wonder Tape piece to stick the zipper end to the Kraft-tex, following the manufacturer’s instructions.
Here is the zipper after sticking one end to the Wonder Tape.
Step 6
Unzip the zipper fully and turn the pouch wrong side out…
Clip the ends shut, making sure the zipper stays centered horizontally along with the pouch. You can zip the pouch halfway to ensure you have an accurate centerline.
Step 7
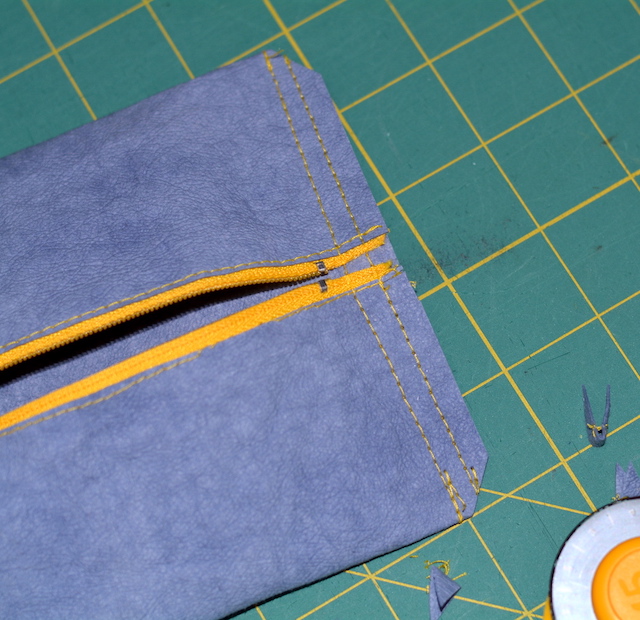
Stitch along both clipped ends, sewing 3/8″ from the edge…
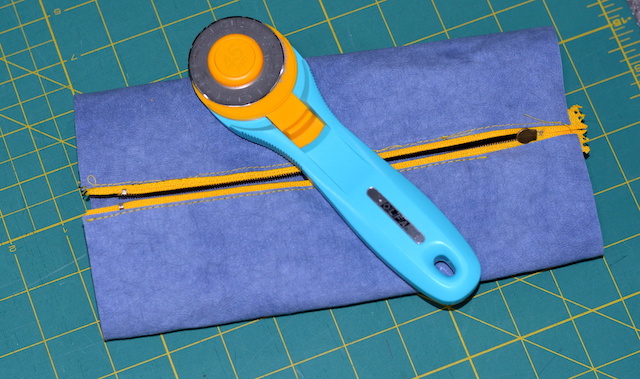
Sew a reinforcement stitch through the end of the pouch, so there are two lines of stitching. Clip the corners of the pouch using scissors or a rotary cutter.
Step 8
Turn the pouch right side out and use a pencil to poke out the corners carefully. Don’t poke through the Kraft-tex! Press flat with an iron if desired.
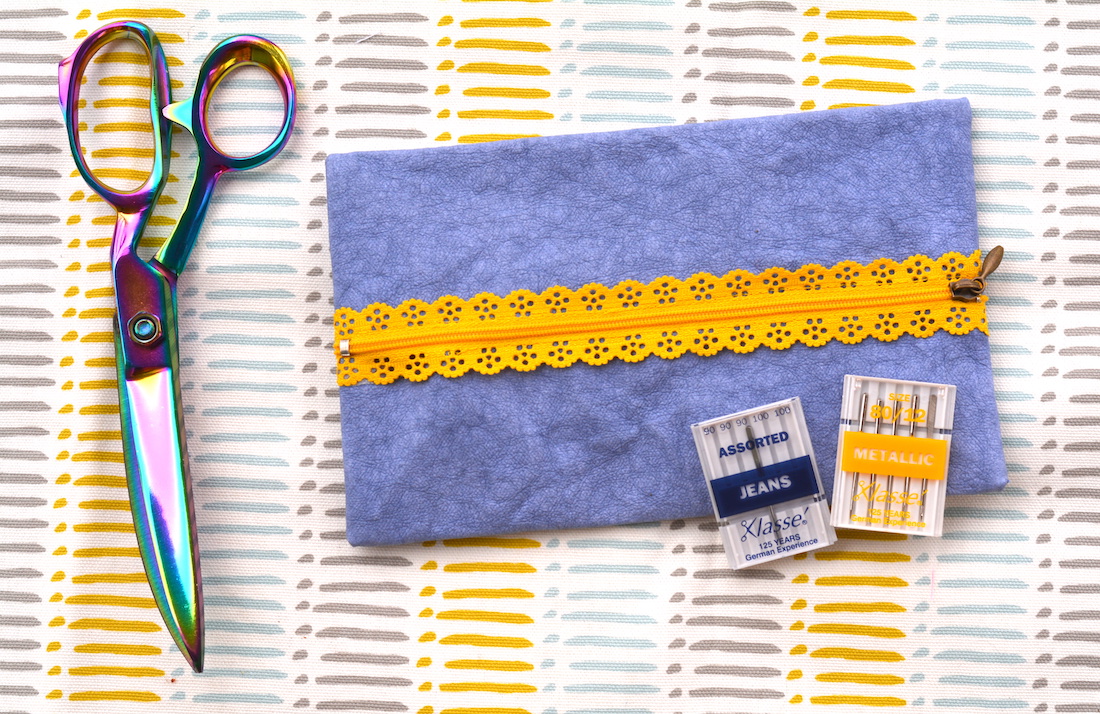
I’m using my flat pouch to store extra sewing machine needles! What will you use yours for? This whole project is super quick, beginner-friendly, and makes a great gift.
kraft-tex Color of the Month 2020
I’m looking forward to sharing more kraft-tex project ideas each month of 2020 as a #krafttexambassador! Each month I’ll share a different kraft-tex project in the color of the month (hint: think birthstones). Here are my past projects.
January: Wide Zipper Pouch
To shop all of the Kraft-tex colors and get more project ideas, visit CTPub.com and search kraft-tex.
Until then…. happy sewing!

