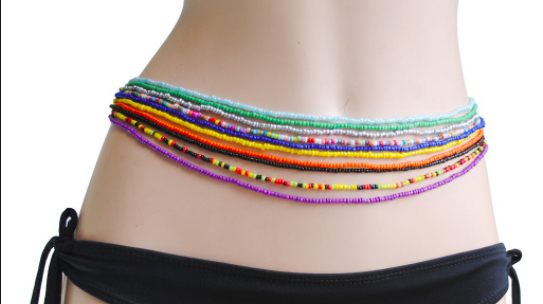
Resin jewelry is a trendy and intriguing method of making one-of-a-kind pieces. Resin is a transparent class of plastic that can be colored and cured via exposure to ultraviolet light or heat, which gives people the ability to create beautiful adornments. These pieces are inexpensive to make, don’t require much equipment, will not take too long to complete, and the techniques involved are relatively easy to master in a short time. We have selected 5 video tutorials that are perfect for beginners. Before presenting these ideas, let me answer every beginner’s main questions.
Table of Contents
- 1 Is resin jewelry easy to make?
- 2 What do you need to start making resin jewelry?
- 3 Is resin jewelry expensive to make?
- 4 What kind of resin to use for jewelry?
- 5 1. RESIN FORGET-ME-NOT PENDANTS
- 6 2. RESIN MULTICOLORED GLITTER EARRINGS
- 7 3. COLORFUL EPOXY RESIN BRACELETS
- 8 4. RESIN RINGS WITH PIGMENT COLOR AND COPPER FOIL FLAKES
- 9 5. RESIN BROOCHES WITH IMAGES
Is resin jewelry easy to make?
Sure! the only thing beginners need is patience. If you can follow instructions and have patience, beginners don’t need anything else. All beginners do not equally excel in art or crafting. Still, resin jewelry making is an art that every beginner with a decent amount of patience can quickly learn and grow beyond beginner status. There are essentially three steps involved in resin jewelry making: planning, preparing, and finally putting together.
Look through the rest of this article for specific instructions on the products you’ll need, the budget you should allocate, and of course, 5 great ideas for beginners!
What do you need to start making resin jewelry?
-
Resin & Catalyst
There are different kinds on the market, but I recommend using epoxy resin crystal clear for a beginner.
-
Resin jewelry molds
If you want to start making resin jewelry, you will need at least one good mold, but potentially a set of molds to make different shapes immediately. A basic mold (made of silicone) can be bought online in any hobby store and will cost a few dollars. You can also find it here on amazon. This type of mold does not require preparation and is suitable for beginner jewelers. However, if you want to go further in your production and make pieces with more elaborate geometric shapes, buying an expensive one made in metal is worth considering. With this type of mold, objects with complicated shapes and figures can be created easily and quickly. The downside is that they are much more expensive than basic silicone molds: they range from 30 to 100 dollars, depending on the size. Note that we have an article explaining how to make resin jewelry without a mod.
-
UV light
Instead of a dedicated oven, I use a UV flashlight. It is cheap, easy to use, and worth the tiny investment. Epoxy resin will dry itself when in contact with UV, meaning sunlight or artificial lighting. However, this can take several hours, and many things could happen to your piece in the meantime. Instead, use a UV light that will dry your jewelry in seconds.
-
Polishing material
Every piece of resin jewelry should be sanded and polished once dried. We have a tutorial here that explains all the steps. As a beginner, I suggest getting sandpaper 400 grit, 600, 800, 1000, 1500 grit, and Microfiber cloth.
-
Respirator
If you are working in a well-ventilated place, you might get away without using a respirator. However, I will recommend using a respirator mask while working with resin because inhaling fumes while it cures can trigger an asthma attack or other respiratory distress. The dust from sanding may also be harmful, although this will depend on their specific allergies and sensitivities. YOu can find lots of very affordable options here.
-
Miscellaneous
It would help if you always used plastic gloves (surgery gloves). You’ll also need stirring sticks, 2 measuring cups (one for the resin, the other for the catalyst), alcohol spray to clean the molds, some paper towels, and whatever you feel like embellishing your piece (Shells, flowers, fabric). We have a full tutorial on making resin jewelry with flowers, for instance.
-
Oven (optional)
You can use an oven to dry your jewelry make resin jewelry. The oven must reach a minimum temperature of 270°F (130°C). If the temperature is less than 100°C, the resin will never dry and remain sticky forever! I would choose the UV light any day of the week to be completely frank with you! Any kitchen over should do, but ideally, you would want a separate mini oven.
Note that there are numerous resin jewelry kits available on the market. In my opinion, they would be perfect for a beginner. You can see our selection here.
Is resin jewelry expensive to make?
The simple answer is NO. Some decent beginner kits start at about $25; add to that a few of the necessary items above that will generally not be included in your kit (respirator, UV light, polishing material), and you could get going for under $70. For a beginner, I suggest starting with inexpensive pieces, don’t start playing with precious metal or stones as the first go!
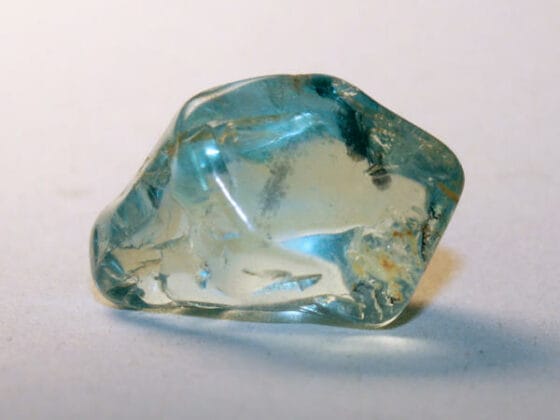
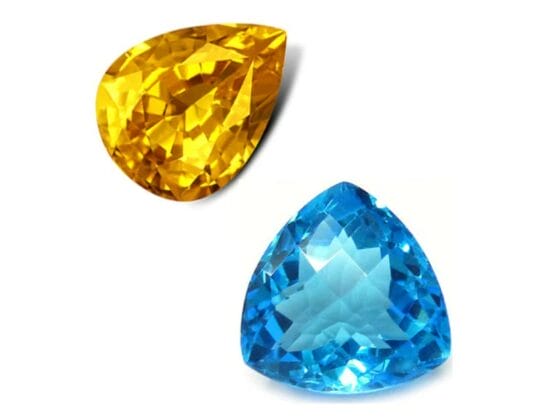
What kind of resin to use for jewelry?
Different resins are available at craft stores, depending on your project needs. Some of these include
- Clear casting resin used in jewelry-making and art glass casting
- Epoxy resin, which sells in two parts — the resin and the hardener;
- Photo-enhancing resins that can be used to coat glass or metal
- Casting epoxy resin
- Ultraviolet (UV) resin is used for making durable plastic lenses.
I advise you to get the epoxy resin crystal clear especially made for jewelry-making. It is the perfect beginner choice.
1. RESIN FORGET-ME-NOT PENDANTS
Cut out 5 cm of resin tape and stick it on a flat surface. Put down the hexagon charm right in the middle of the resin tape; then, pour the first layer of the UV resin. Use a toothpick to spread it out to fill the charm. Use your UV light to cure it or simply leave it under the sun for 5 minutes. Once it dries off, pour a second layer and insert one dried forget-me-not flower into that second layer. Use a toothpick again to help you place it in the middle of your charm. Let it cure for about 5 minutes. Then, please remove it from the resin tape and poke a hole through the piece with the electric driller to slip the jump ring and finally assemble your jewelry. People claim that the most beautiful necklace in the world is your child’s arms around your neck, we can assure you that resin forget-me-not necklaces are beautiful too. In addition, forget-me-nots symbolize true love, respect, and faithfulness.
2. RESIN MULTICOLORED GLITTER EARRINGS
Combine the two components of resin (the resin: Part A and the hardener: Part B) in a small cup. Add different colors of glitter and stir well with a popsicle stick. After that, pour the mixture into your chosen mold. Again, use the popsicle stick to spread it out and fill the mold. As soon as they harden, you can remove them from the mold and assemble your earrings by making holes and inserting the jewelry tools. Earrings always bring uniqueness to your style: square, circular, oval, heart-shaped, star-shaped, or anything else. Don’t make it too big, though, if you don’t want to hurt your lobe.
3. COLORFUL EPOXY RESIN BRACELETS
Put the resin (Part A) and the hardener (Part B) in a disposable cup. Make sure you have mixed them well for at least 2 minutes. After that, pour the composition into a silicon bracelet mold. It is a good idea to use a syringe to do so. Drop your liquid die directly into the Epoxy for the tint before it cures. Use a skewer to spread it out and remove the bracelet from the mold once it dries off. Bracelets are unisex; anyway, from our standpoint, resin bracelets stand out among diverse styles of bracelets as they are original, adorable, and girlish.
4. RESIN RINGS WITH PIGMENT COLOR AND COPPER FOIL FLAKES
Pour the UV resin into a small container; then, drop the pigment color of your choice. Use a toothpick to mix well, and with a syringe, pour the combination into the ring mold. Make sure you overspread it to fill the mold entirely and avoid air bubbles in the piece. Before curing, add the copper foil flakes with a toothpick. Let it dry in the sunlight for at least 5 minutes. Resin rings are said to be the sweetest new accessory. A resin ring is as original and cute as the other custom jewelry with or without a matching bracelet.
5. RESIN BROOCHES WITH IMAGES
As you like, trace a circle or an oval onto a piece of aluminum flashing and cut it out with a pair of serrated scissors. Print out an image and trace around it by using the same template. Cut it out, spray some E6000 adhesive onto the image, and press it onto the metal. To decorate the edge of your piece, measure the length of a cup chain and glue it around using E6000 plus. A toothpick will be helpful to apply the glue. After that, mix the resin (Part A) and the hardener (Part B) in a disposable cup. Make sure you blend them well by following the instructions on the packs. Drizzle a small amount of the mixture on the brooch until completely covered. Let it cure overnight. Finally, stick a pin back, and your workpiece is done. Brooches have been out of fashion for some time, but now, they are back, and resin ones are simply the best.