Table of Contents
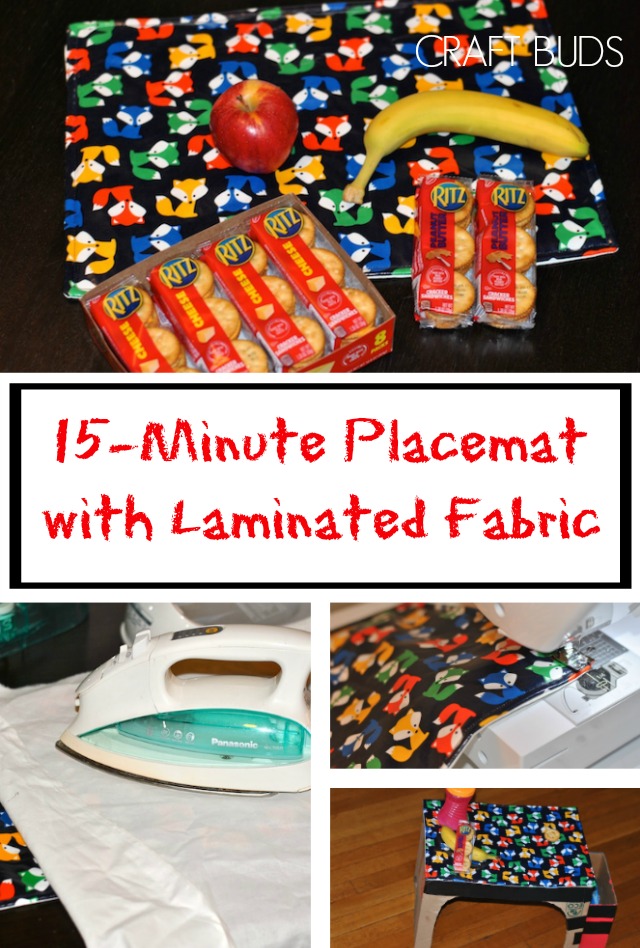
What you need to make a Placemat with laminated fabric
- 14″ x 18″ piece of laminated cotton fabric
- 14″ x 18″piece of quilt batting
- 14″ x 18″ piece of backing fabric (I used inexpensive white muslin)
How to make a placemat
Step 1
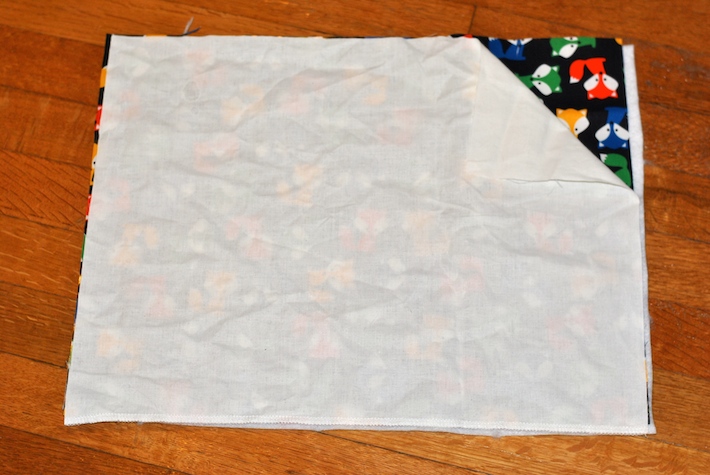
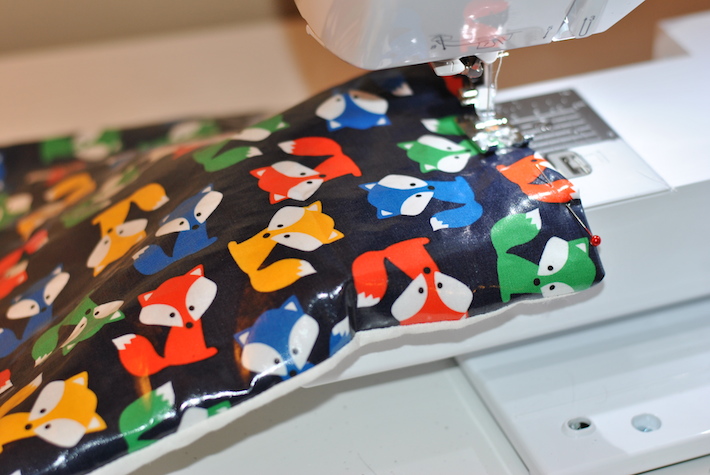
Layer your fabrics as follows: quilt batting on the bottom, laminated cotton fabric on top of that (facing right side UP), and backing fabric on top of that (facing right side down).
Step 2
Sew around the perimeter of the stack of fabrics, about 1/2″ from the edge. Leave a 3″ section open on one short side for turning. Trim the seam allowance to 1/4″. Use your scissors to trim the corners at an angle, which will make it easier to poke out the corners in the next step.
Step 3
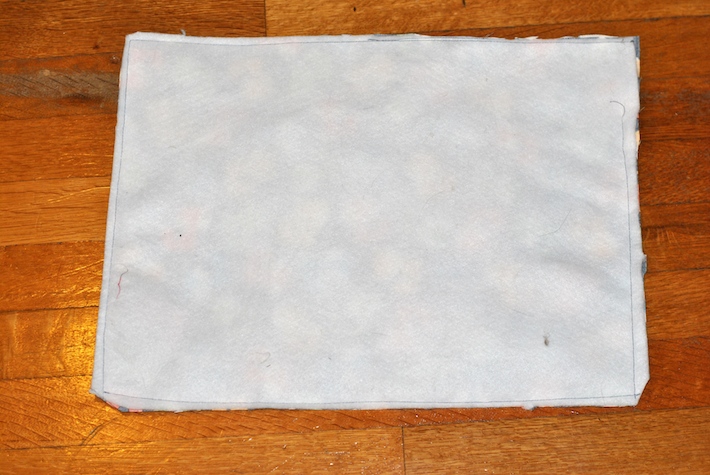
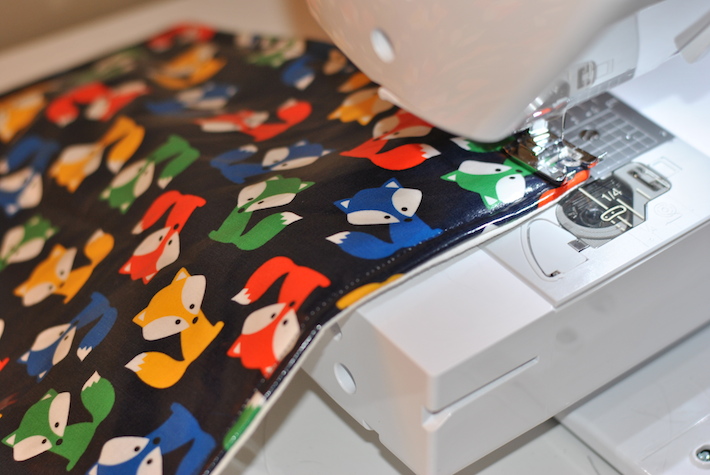
Turn the placemat right side out, using a pencil or a chopstick to poke out the corners. Take the placemat to your sewing machine and pin the 3″ opening closed. Sew where you’ve pinned about 1/8″ from the edge to close the hole.
Step 4
Next, topstitch 1/4″ from the edge around the perimeter of your placemat. If the laminated fabric sticks under your sewing machine foot, you can place a piece of masking tape on the underside of your sewing foot to keep it moving smoothly.
Step 5
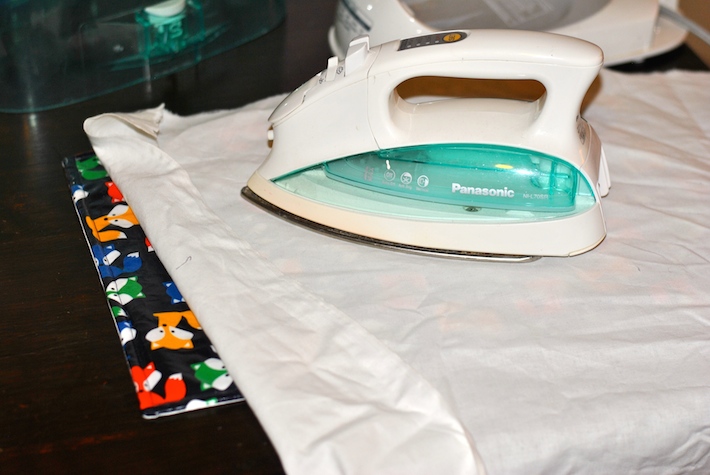
When sewing with laminated cotton fabric, it’s still okay to iron it, but always use a pressing cloth (another piece of fabric), so it doesn’t melt under your iron!
Step 6 (bonus)
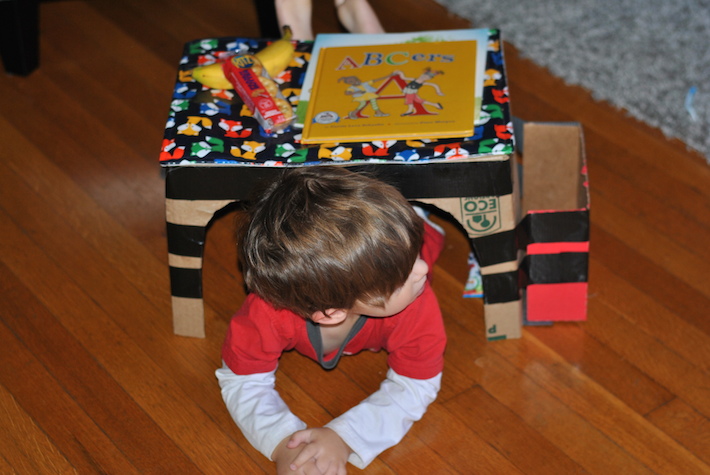
Inspired by Pinterest, I also made my son a little tray to use out of a cardboard box. The placemat fits perfectly on top! Just cut the flaps off of a box and then cut “tunnels” in the two wider sides to make this part. I also taped a smaller box to the side to make a storage container for toys or other snacks.
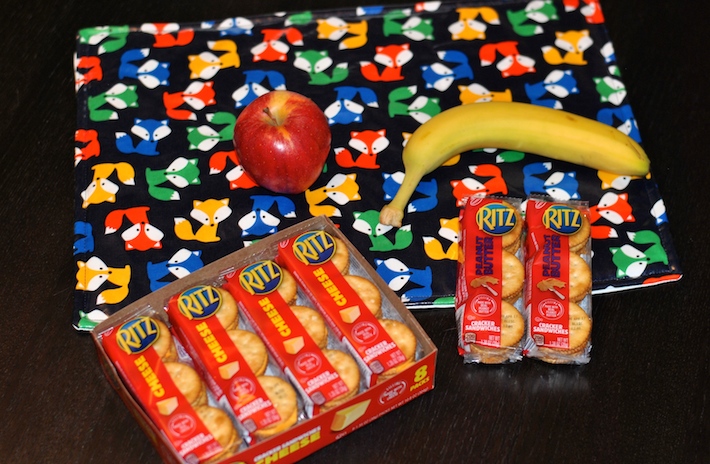
Ta da! This placemat is the perfect size for a toddler to enjoy their favorite snacks. We love RITZ Peanut Butter Filled Sandwich Crackers, and the cheese ones come in a close second.
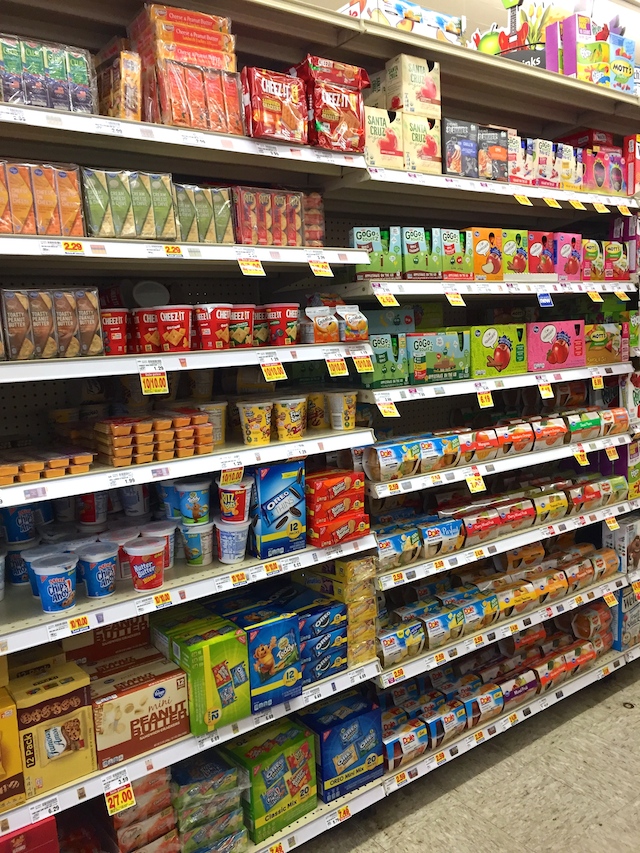
My nearest Kroger store is one of my favorites to visit because it has everything I need, but it’s also not huge so that I can get in and out quickly. When my son gets hungry… I mean “hangry”… he’s far from my favorite shopping companion. But I keep lots of snacks in my mom’s bag, and a pack of these crackers always puts him in a better mood. I’m so glad that RITZ Filled Sandwich Crackers are now available at Kroger stores! I usually find them in the lunchbox section, nearby the applesauce pouches my son also loves.


1 comment
What a wonderful idea! I have been wanting a sewing machine for awhile now. This is going on my list of things to make once I get one! (client)