Quilting is a longstanding craft that entails stitching multiple layers of fabric to craft cozy and ornamental covers, frequently utilized for bedding or as decorative wall pieces. One of the critical elements in quilting is the use of patterns, which guide the creation of intricate and visually appealing designs.
This article explores 25 free quilt patterns catering to various styles and skill levels. These patterns are essential for crafting beautiful quilts, preserving the rich quilting tradition and making it accessible to both beginners and experienced quilters.
Table of Contents
- 1 Understanding the Basics of Quilting Patterns
- 2 Types of Quilt Patterns
- 3 Reading a Quilt Pattern
- 4 25 Free Quilt Patterns You’ll Love
- 5 Free Quilt Patterns FAQs
- 6 Conclusion
Understanding the Basics of Quilting Patterns
Before we get into the patterns, let’s first understand the basics, available types, and how to read quilt patterns.
What is a Quilt Pattern?
A quilt pattern is like a roadmap for quilters, guiding them in creating beautiful and intricate designs with fabric. It typically consists of detailed instructions on assembling fabric squares, triangles, or other shapes to form a specific design. A quilt pattern includes information such as fabric requirements, cutting instructions, and a step-by-step assembly guide.
These patterns can vary widely in complexity, from simple designs suitable for beginners to intricate, advanced patterns for experienced quilters. In addition to the technical details, a quilt pattern often provides a visual representation of the finished quilt, helping quilters envision the final result as they work on each component.
Types of Quilt Patterns
Quilting patterns come in various styles, from traditional to modern, featuring diverse designs such as stars, hearts, log cabins, and more. Traditional and modern quilt patterns represent two distinct styles in quilting.
Traditional patterns, rooted in quilting history, draw from classic designs passed down through generations. They often feature geometric shapes and repetitive motifs, such as log cabins or nine-patch blocks. Traditional quilts typically use a more limited color palette and emphasize precision in piecing.
On the other hand, modern quilt patterns embrace contemporary aesthetics and experimentation. They often incorporate bold, asymmetrical designs, negative space, and unconventional color combinations. Modern quilting encourages artistic freedom and self-expression; strict rules do not bind it. In comparison, both patterns aim to create beautiful quilts; traditional patterns honor quilting’s heritage and require meticulous attention to detail.
In contrast, modern patterns push the boundaries of creativity and offer more room for personal interpretation. Quilters can choose between these two styles based on their preferences, creating quilts that reflect their unique artistic vision.
Reading a Quilt Pattern
Reading a quilt pattern is like deciphering a creative blueprint that transforms fabric into a work of art. It begins with understanding the pattern’s measurements, often specified in inches or centimeters, which dictate the size of your finished quilt. These measurements ensure your quilt will fit its intended purpose, whether for a bed, wall hanging, or another use.
Next, pay close attention to any charts or diagrams in the pattern. Charts visually represent the layout of your quilt, with each square or block corresponding to a specific piece of fabric. These charts provide a bird’s-eye view of your quilt’s design, helping you see how the components come together.
Symbols play a crucial role in quilt patterns. They’re like a secret code instructing you on what to do with each piece of fabric. Common symbols might indicate cutting, piecing, sewing, or pressing instructions. Referring to the pattern’s legend or key is crucial to understanding each symbol’s meaning.
Moreover, designers will provide written instructions explaining how to construct your quilt. These instructions guide you through the process, detailing how to cut fabric, sew pieces together, and assemble the quilt top. You should note terms like right sides together and seam allowances, as they affect the accuracy of your quilt.
Reading a quilt pattern combines mathematical precision, visual interpretation, and careful execution. By decoding measurements, charts, and symbols while following written instructions, you can transform a flat piece of fabric into a beautiful, functional work of quilted art.
25 Free Quilt Patterns You’ll Love
In this compilation, we have gathered 25 quilt patterns we believe you will adore. This collection has designs with distinctive charm and allure to suit all preferences and levels of quilting expertise.
Traditional Quilt Patterns
Traditional quilt patterns are like windows into the rich heritage of quilting. These patterns, passed down through generations, reflect the timeless beauty of geometric shapes, intricate designs, and meticulous craftsmanship. They carry the stories and skills of quilters from bygone eras and continue to captivate with their enduring charm and historical significance.
1. Log Cabin Quilt Pattern
The log cabin quilt features a central shape, like a square or a diamond. This central shape symbolizes the hearth or fireplace, a focal point of warmth and activity in a log cabin.
Around this central hearth are smaller strips of fabric known as logs. These logs consist of four layers of lighter-colored strips on one side and four layers of darker-colored strips on the other, creating a visually appealing and balanced design.
You can find the pattern here.
2. Irish Chain Quilt Pattern
The Irish quilt pattern is a captivating blend of history and artistry. Drawing inspiration from Ireland’s rich cultural heritage, The Irish Chain quilt pattern offers three common variations: The Irish Chain, Double Irish Chain, and Triple Irish Chain. With their roots in Ireland, these quilts often showcase a classic color scheme where the chains are typically red in these designs, while the centers are white.
Get the Irish quilt pattern by following this link.
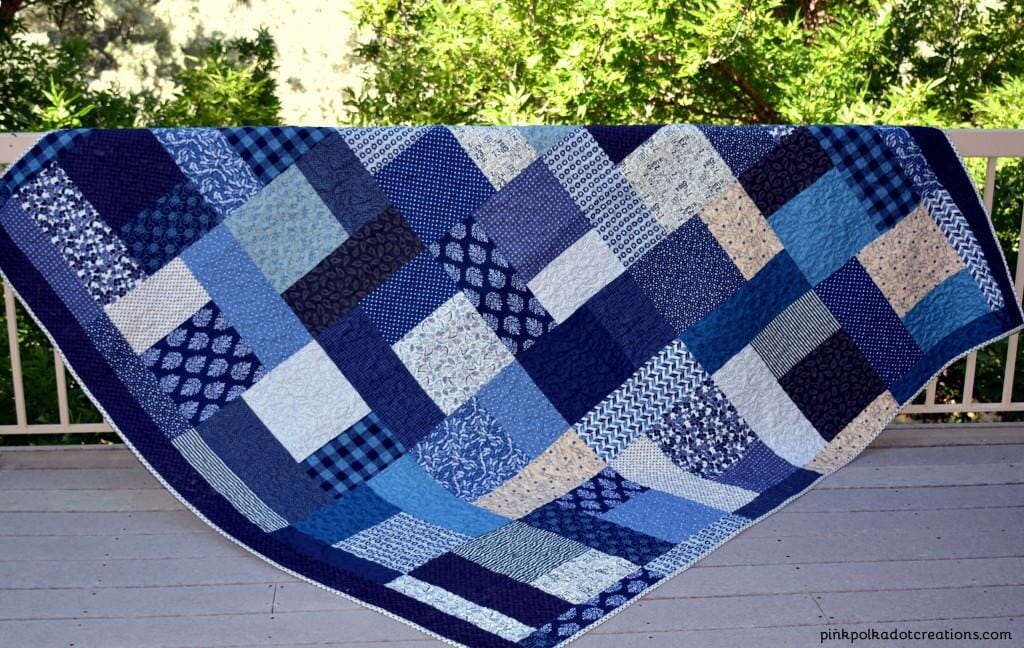
3. Rail Fence Quilt Pattern
The Rail Fence quilt pattern is a timeless classic characterized by fabric strips arranged in a straightforward yet visually appealing manner to form blocks. Its simplicity makes it ideal for beginner quilters, offering versatility to suit many quilting projects.
Find the pattern for free by clicking this link.
4. Ohio Star Quilt Pattern
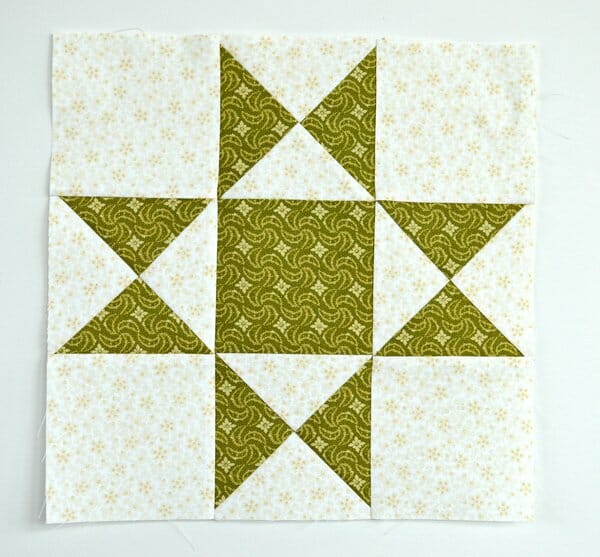
This pattern pays homage to Ohio’s role in American quilting history and continues to captivate with its elegant simplicity and timeless appeal. The Ohio Star quilt pattern is a cherished classic in the quilting world and features a central star design surrounded by square blocks, creating a sense of balance and symmetry.
Click on this link to find a free pattern.
5. Double Wedding Ring Quilt Pattern

Double Wedding Ring quilt patterns are romantic and intricate, with interlocking rings symbolizing love and unity. These quilts often feature curved pieces and intricate piecing techniques, creating a captivating design that represents the enduring bonds of marriage. Their beauty lies in the craftsmanship and sentiment behind each carefully stitched ring.
You can access the free pattern here.
6. Dresden Plate Quilt Pattern
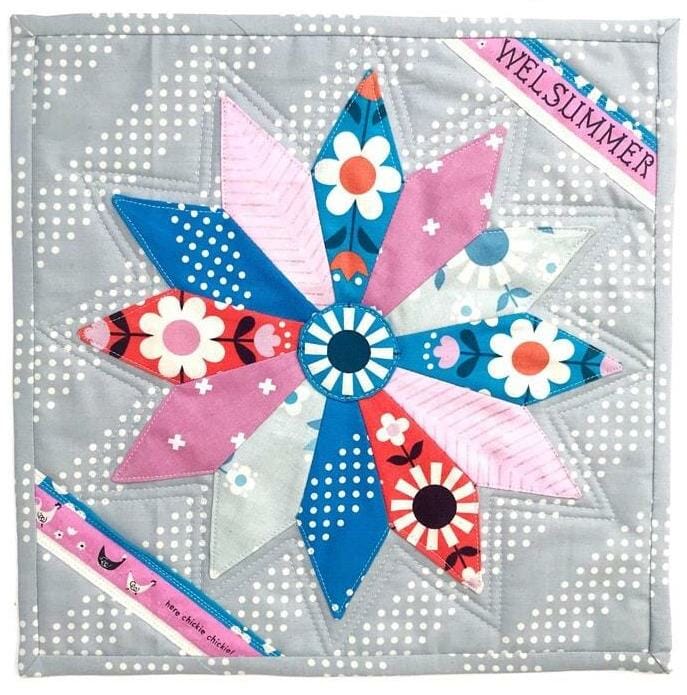
quilts feature a series of fabric blades arranged in a circle, resembling a floral bouquet or a sunburst. With their charming and versatile style, Dresden Plate quilts offer a delightful blend of tradition and creativity in quilting.
Check out the free pattern here.
7. Jacob’s Ladder Quilt Pattern
The Jacob’s Ladder quilt pattern creates the illusion of interlocking blocks forming diagonal chains. With its geometric simplicity, it offers a classic and visually pleasing design. Named after the biblical story of Jacob’s dream, this pattern is a timeless favorite among quilters for its elegance and versatility.
You can find a free pattern here.
Star-Themed Quilt Patterns
Star-themed quilt patterns have intricate star motifs that symbolize hope and guidance. These patterns offer a delightful canvas for quilters to showcase their skills and add a touch of celestial magic to their quilting projects.
8. Star Quilt Pattern
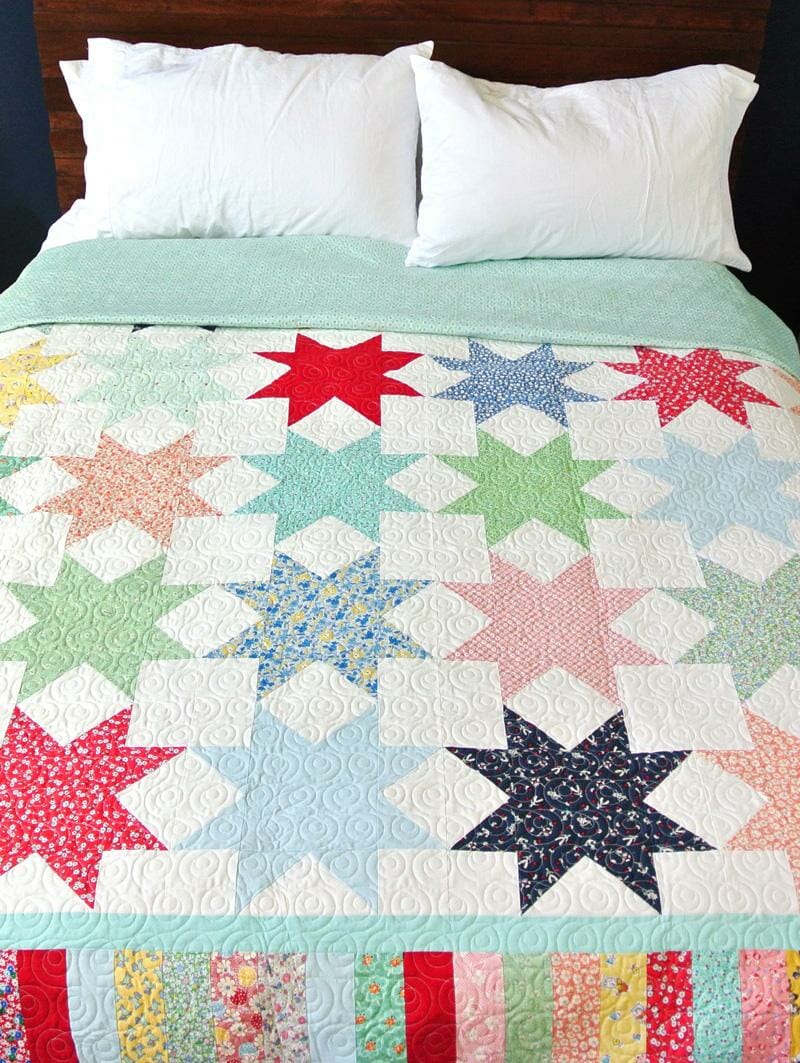
This Star quilt pattern typically features a central star motif surrounded by geometric shapes, creating a sense of radiance and symmetry. Stars hold deep symbolism in quilting, representing hope and guidance, making them a cherished choice for traditional and modern quilt makers.
Use this link for a star pattern.
9. Lone Star Quilt Pattern
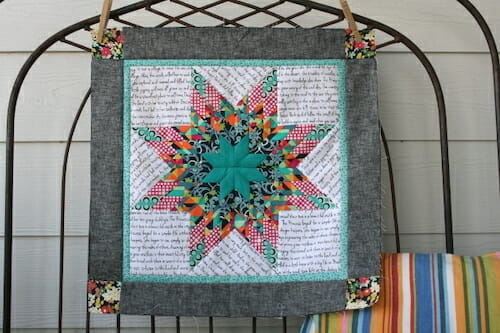
Lone Star quilt patterns, also known as Texas Star or Star of Bethlehem, are characterized by a single, large star as the central design element. These patterns demand precision in piecing, resulting in an intricate, radiant appearance. Lone Star quilts exemplify both complexity and artistry in quilting.
Check out the pattern here.
10. Oh My Stars Quilt Pattern
Oh My Star quilt patterns are a delightful and playful take on the traditional star motif. These designs feature a variety of star shapes in a whimsical arrangement. With their lively and modern appeal, Oh My Star quilts invite creativity and add a vibrant touch to the quilting world like this pattern.
Modern and Trendy Quilt Patterns
Modern quilt patterns break free from tradition, embracing innovation and artistic expression. They often feature bold geometric designs, negative space, and vibrant color palettes. These patterns provide a contemporary twist on quilting, allowing quilters to explore their creativity while maintaining the timeless craft’s integrity.
11. Chandelier Quilt Pattern
Chandelier quilt patterns are known for their elegant and intricate designs, resembling chandelier fixtures’ graceful curves and beauty. These quilts often feature elaborate motifs and geometric shapes, creating a sense of sophistication and luxury. Chandelier quilt patterns are a testament to the artistry and creativity of quilters.
Check out this tutorial for more details.
12. Exploding Heart Quilt Pattern
With its intricate piecing and bold, asymmetrical style, this pattern conveys a sense of energy and emotion, making it a unique and expressive choice for quilters.
The Exploding Heart quilt pattern is a captivating design that radiates from a central heart motif, creating a dynamic and visually striking effect.
This video tutorial has all the details.
13. Turning Twenty Quilt Pattern
This pattern’s name derives from the fact that it only requires turning 20 squares to assemble an eye-catching quilt top. The Turning Twenty quilt pattern offers a modern twist on traditional quilting. With a straightforward approach, it uses large fabric squares to create a stunning and deceptively simple design.
Check out the step-by-step details here.
14. Yellow Brick Road Quilt Pattern

The Yellow Brick quilt pattern features diagonal rows of squares or rectangles, creating a playful and vibrant design reminiscent of a winding brick road. This pattern’s charm lies in its simplicity and the nostalgic imagery it evokes.
Check out this free pattern for more details.
Seasonal and Holiday Quilt Patterns
Seasonal and holiday quilt patterns infuse festive spirit and seasonal beauty into quilting. From Christmas-themed quilts adorned with Santa Claus and snowflakes to autumnal designs featuring pumpkins and leaves, these patterns capture the essence of different times of the year. They provide a creative way to celebrate and decorate for special occasions.
15. Halloween Quilt Pattern
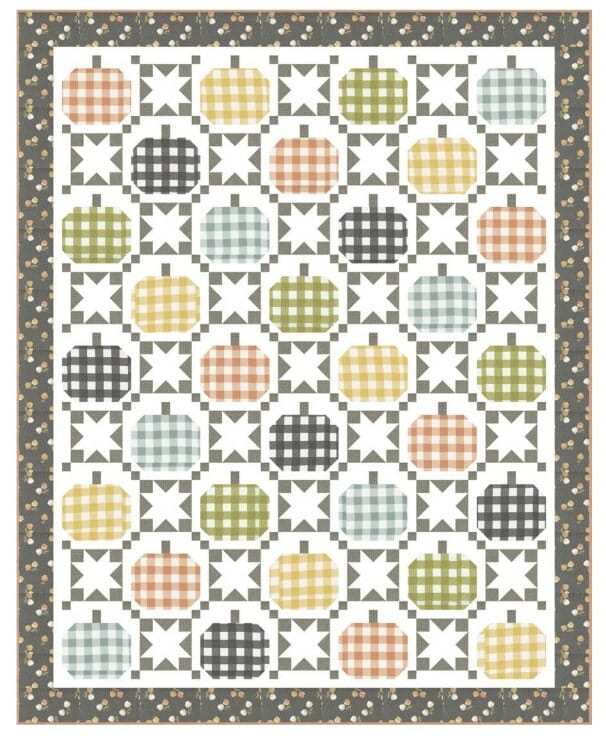
Halloween quilt patterns celebrate the spooky and fun spirit of the holiday. They often feature motifs like witches, pumpkins, ghosts, and black cats. These quilts add a touch of Halloween whimsy to home decor and are a delightful way to embrace the festive season with creativity and warmth.
Get the PDF download here.
16. Wedding Ring Quilt Pattern
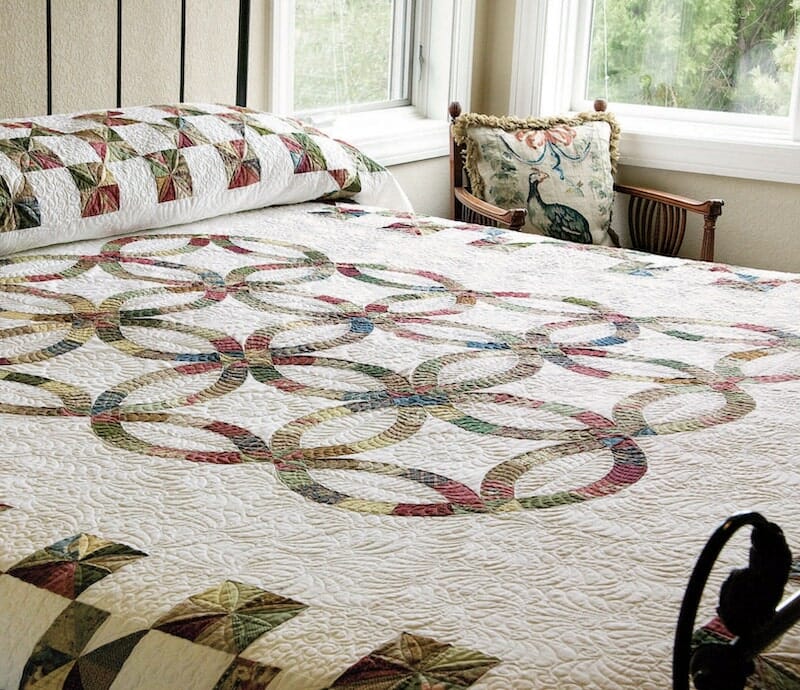
The wedding ring quilt pattern symbolizes love and commitment, with interlocking rings representing the union of two people. It’s known for its curved pieces, intricate piecing, and symbolism. This pattern is a labor of love, cherished for its romantic design and the skill required to create it, and you can download it by clicking this link.
17. Sunflower Quilt Pattern
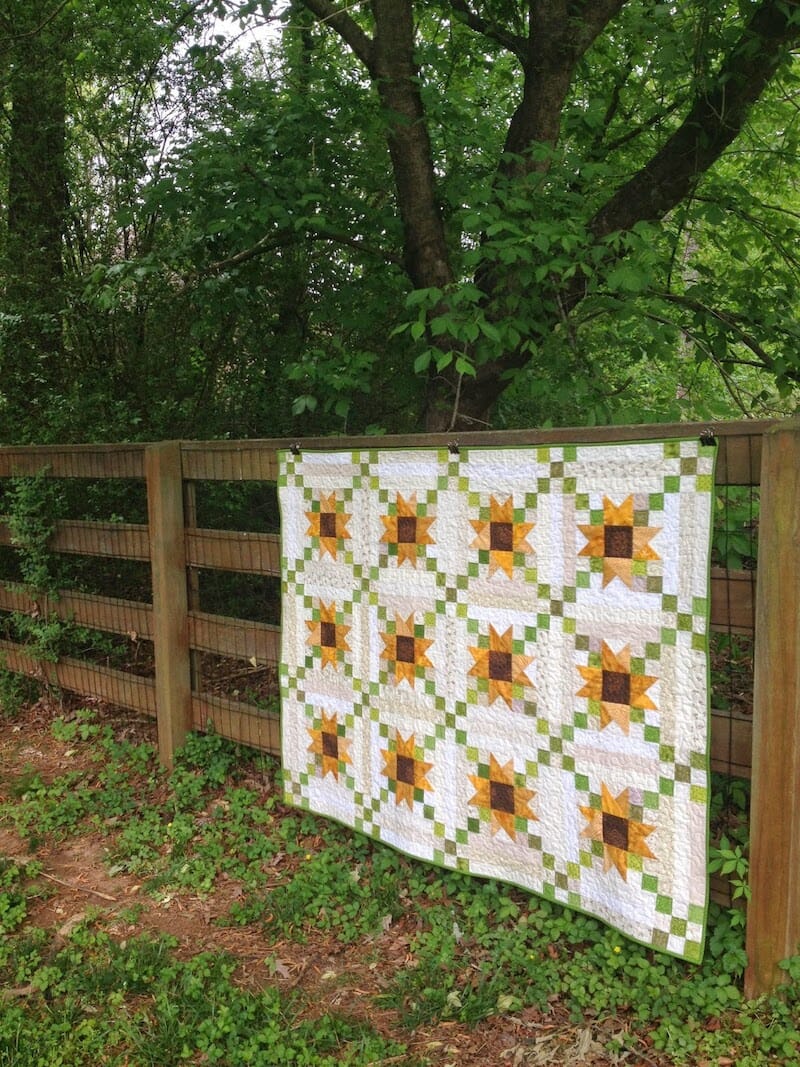
With their bright colors and charming design, sunflower quilts bring a touch of summer to any space and are a favorite choice for those who appreciate nature-inspired quilting. Their main feature is prominent, bold sunflower blocks that radiate warmth and joy.
You can find a free pattern with progress here.
Unique and Creative Quilt Patterns
Unique and creative quilt patterns are the heart of innovation in quilting. These designs often break free from traditional norms, encouraging quilters to explore unconventional shapes, techniques, and color combinations. They provide a canvas for artistic expression and allow quilters to craft one-of-a-kind pieces that showcase their imaginative talents.
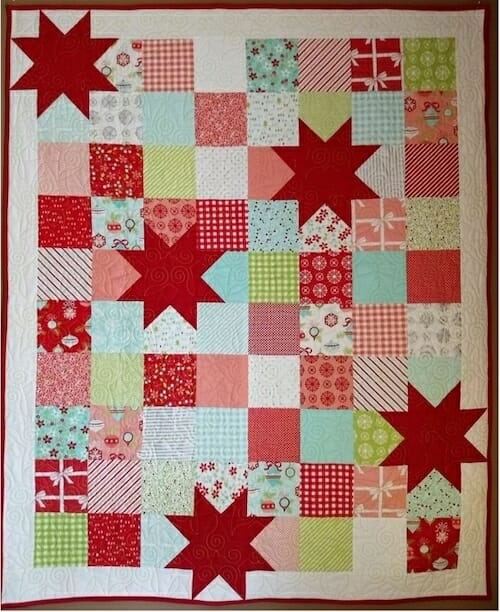
18. Heart Quilt Pattern
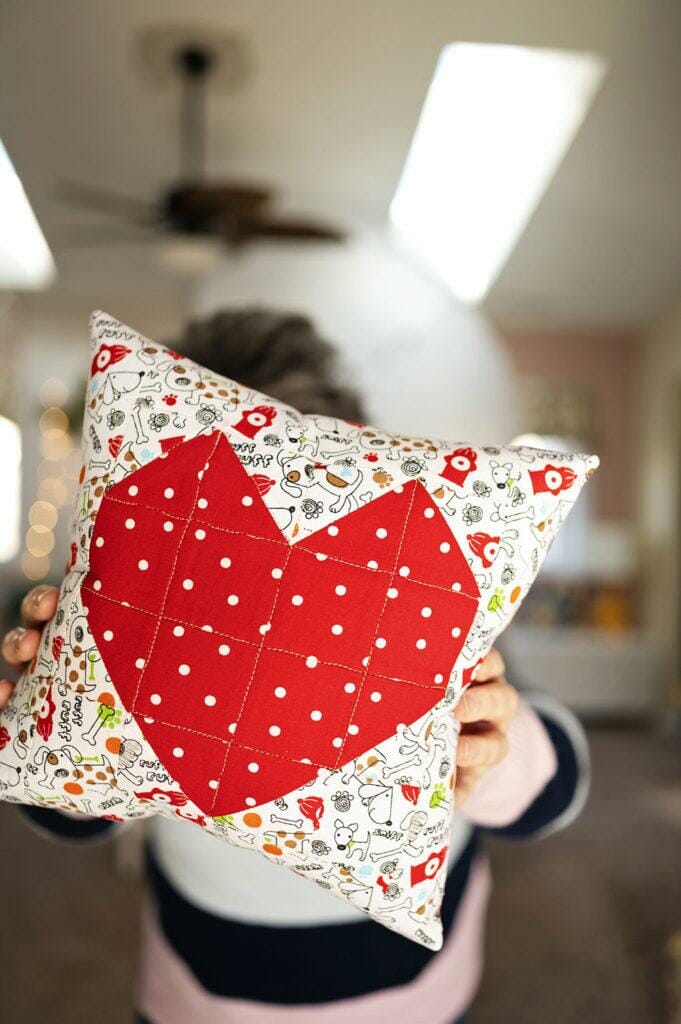
Heart quilt patterns, a symbol of love and affection, have a heart-shaped motif arranged in various designs, conveying warmth and emotion. These quilts are perfect for expressing heartfelt sentiments and are a popular choice for special occasions like valentines, weddings, anniversaries, or gifts for loved ones.
You can make one using this pattern.
19. Pinwheel Quilt Pattern
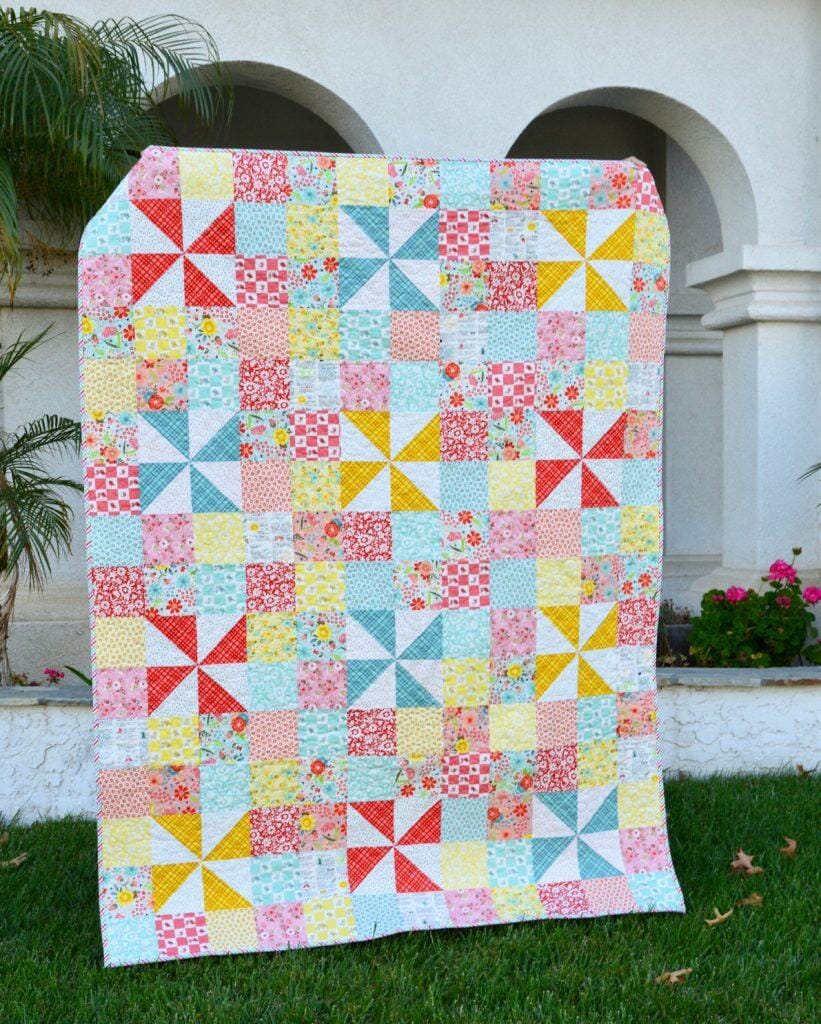
The Pinwheel quilt pattern is a timeless, whimsical design featuring rotating blocks resembling spinning pinwheels. This playful arrangement creates a sense of movement and liveliness. Pinwheel quilts are adored for their simplicity and ability to evoke a feeling of youthful charm, making them a popular choice for quilting projects.
Check out the free pattern here.
20. Storm At Sea Quilt Pattern
The Storm at Sea quilt pattern’s main detail is the geometric shapes resembling waves and ships at sea, creating a sense of movement and drama. With its challenging piecing techniques, this pattern is a testament to a quilter’s skill and determination.
Download this pattern here and try it today.
21. Butterfly Quilt Pattern
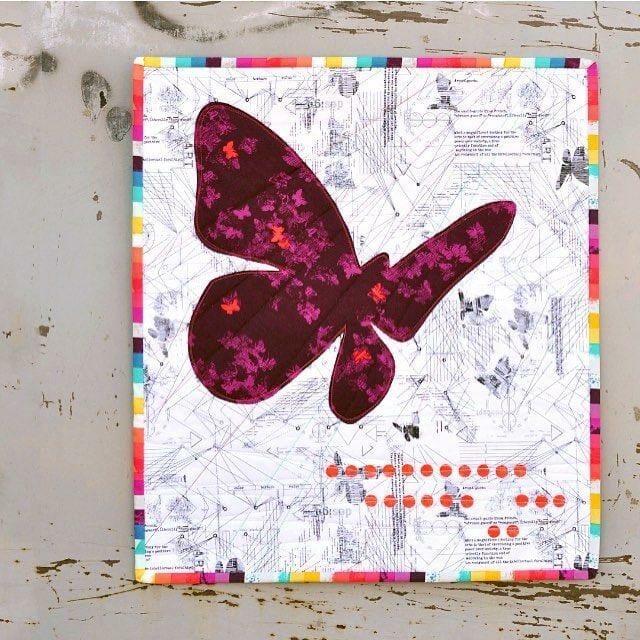
The Butterfly quilt patterns showcase delicate and lifelike butterfly motifs, often arranged in a garden-like setting. These quilts capture nature’s beauty and the butterflies’ grace in fabric, radiating a sense of whimsy and freedom like this pattern.
22. Hexagon Quilt Pattern
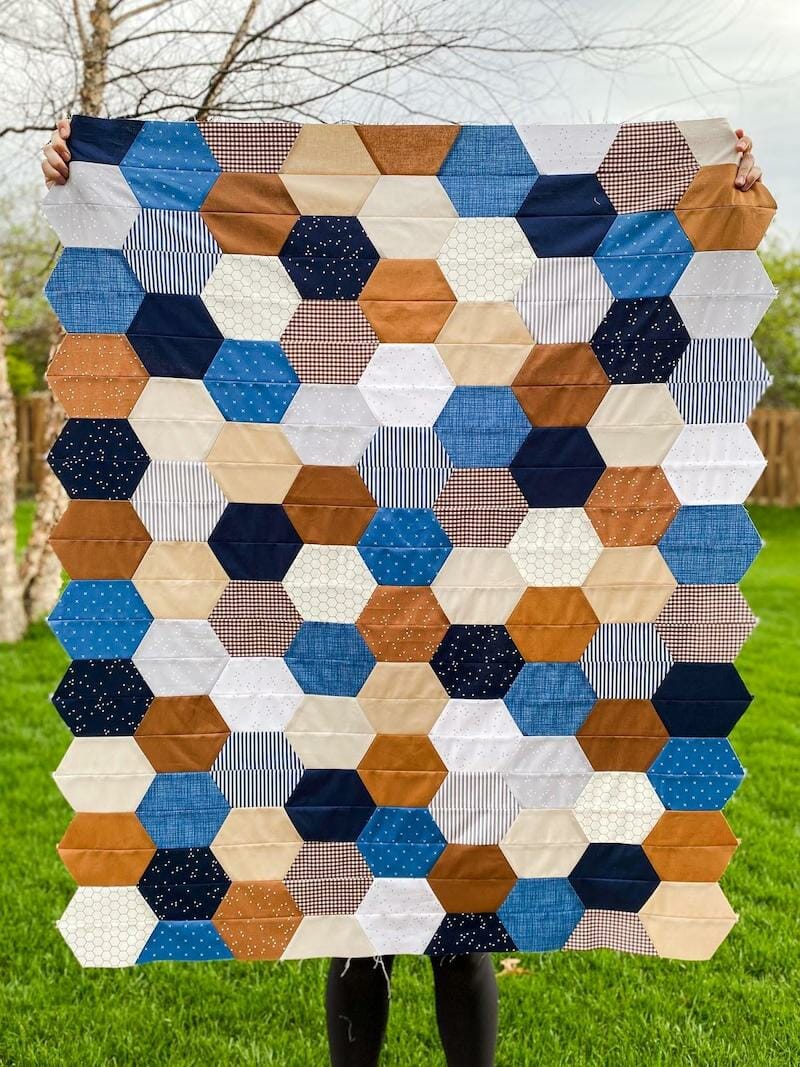
The Hexagon quilt pattern features six-sided fabric pieces skillfully arranged to create a captivating. This pattern is a testament to precision and patience in quilting, evoking a sense of symmetry and elegance.
Get a free pattern on this website.
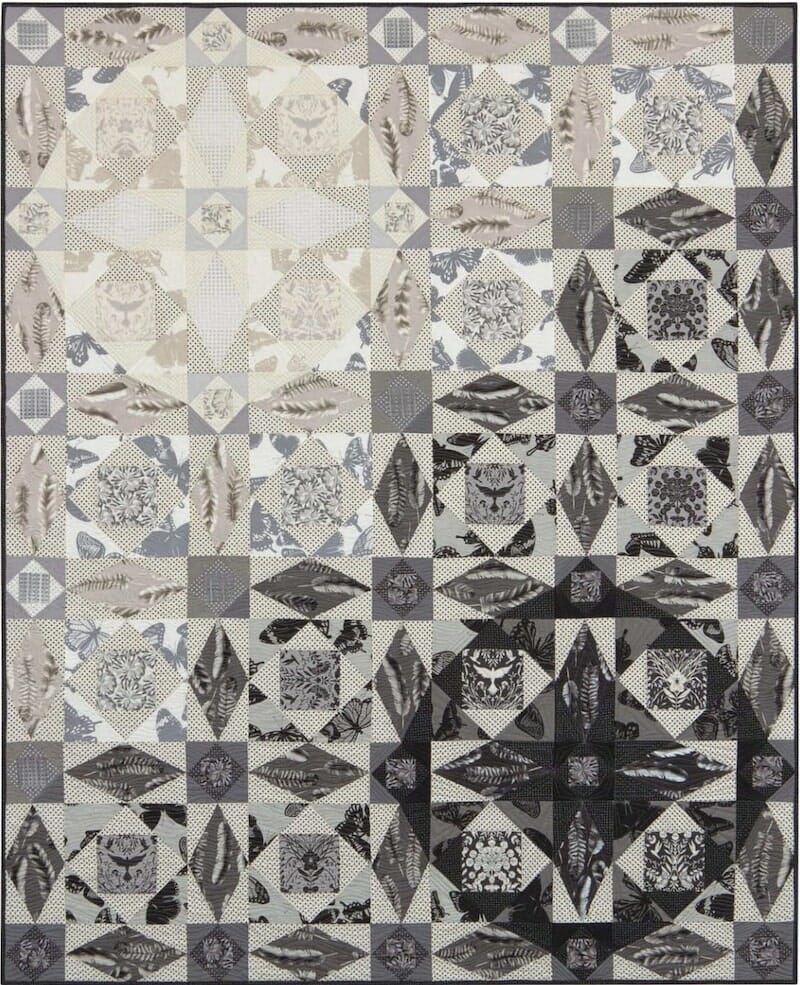
23. Diamond Quilt Pattern
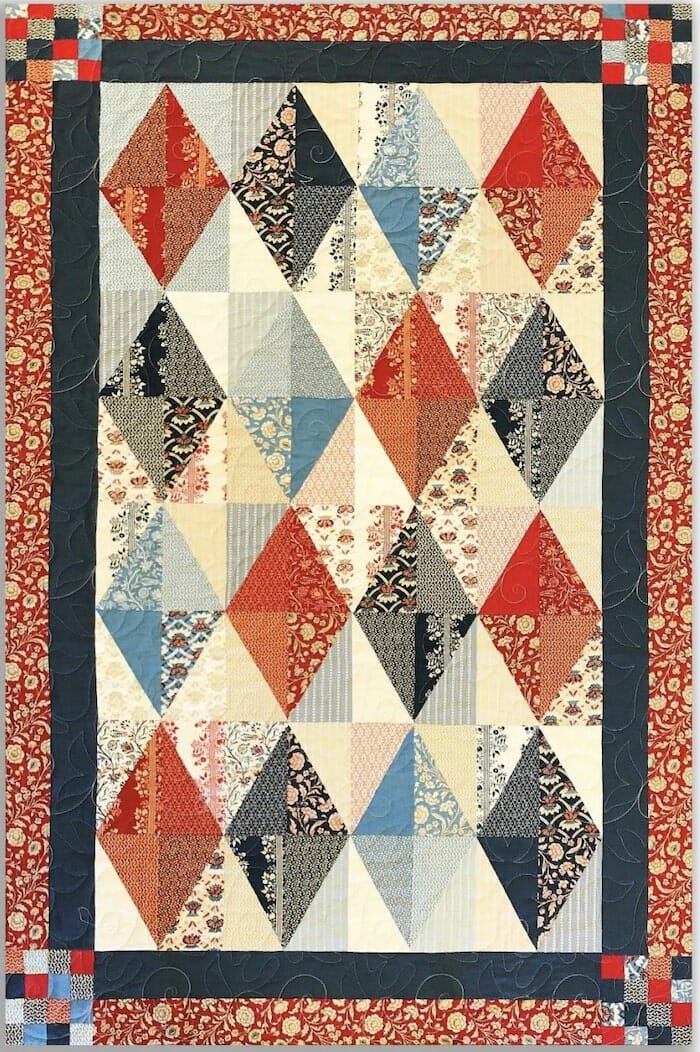
The Diamond quilt pattern showcases diamond-shaped blocks, creating a visually striking and modern design. With their geometric precision and unique arrangements, offering a sense of sophistication and contemporary style, the diamond patterns allow quilters to explore creative and imaginative quilting techniques.
Get the free PDF download here.
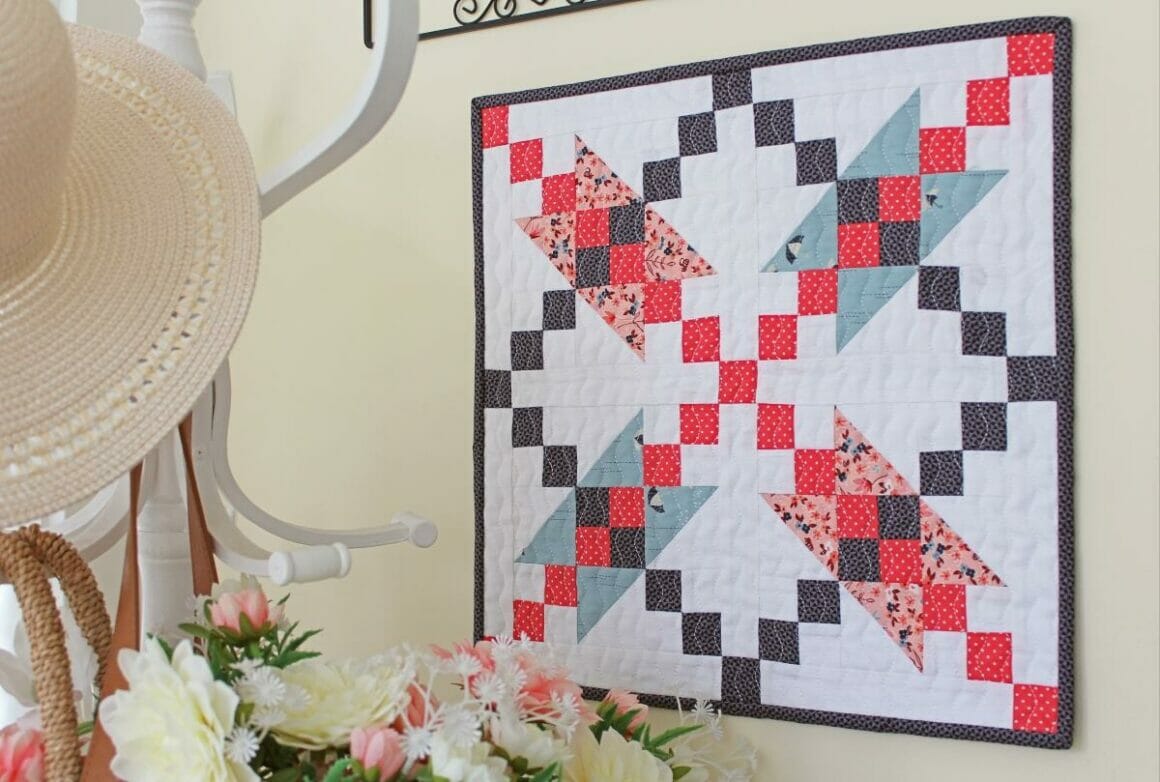
24. Disappearing Nine-Patch Quilt Pattern
The Disappearing Nine Patch quilt pattern allows quilters to create intriguing patterns with a contemporary twist by cutting and rearranging the block. This pattern is known for its adaptability and ability to yield stunning and unexpected results.
Check out this pattern here.
25. T-Shirt Quilt Pattern

The T-shirt quilt pattern repurposes cherished T-shirts into a cozy and sentimental quilt. It involves cutting and assembling T-shirt squares into a quilt top. These quilts hold personal memories and are a unique way to preserve the stories behind the shirts, making them functional and nostalgic.
Find out how you can make your own here.
More Quilting Articles, Reviews & Tutorials
- How to make a design board for quilting
- What is batting in quilting?
- Make a Baby Onesie Quilt
- Best Quilting Sewing Machine for Beginners
- Best Sewing Machine for Quilting & Embroidery
- Best Sewing Machine for Free Motion Quilting
Free Quilt Patterns FAQs
Is It Legal To Use Free Quilt Patterns For Commercial Use?
Using free quilt patterns for commercial use may not always be legal, and it largely depends on the specific terms and conditions set by the pattern’s creator or the website where you obtained it.
Some free quilt patterns have a Creative Commons license, which permits commercial use as long as you follow specific guidelines, like giving proper credit to the creator. However, many free patterns are intended for personal use only and expressly forbid commercial use without permission.
It is crucial to carefully read and understand the licensing terms associated with the pattern you intend to use. Suppose you plan to use a pattern for commercial purposes. In that case, it is best to contact the pattern’s creator or seek out patterns explicitly labeled for commercial use to ensure you operate within copyright law’s boundaries.
What Is The Best Way To Resize A Quilt Pattern?
The best way to resize a quilt pattern is to understand the dimensions you want for your finished quilt. Measure the space where you plan to display or use the quilt to determine the desired size. Next, closely examine the original quilt pattern and analyze its components, such as blocks, borders, and sashing.
To resize the pattern, you must do some basic math, like multiplying or dividing measurements, to achieve the desired dimensions while maintaining the design proportions. Do not forget to consider seam allowances, as they can affect the final size.
Graph paper or quilt design software can also help determine the resized pattern and ensure accuracy. Remember that resizing a quilt pattern may require some adjustments to the fabric requirements, so it’s essential to plan accordingly and have extra fabric on hand.
Sharing a quilt pattern you find online can be acceptable, but being aware of and respecting the copyright or licensing terms associated with the pattern is essential. Some quilt patterns are freely shared by their creators, encouraging others to use and share them with no restrictions.
However, patterns have copyright protection, and sharing them without proper permission or attribution can infringe on the creator’s rights. To be safe, always check the website or source where you found the pattern for any usage guidelines, and if in doubt, seek explicit permission from the pattern’s creator or designer before sharing it.
Respecting the original creator’s intentions and rights is fundamental to responsible sharing in the online quilting community.
What Do I Do If I Find An Error In A Pattern?
If you discover an error in a quilt pattern, it is essential to address it to ensure a successful quilting project. First, carefully document the error, noting the specific part of the pattern where the issue arises. Take clear photos or make detailed notes about what you believe is incorrect.
Next, reach out to the pattern’s creator or the company that published it, providing a clear and polite explanation of the problem you have identified.
Most pattern designers appreciate feedback and want to correct any errors. Contact information is usually on the designer’s website, or you can contact them via their social media links.
If the pattern is from a forum or community, you can share your findings with other quilters to help them avoid the same mistake. Constructively addressing errors helps improve the quilting community and ensures that others enjoy a trouble-free experience with the pattern.
What’s The Best Way To Print A Digital Quilt Pattern?
The best way to print a digital quilt pattern involves careful consideration of your printer settings and paper choice. Regarding printer settings, selecting the highest quality or resolution available is essential to ensure the pattern’s details are clear and precise. Choose the color option even if the pattern is primarily black and white, which often yields better results.
Set the paper type to heavy or cardstock if your printer offers such options. Also, please turn off the scale or fit-to-page option to print the pattern in its original size.
As for paper recommendations, it’s advisable to use a high-quality, 24lb or 32lb weight paper, which is more durable and less likely to tear or wrinkle during quilting.
Conclusion
In conclusion, quilting is a time-honored craft that involves stitching layers of fabric to create cozy and decorative projects. Patterns are crucial in guiding quilters to craft intricate designs catering to various styles and skill levels, making the rich quilting tradition accessible to all.
Before diving into these patterns, understanding the basics, different types of quilt patterns, and how to read them is essential. From traditional to modern, seasonal to unique, each pattern offers a unique quilting experience. Remember to respect copyright and licensing when sharing or using patterns for a smooth quilting journey. Happy quilting!