Curious about Cricut Infusible Ink? Not sure what it is or what the difference is between Infusible Ink and iron-on? Keep reading to learn everything you need to know about Cricut Infusible Ink and how to use it to make professional-looking T-shirts, bags, and coasters at
home!
Table of Contents
- 1 What Is Cricut Infusible Ink?
- 2 How Does Cricut Infusible Ink Work?
- 3 Cricut Infusible Ink: Materials
- 4 Can You Use Cricut Infusible Ink On Any Material?
- 5 How To Use Cricut Infusible Ink: A Step-by-Step Guide
- 6 How to Use Cricut Infusible Ink Pens and Markers
- 7 How to Use Cricut Infusible Ink Pens and Markers on Ceramic Coasters
- 8 How to Look After Your Cricut Infusible Ink Coaster
- 9 How to Use Cricut Infusible Ink Transfer Sheets
- 10 How to Use Cricut Infusible Ink Transfer Sheets on a Cosmetic Bag
- 11 Tips on How to Use Cricut Infusible Ink
- 12 How to Use Cricut Infusible Ink: FAQs
- 12.1 Is Cricut Infusible Ink the same as sublimation?
- 12.2 Can I use an iron with Infusible Ink?
- 12.3 Can I use any image with Infusible Ink?
- 12.4 How long does Cricut Infusible Ink last on shirts?
- 12.5 Which fabrics are best for Cricut Infusible Ink?
- 12.6 Do you have to use Cricut brand Infusible Ink and blanks?
- 12.7 Can I layer Cricut Infusible Ink and iron-on?
- 12.8 Do I have to be an experienced crafter to use Infusible Ink?
- 13 Conclusion
What Is Cricut Infusible Ink?
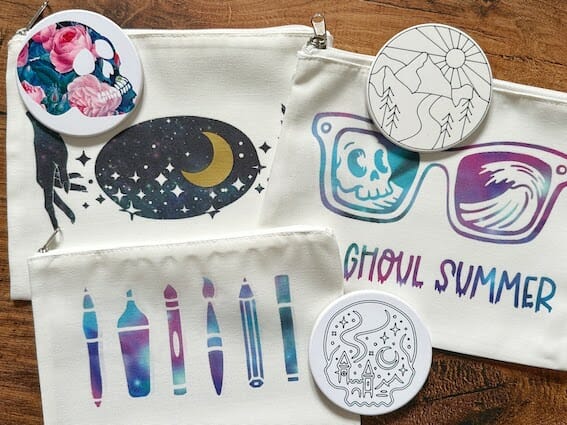
Unlike iron-on (HTV), which sits on the surface of your project, Cricut Infusible Ink transfers into the base material itself to create bright and beautiful designs which never peel, crack, or wrinkle and are totally wash-proof!
How Does Cricut Infusible Ink Work?
Cricut Infusible Ink is a form of sublimation printing. Infusible Ink Transfer Sheets and Pens contain a special type of ink that, when heated, turns into a gas and combines with the fabric or surface. Sounds complicated, right? Thankfully, Cricut Infusible Ink has simplified the process to make it easy and fun at home!
Related: Best Sublimation Printer for Beginners – 7 Products For All Budgets
Cricut Infusible Ink: Materials
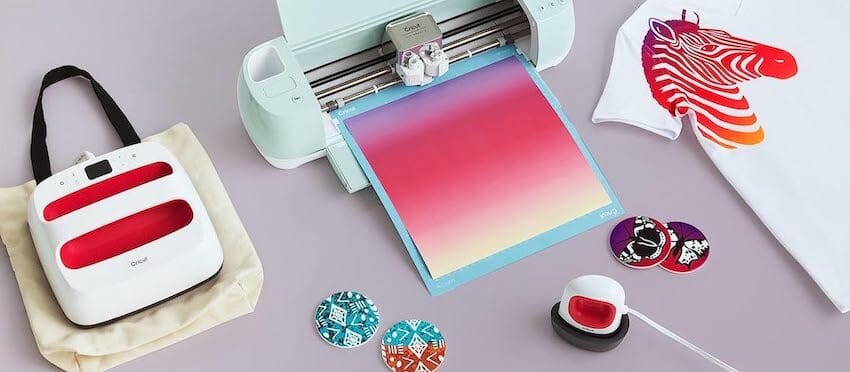
There are two types of Cricut Infusible Ink: Infusible Ink Transfer Sheets and Infusible Ink Markers and Pens. You can either cut your design from an Infusible Ink Transfer Sheet in much the same way you would cut iron-on (HTV), or you can use Infusible Ink Pens to draw your design onto laser copy paper.
There are three main types of blank used with Cricut Infusible Ink: Polyester fabric, coated ceramic, and coated aluminum. In this blog post, I’ll be focusing on fabric and ceramic.
It’s important to use the right supplies when using Cricut Infusible Ink. Luckily, Cricut have you completely covered with a range of inks and compatible blanks:
- Cricut Infusible Ink Transfer Sheets in two sizes for Cricut Joy and Cricut Maker/Explore
- Cricut Infusible Ink Pens 0.4 for Cricut Joy and Cricut Maker/Explore
- Cricut Infusible Ink Markers 1.0 for Cricut Joy and Cricut Maker/Explore
- Cricut Crew Neck and V-Neck T-Shirt Blanks
- Cricut Baseball Cap & Trucker Hat Blanks
- Cricut White and Cream Pillow Cover Blanks
- Cricut Tote Bag Blanks in two sizes
- Cricut Beverage Bag Blanks
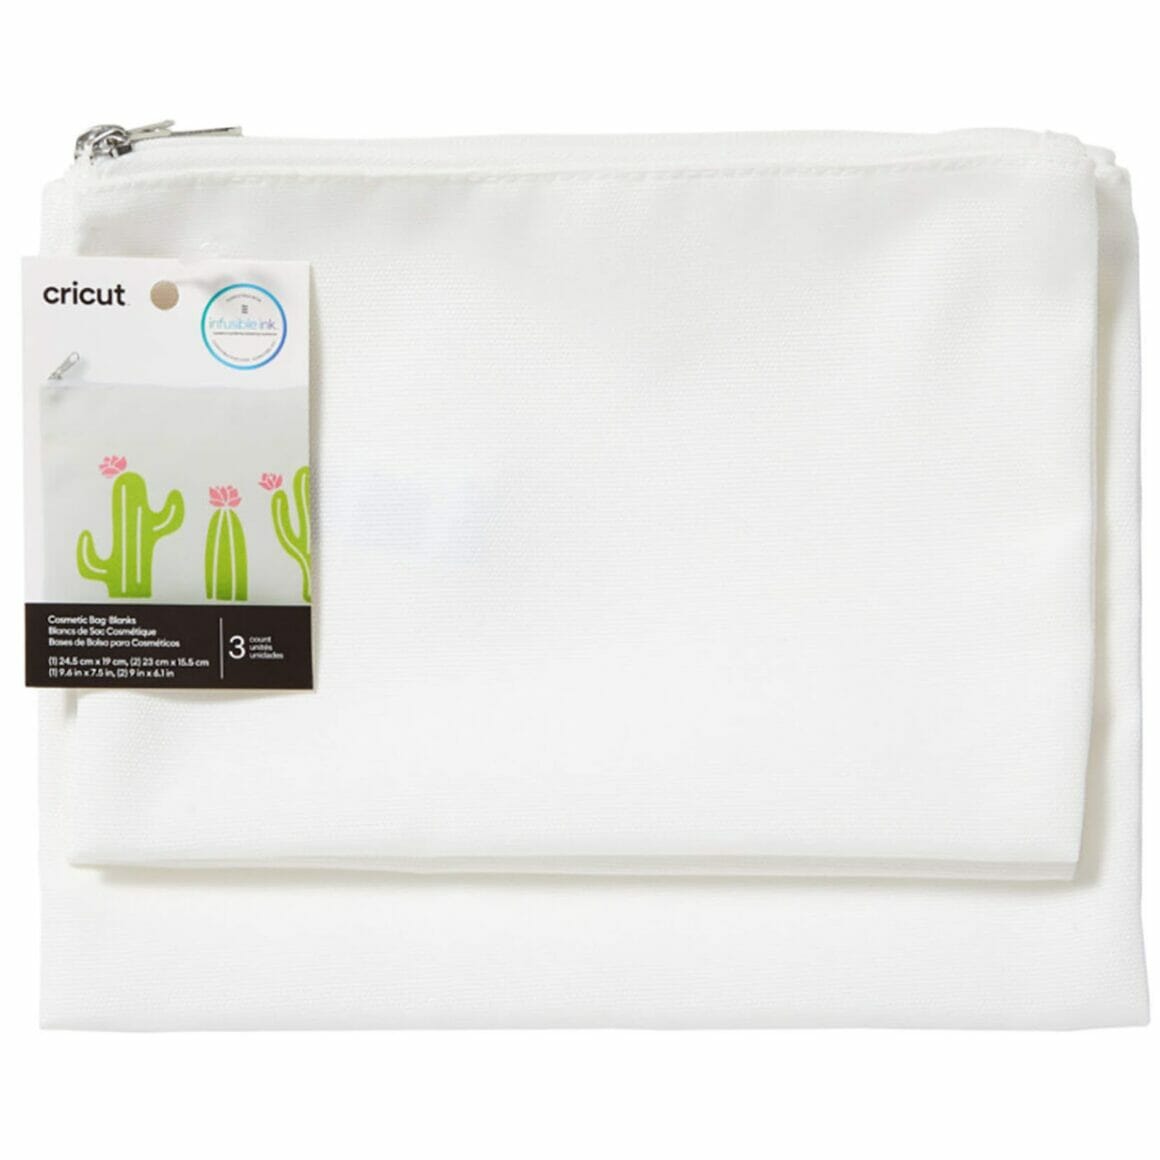
- Cricut Cosmetic Bag Blanks
- Cricut Round Ceramic and Square Cork Coaster Blanks
- Cricut White, Stackable, and Bevelled Mug Blanks*
- *Please note that you will need a Cricut Mug Press to use Infusible Ink on mugs
Can You Use Cricut Infusible Ink On Any Material?
No, you can’t use Cricut Infusible Ink on any material. While you don’t necessarily need to use Cricut branded blanks – although Cricut recommend that you do to get consistent results – you must ensure that your blanks are compatible with sublimation printing. The Infusible Ink transfer process requires polymer-coated or polyester-based blanks to ensure the ink can be permanently bonded.
While some crafters have reported good results with polyester-mix fabrics, the best way to ensure a bold and long-lasting result on fabric is to use white or pale-colored 100% polyester fabrics designed for sublimation printing. It’s also important to ensure that ceramic and aluminum items, such as mugs and coasters, have the special polymer coating required for sublimation.
Unless you’re confident in selecting your own materials, I would recommend sticking with Cricut-branded Infusible Ink blanks, at least for your first few projects. Look out for the “Compatible with Infusible Ink” logo on your Cricut blanks.
How To Use Cricut Infusible Ink: A Step-by-Step Guide
Next, I’ll take you through how to make two different Cricut Infusible Ink projects, using both Infusible Ink pens and Infusible Ink Transfer Sheets. Let’s start with Cricut Infusible Ink Pens.
Related: How to Make a Stencil With Cricut – A Step-By-Step Illustrated Guide
How to Use Cricut Infusible Ink Pens and Markers
For this demonstration, I’ll be using Cricut Infusible Ink Pens to decorate a Cricut Ceramic Coaster. Please note that the EasyPress timing varies if using Cricut Square Coasters, and the method is slightly different for using Infusible Ink Pens on fabrics.
You will need the following:
- Cricut Joy, Cricut Explore Air 2, Cricut Explore 3, Cricut Maker or Cricut Maker 3
- Design Space software on a mobile device or computer
- Cricut Ceramic Coaster Blank(s)
- Cricut Light Grip cutting mat (blue)
- Cricut Infusible Ink Pens or Markers
- Cricut EasyPress 2 or 3*
- Cricut EasyPress mat
- Cricut Heat Resistant Tape
- Butcher paper
- Laser copy paper
- White cardstock
- Lint-free cloth
- Scissors
*Please note that you cannot use the EasyPress Mini for this project, although it can be used for applying Infusible Ink to fabric items – see below
Related: How to Clean a Cricut Mat – A Step-By-Step Illustrated Guide
How to Use Cricut Infusible Ink Pens and Markers on Ceramic Coasters
Step 1: Preparing your design(s)
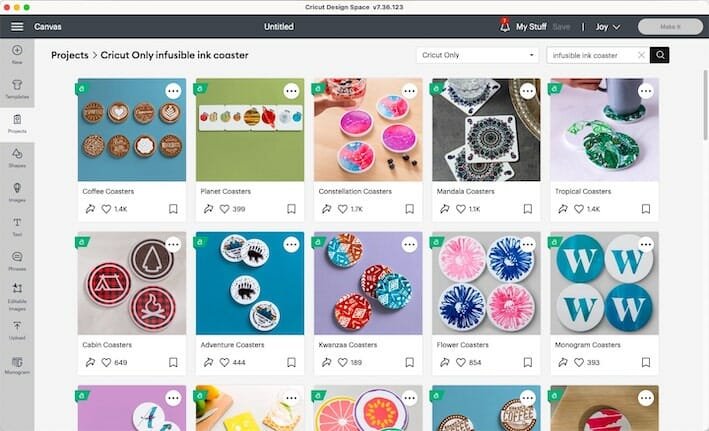
There are lots of coaster projects on Design Space, and you can toggle between “Cricut only” projects and community projects in the dropdown box in the top right-hand corner of the screen:
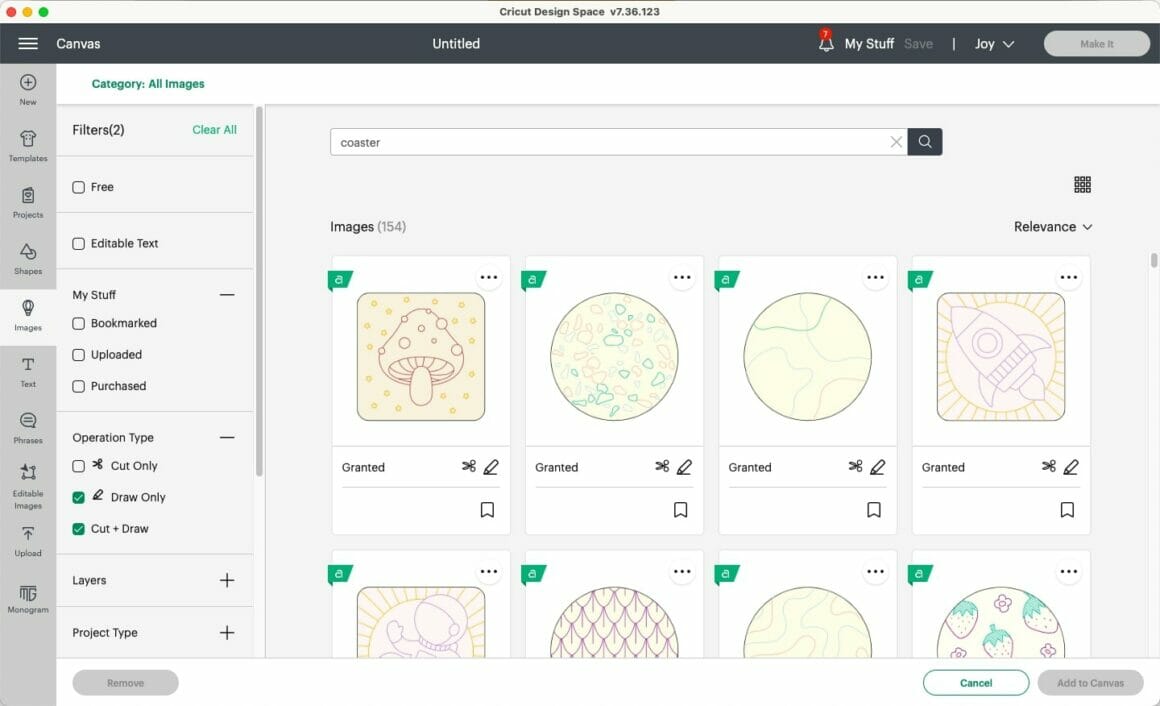
There are also a number of coaster images in the Design Space image gallery. If you’re using Cricut Infusible Ink Pens, you may want to select “Draw Only” and “Cut + Draw” under “Operation Type” in the left-hand menu.
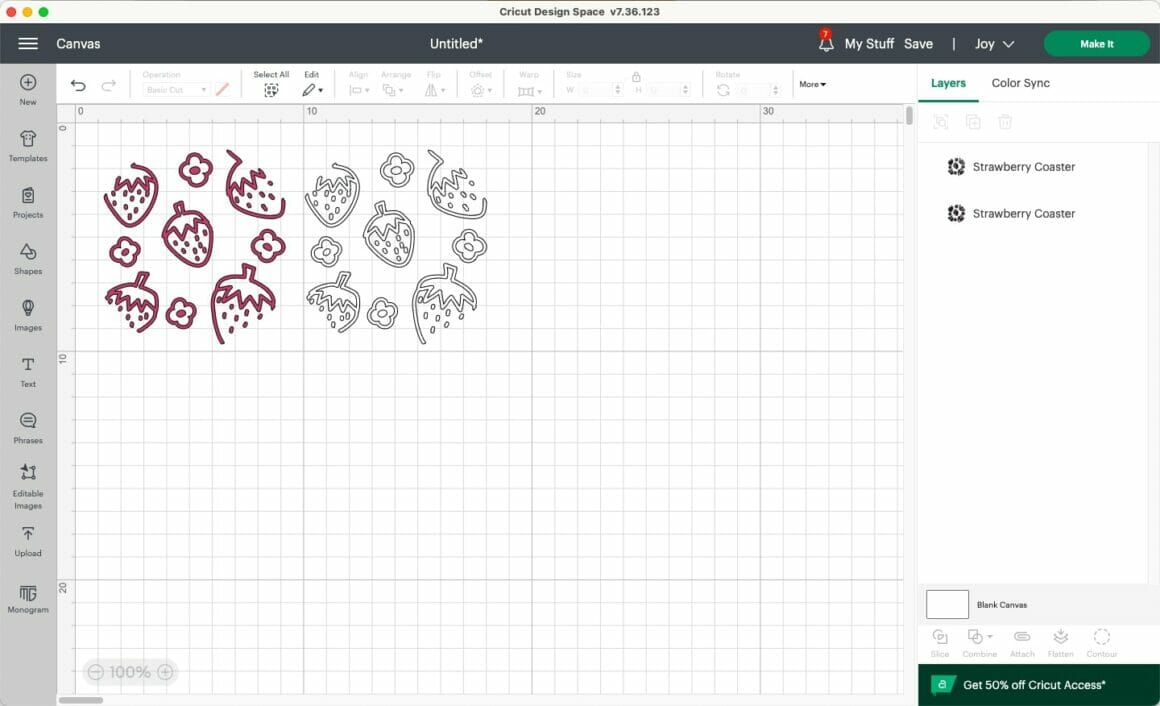
Bear in mind that drawing a “cut” image will look a little different as it will just draw the outline. Here you can see the original “cut” image on the left and the image converted to “draw” on the right:
You can also use other images from Design Space or upload your own. Again, bear in mind that you will only be able to draw the outline with Infusible Ink pens, so you may wish to use Infusible Ink Transfer Sheets if you’d like larger areas of color. Alternatively, you can manually color these areas with your Infusible Ink pens once drawn.
- Choose your design.
- Set your operation to “draw” and assign the correct pen or marker from the drop-down menu.
- Ensure your design is the correct size. Cricut Ceramic Coasters measure 3.5” (8.9cm) across.
- Click “Make It.”
Step 2: Drawing your design(s)
- Select your mat size and type.
- Connect your Cricut machine via Bluetooth or a cable.
- Mirror your design using the menu on the left-hand side.
- Set your base material as “laser copy paper.”
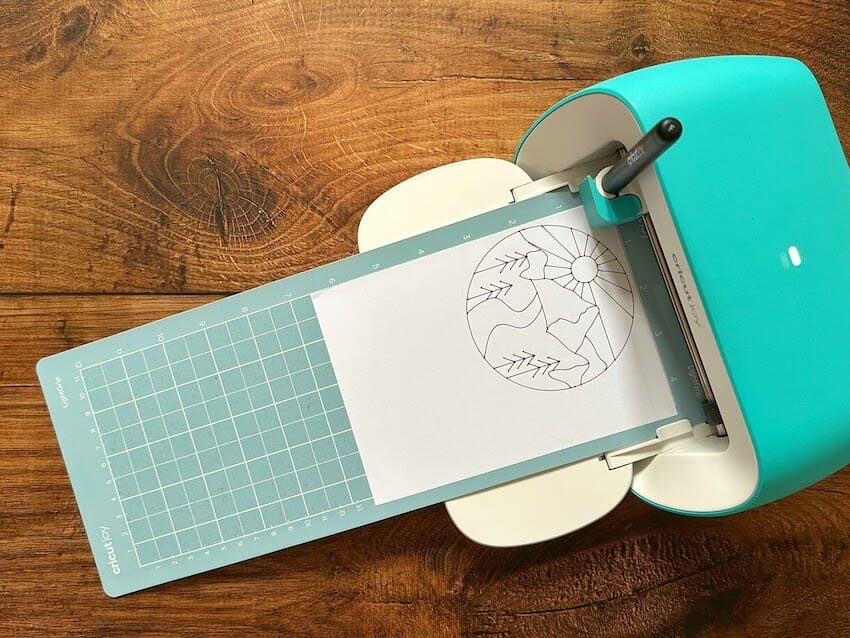
- Place your sheet of laser copy paper onto a Light Grip (blue) cutting mat and load it into your Cricut machine.
- Load your Cricut Infusible Ink Pen or Marker.
- Click “Go”
- Once your design is complete, unload your mat.
- Carefully remove your laser copy paper from your mat, bending the mat away from the paper rather than peeling the paper away from the mat to avoid curling.
- If you’d like to color in some areas of your design with Infusible Ink pens, you can do so now!
Note: If your design uses more than one type or color of pen, Design Space will prompt you when to load them.
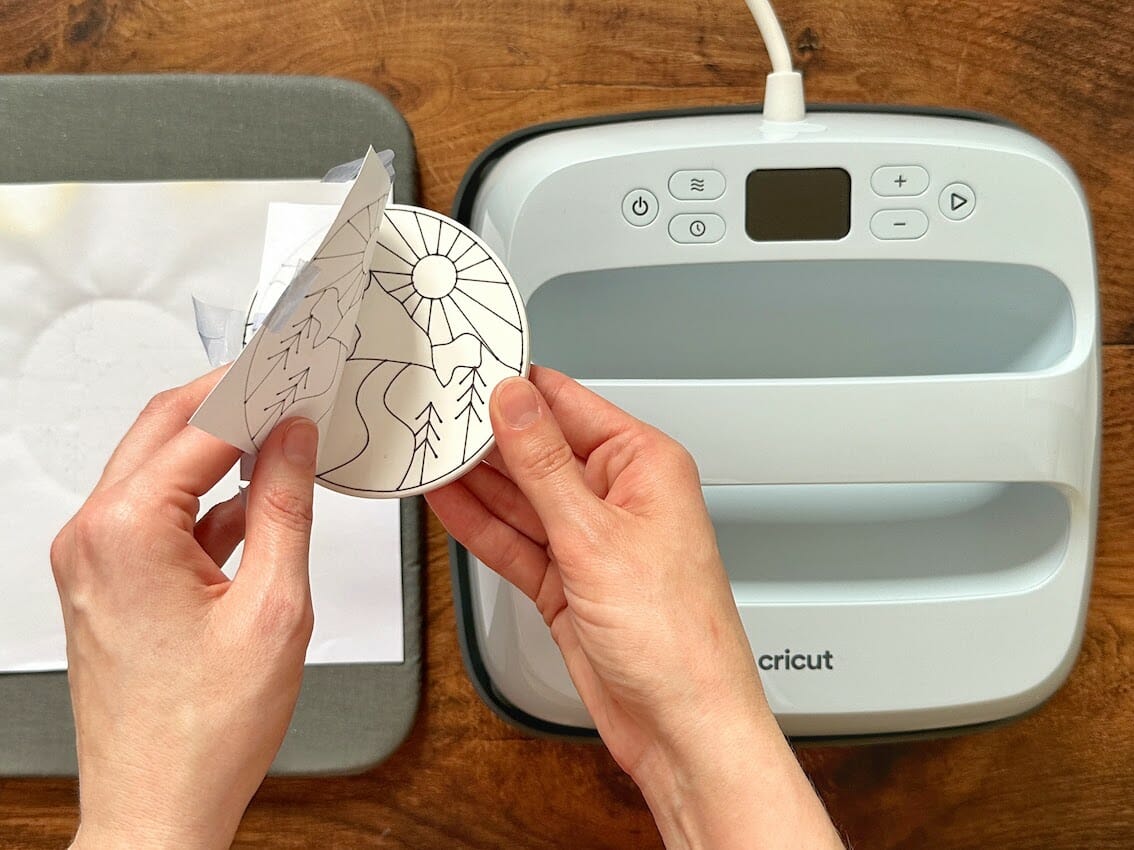
Step 3: Applying your design(s)
- Use a lint-free cloth to remove any dust and debris from your Cricut Ceramic Coaster blank.
- Cover your Cricut EasyPress Mat with white cardstock to protect it from ink transfer.
- Place your laser copy paper with the design face down on your coaster and use Cricut Heat Resistant Tape to secure it thoroughly.
IMPORTANT: Do not use a tape that doesn’t specify “heat resistant” to secure your design, as it will melt and damage your coaster and/or your EasyPress.
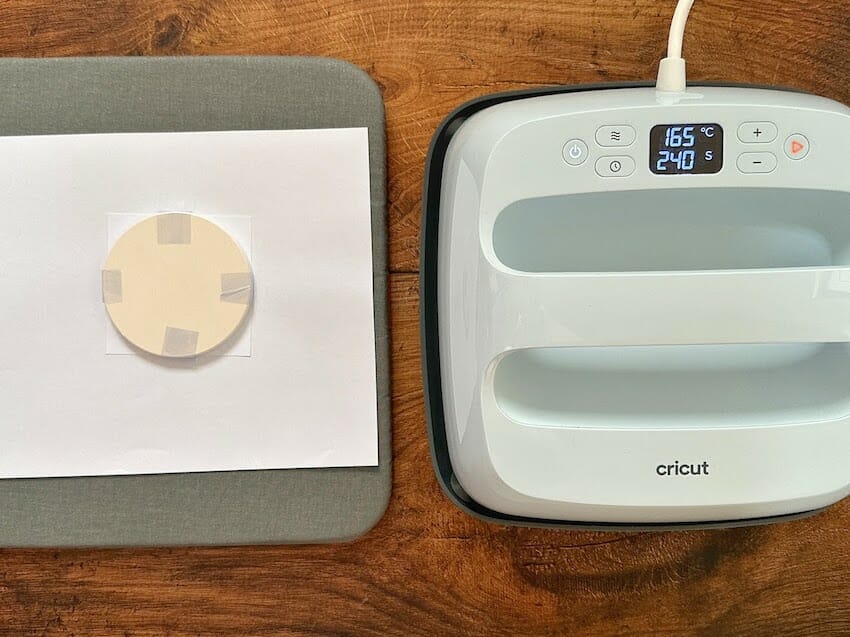
4. Flip your coaster over so that the design is facing down on to your EasyPress mat and the bottom of the coaster is facing up
5. Cover your coaster with a new sheet of butcher paper
6. If you have an EasyPress 3, use the Cricut Heat app to select your project and transfer the settings via Bluetooth.
7. If using a Cricut EasyPress 2, set your EasyPress to 400°F (205°C) for 240 seconds.
IMPORTANT: Please note that Cricut Square Coasters should only for pressed for 60 seconds
8. Carefully lower your EasyPress directly down onto your coaster and butcher paper and press the countdown timer.
9. There’s no need to apply pressure, so you can carefully remove your hands from the EasyPress handle, taking care not to move the EasyPress or the stack of cardstock, coaster, and butcher paper.
10. Once pressed for 240 seconds, carefully lift your Easy Press directly upwards, taking care not to move the stack underneath.
IMPORTANT: Your ceramic coaster will be VERY, VERY HOT
11. Once your coaster is COMPLETELY COOL to the touch, remove the butcher paper, tape, and laser copy paper
12. Admire your new professional-looking ceramic coaster! Your design has been infused with the coaster and will not peel or flake!
How to Look After Your Cricut Infusible Ink Coaster
To prolong the life of your coaster, do not wash it in the dishwasher or use abrasive cleaning tools. Simply wash in warm soapy wash, or use glass cleaner and a lint-free cloth.
Related: How to Engrave with Cricut Maker? Acrylic, Wood, Metal
How to Use Cricut Infusible Ink Transfer Sheets
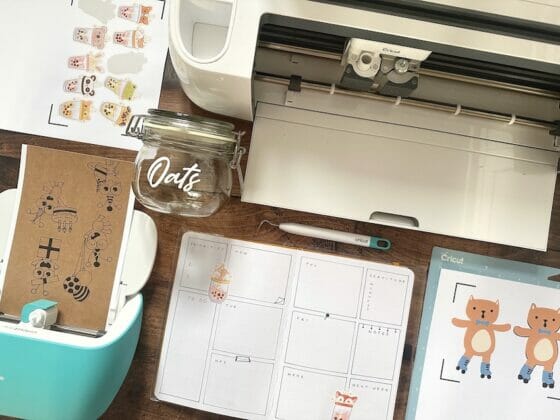
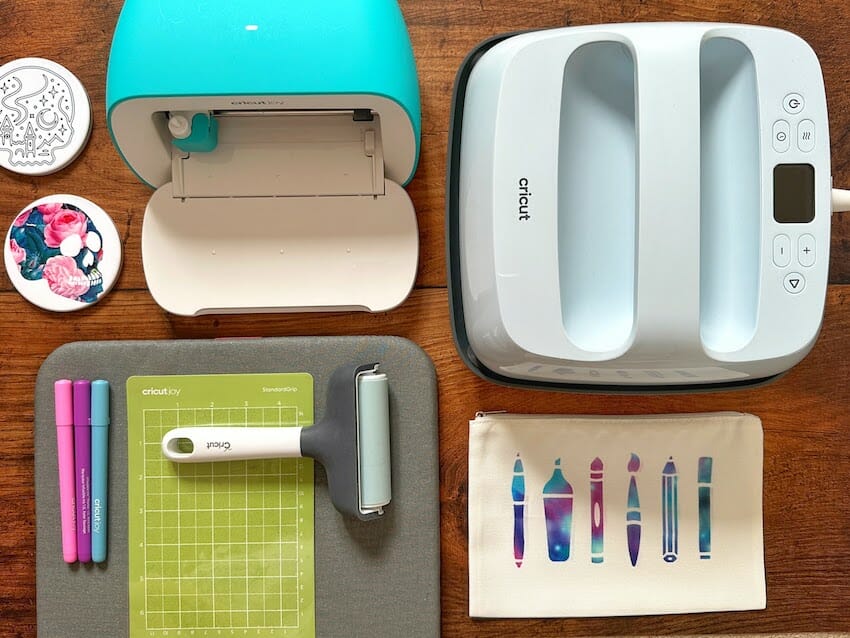
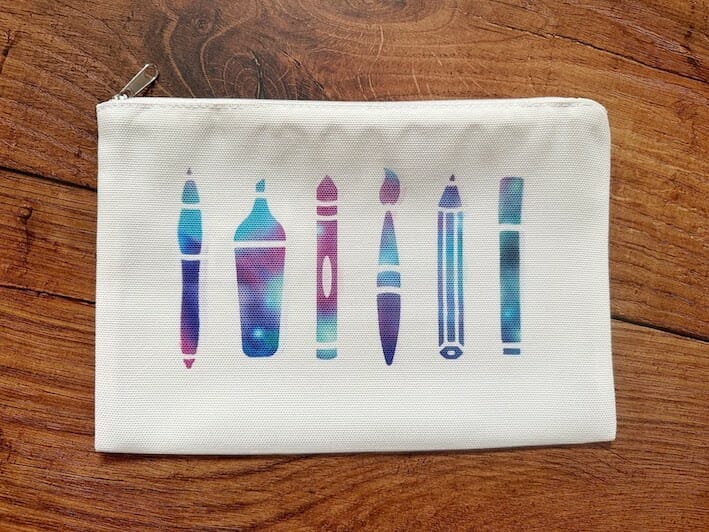
For this demonstration, I’ll be using Cricut Infusible Transfer Sheets to decorate a Cricut Cosmetic Bag Blank. The method is much the same for applying Cricut Infusible Ink to t-shirts, tote bags, pillow covers, and beverage bags.
Related: Best Polyester Shirt for Sublimation – Top Brands
You will need the following:
- Cricut Joy, Cricut Explore Air 2, Cricut Maker, Cricut Explore 3 or Cricut Maker 3.
- Cricut Fine Point Blade (the one it comes with).
- Design Space software on a mobile device or computer.
- Cricut Cosmetic Bag Blank (or compatible pillow cover, tote bag, or garment).
- Cricut Standard Grip cutting mat (green).
- Cricut Infusible Ink Transfer Sheet(s).
- Cricut EasyPress 2 or 3 or EasyPress Mini for small designs.
- Cricut EasyPress mat.
- Cricut Heat Resistant Tape (if using Cricut EasyPress Mini).
- Butcher paper.
- White cardstock.
- Lint roller.
- Scissors.
How to Use Cricut Infusible Ink Transfer Sheets on a Cosmetic Bag
Step 1: Preparing your design(s)
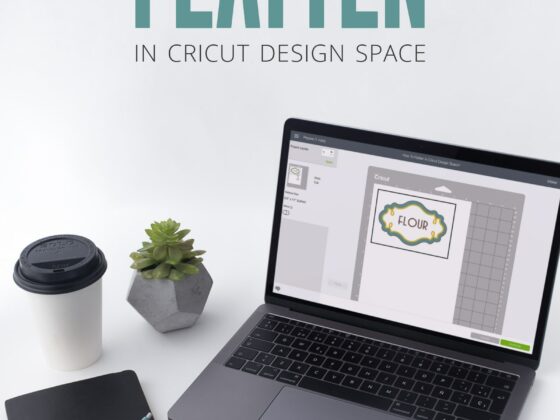
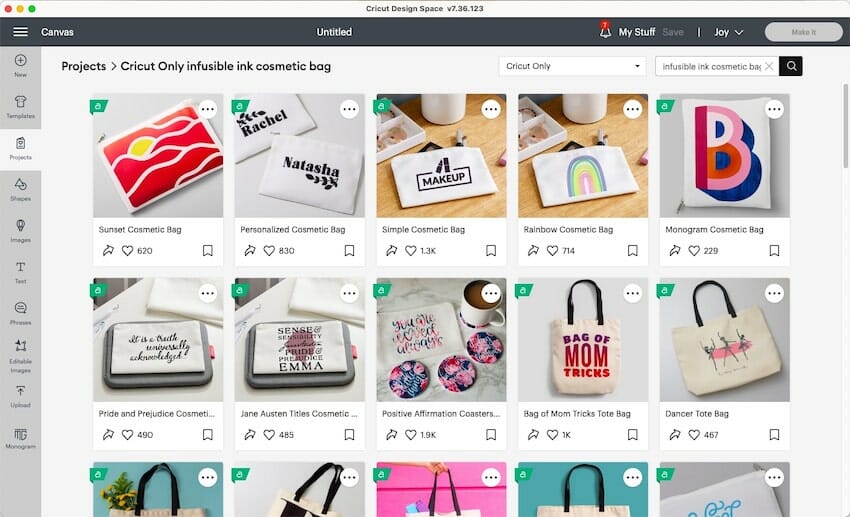
There are lots of cosmetic bag projects on Design Space, and you can toggle between “Cricut only” projects and community projects in the dropdown box at the top right:
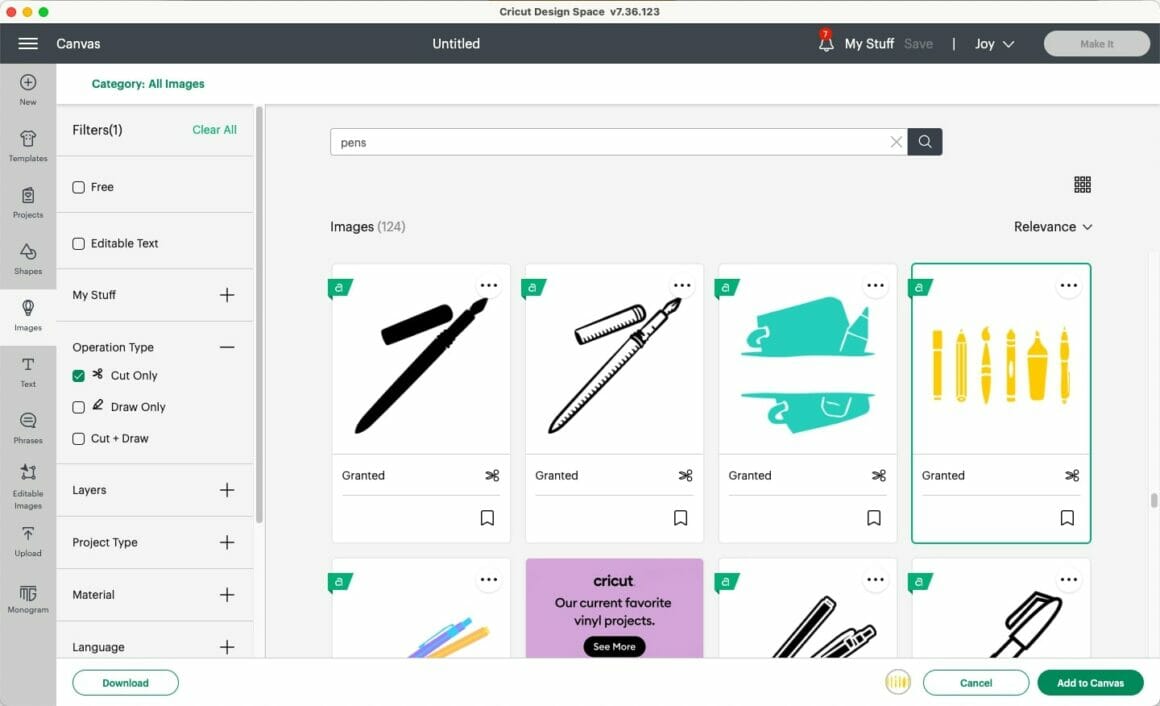
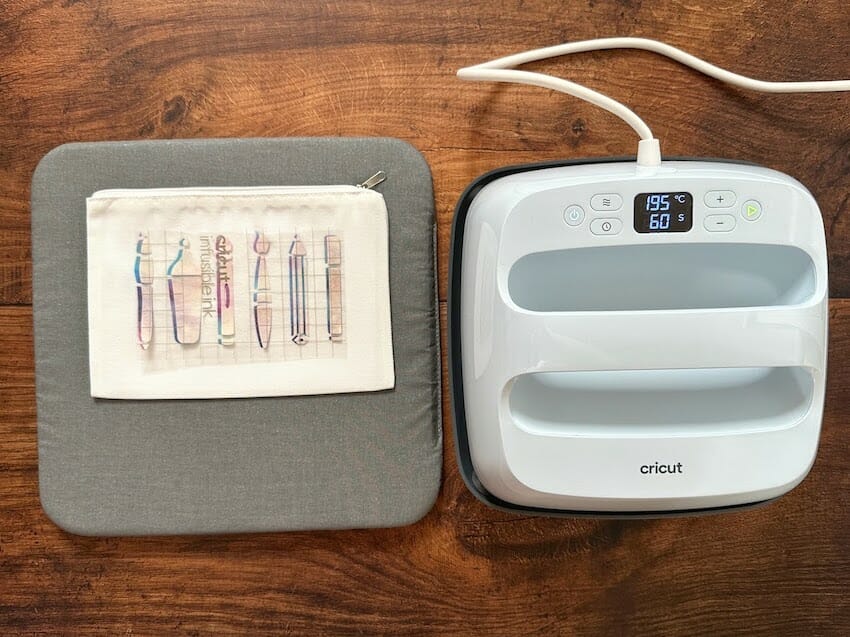
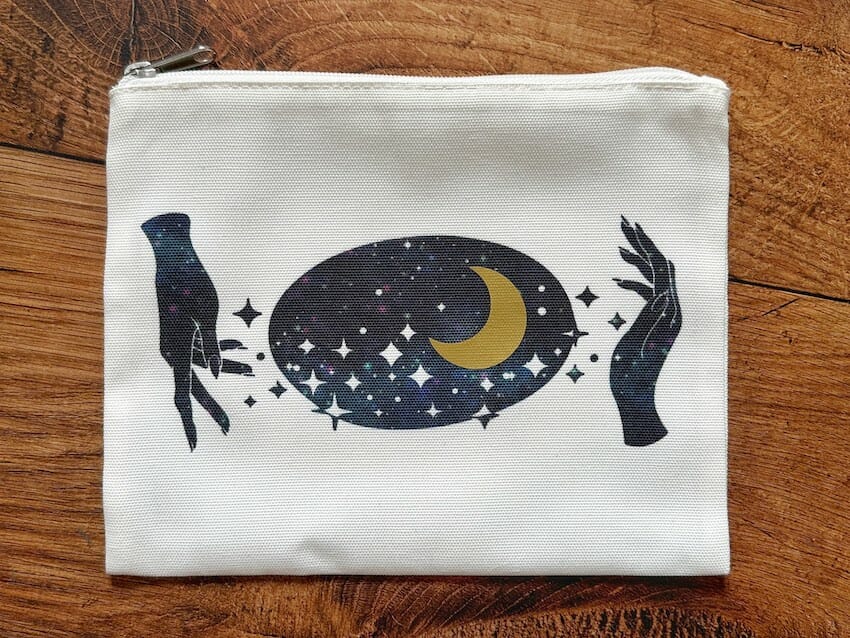
Alternatively, you can choose a design from the Design Space image gallery. I recommend setting your Operation Type to “cut only” in the left-hand side menu. I’ve chosen this pen design to make a pouch to keep my Cricut Pens in.
Lastly, you can upload your own design, either one that you’ve drawn yourself or purchased from a third party, such as Etsy. When uploading your own design, ensure that you specify that this is a “cut” image rather than a “print then cut” image.
- Choose your design.
- Set your operation to “cut” in the top menu bar.
- Ensure your design is the correct size. The two medium cosmetic bags measure 9 x 6.1” (23 cm x 15.5cm), and the large bag measures 9.6 x 7.5” (24.5 cm x 19 cm.
IMPORTANT: Ensure that your design doesn’t go too close to the edge of the bag, as the side seams and zipper create an uneven pressing surface, and you may get a patchy result if you press too close to them.
4. Click “Make It”
Step 2: Cutting your design(s)
- Select your mat type and size.
- Connect your Cricut machine via Bluetooth or a cable.
- Mirror your design using the menu on the left-hand side.
- Set base material as “Infusible Ink Transfer Sheet.”
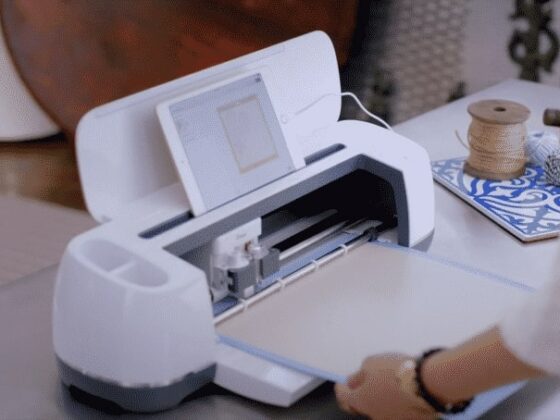
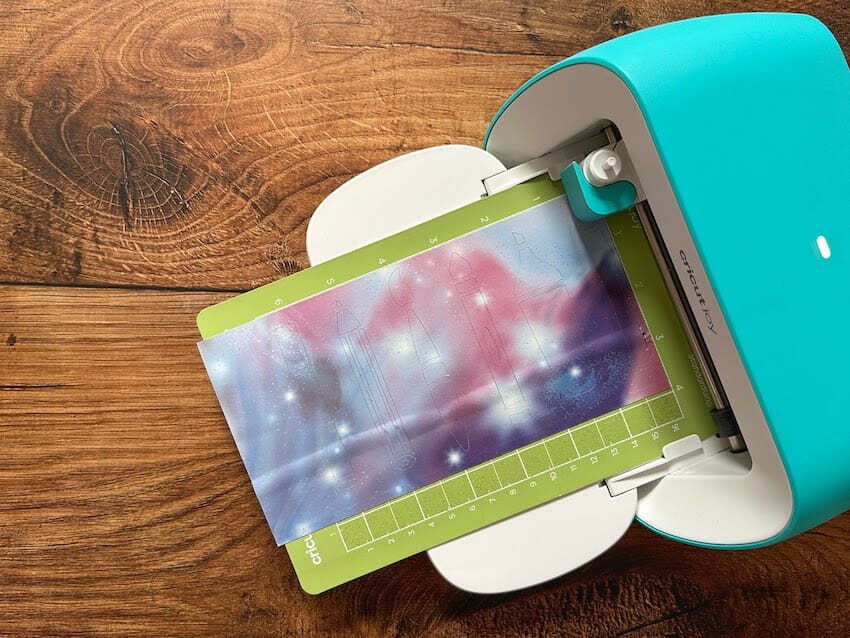
- Place your Transfer Sheet liner side down on a Standard Grip (green) cutting mat and load it into your Cricut machine.
- Click “Go”
- Once your design is complete, unload your mat and carefully remove your Infusible Ink Transfer Sheet.
- Trim away unused sections of your Infusible Ink Transfer Sheet.
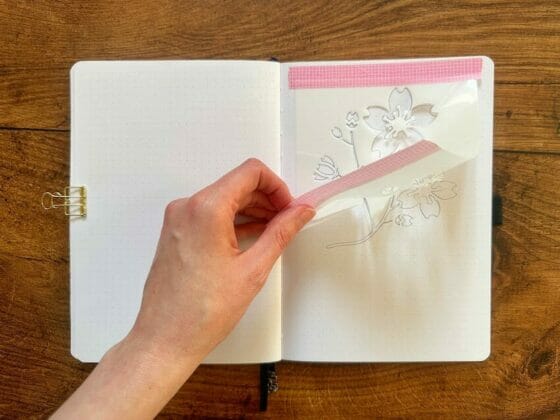
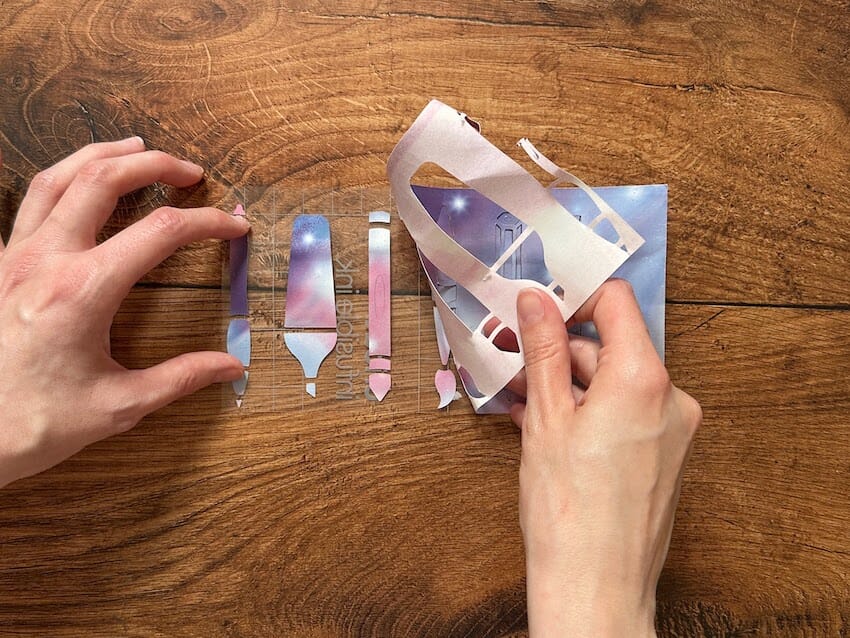
- Gently roll your Infusible Ink Transfer Sheet to separate the cut lines and make them more visible and easier to remove. We call this “cracking.”
- Use your fingers or tweezers to carefully remove the negative space from your design, ensuring the areas you want to transfer remain on the liner.
- Trim the clear liner so it does not extend beyond your Cricut EasyPress heat plate.
Step 4: Applying your design(s)
- Place your cosmetic bag (or pillow cover, tote bag, or garment) on top of your Cricut EasyPress mat and place a white cardstock inside to ensure the ink doesn’t transfer through.
- Use a lint roller to remove any debris from your cosmetic bag.
- Cover your cosmetic bag with a new sheet of butcher paper.
- Pre-heat your cosmetic bag at 385°F (195°C) for 15 seconds to ensure that any moisture and creases are removed.
- Place your cut and weeded design liner-side up onto your project, taking the time to ensure it is centered, straight, and not too near the seams or zipper.
- If using an EasyPress Mini, secure your design with Cricut Heat Proof Tape.
IMPORTANT: Do not use a tape that doesn’t specify “heat resistant” to secure your design, as it will melt and damage your project and/or your EasyPress.
7. If you have an EasyPress3, use the Cricut Heat app to select your project and transfer the settings via Bluetooth.
8. If you’re using a Cricut EasyPress 2, set your EasyPress to 385°F (195°C) for 60 seconds (or 40 seconds for a tote bag, t-shirt, or baby bodysuit).
9. If you’re using an EasyPress Mini, set it to “high” heat and set a timer for 75 seconds.
10. Lower your EasyPress directly onto your project and press the countdown timer.
11,. Apply light and even pressure.
12. Once the timer goes off, carefully lift your Easy Press directly upwards, taking care not to move your project or butcher paper.
13. While still warm, slowly and carefully remove the butcher paper and Transfer Sheet.
14. Admire your new professional-looking cosmetic bag!
Your design has been infused with the cosmetic bag and will not peel or flake. To prolong the life of your cosmetic bag, machine wash cold without bleach, tumble dry low, and iron on medium heat without steam.
Tips on How to Use Cricut Infusible Ink
Here are a few tips and tricks I’ve learned along the way to get the best results from using Cricut Infusible Ink:
- Ensure your hands are clean, dry, and free of creams or oils before handling Cricut Infusible Ink Transfer Sheets and blanks.
- Double-check that you’ve mirrored your image before cutting!
- Before using your heat press, triple-check that you’ve layered up your blank Infusible Ink Transfer Sheets, laser copy paper, and any protective layers of cardstock or butcher paper. This will ensure the best results and minimize the chances of transferring ink to other surfaces.
- Make sure that your EasyPress can sit completely flat on your project, and avoid any seams and zips on fabric projects.
- Avoid moving your EasyPress or project stack while lowering or lifting it into your project, as this may smudge your design.
- Never re-use cardstock or butcher paper for another project!
How to Use Cricut Infusible Ink: FAQs
Is Cricut Infusible Ink the same as sublimation?
Pretty much, yes! Cricut Infusible Ink uses the same process as sublimation printing, but Cricut have simplified it to make it easy and accessible to do at home.
Can I use an iron with Infusible Ink?
An EasyPress is basically just a big iron, right? Well, yes and no. The temperature across the base of the iron is not as consistent as on a heat press, as you can see from this thermal map:
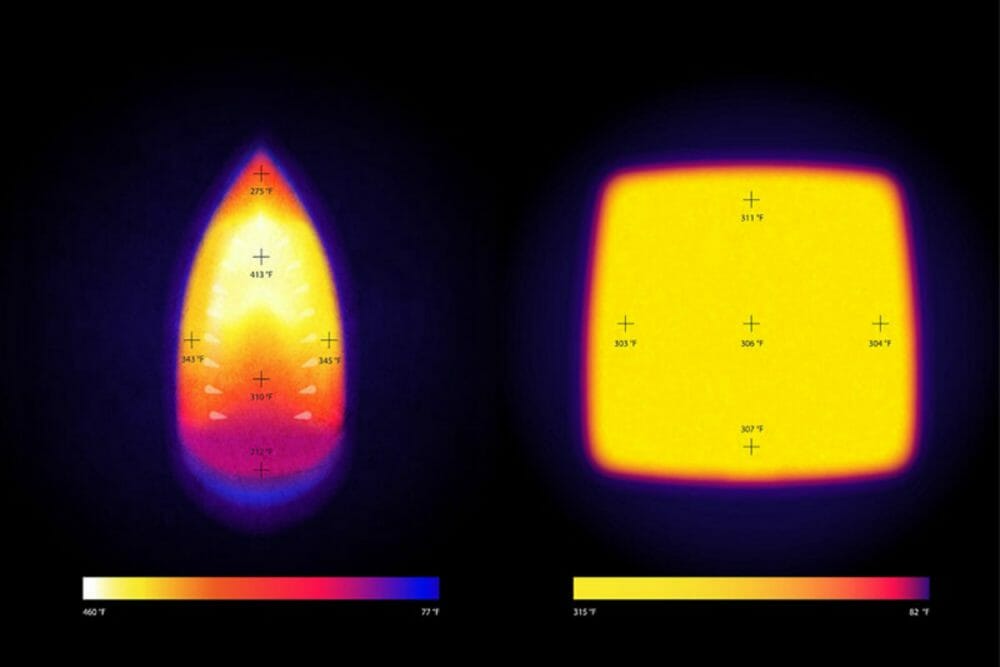
While technically possible, you won’t get as vibrant, consistent, or long-lasting a result with a conventional iron as you would with an EasyPress or other heat press.
Can I use any image with Infusible Ink?
Yes! You can use a Design Space project or image, upload your own or you can even draw directly onto laser copy paper with Infusible Ink pens! Remember that you’ll need to mirror your design. See the above step-by-step guide for more information on choosing the correct image for your project.
How long does Cricut Infusible Ink last on shirts?
Indefinitely! Because Infusible Ink becomes one with your fabric rather than sitting on the surface like HTV, it shouldn’t crack or peel. If you’ve applied it correctly and used Cricut branded blanks, you shouldn’t have any issues with it fading, providing you wash it correctly:
- Machine wash inside out with cold water and mild detergent
- Tumble dry low or dry naturally
- Do not use fabric softener, dryer sheets, or bleach
Which fabrics are best for Cricut Infusible Ink?
White or pale-colored 100% polyester fabrics. Some crafters have reported successful results with polyester-mix fabrics, but you need a high percentage of polyester for the transfer process to work.
Do you have to use Cricut brand Infusible Ink and blanks?
While there are other sublimation printing products and blanks available on the market, the only ones that have been thoroughly tested for compatibility with Cricut products are Cricut branded Infusible Ink supplies and blanks. Please note that using non-Cricut branded sublimation sheets or pens may invalidate your Cricut machine’s warranty.
Can I layer Cricut Infusible Ink and iron-on?
Absolutely! You can layer iron-on (HTV) on top of Infusible Ink, as I did with this cosmetic bag. Just follow the recommended heat settings for each material.
Do I have to be an experienced crafter to use Infusible Ink?
No, you don’t! It sounds complicated, but Cricut has simplified the sublimation process to make it accessible for everyone to do at home! It’s important to follow the instructions and safety precautions, but as long as you follow the step-by-step instructions in this blog post, you can totally do it.
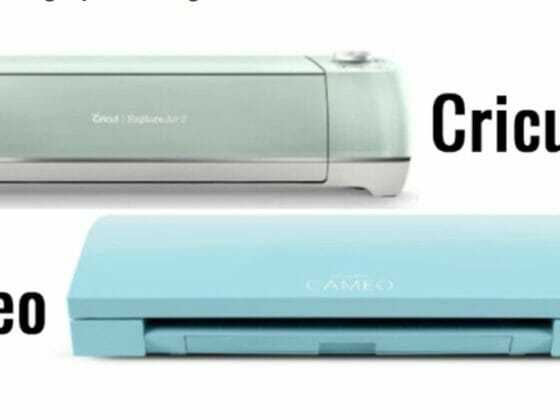
Related: Cricut Vs. Silhouette: Exploring the Key Differences
Conclusion
By following the step-by-step guide provided in this article, you have learned how to use Cricut Infusible Ink. Whether you’re creating beautiful coasters to give as a gift or designing matching t-shirts for a family holiday the power of Cricut Infusible Ink is now in your hands!
I hope you’ve found this blog post helpful and are now feeling confident and ready to use Cricut Infusible Ink! If you’ve learned something from it, why not bookmark it to refer to later or send it to a crafty friend who may enjoy it too? Happy crafting!