Key Takeaways
- To make a fence with pallets, you need some basic crafting skills.
- Make sure you have all the supplies – wooden pallets, screws, drilling machine, lumber, metal posts, etc. ready.
- Don’t forget to mark the area before starting to build the fence.
- Weatherproof your fence with sealants and primer.
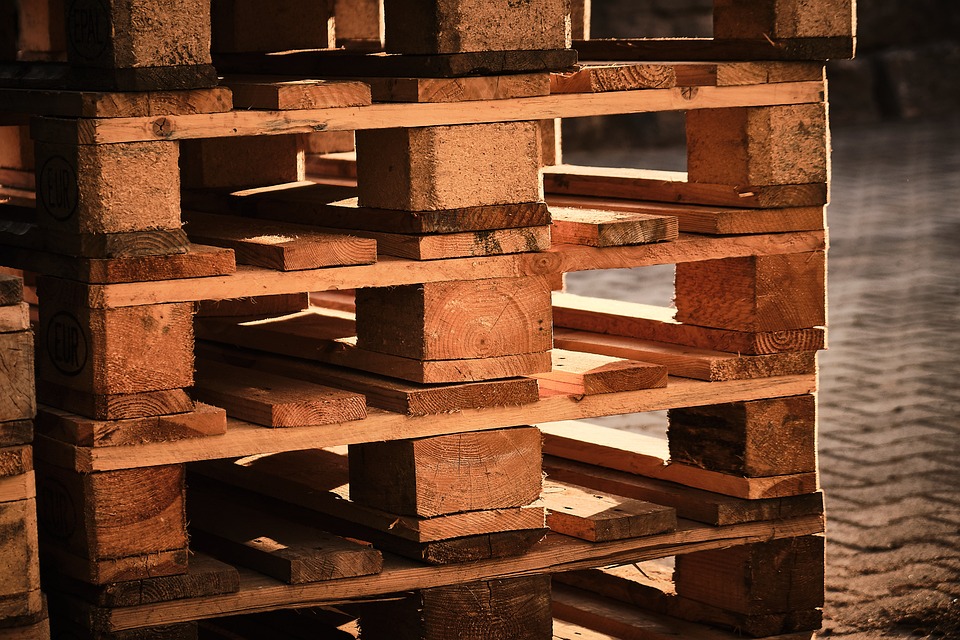
Building fences can be an expensive affair. But there is a relatively cheaper, sturdier, and easier-to-build option: pallet fences.
Wooden pallets are available in any business store, and chances are you’ll find some around your house as well. Also, they are not very expensive, and with some additional materials, you can build functional fencing around your property without breaking the bank.
Read on to learn how to make a fence using pallets and the supplies you need for it.
List Of Things You’ll Need To Make A Pallet Fence
You’ll need the following things to make a pallet fence:
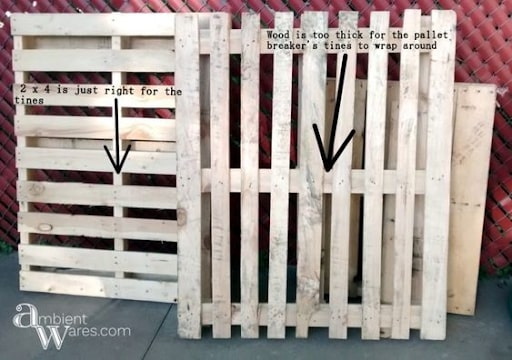
- Wooden pallets. The quantity depends on the size of the fence you’re planning to build.
- Screws to secure pallets
- Strings
- A drilling machine to attach screws
- Wooden stakes
- Pound-in metal posts
- Small sledgehammer
- 2×4 lumber
- Hammer and nails to further secure the pallets to the posts
- A level to evenly and securely place the pallets
- A measuring tape to measure the area where you install the fence
- You may need a pencil to mark areas in the pallets
- Chalk or spray paint to mark the area
- Sealant to protect the wood from termite damage
- Paint (optional) to color the fence
How To Build A Fence With Pallets: Step By Step Guide
Here are the steps you need to follow to build a pallet fence-
Step 1: Arrange all the Materials at Hand
Make sure you have all the supplies ready so that you don’t have to rush to the hardware store over and over.
Step 2: Mark And Pound The Area Where You Want to Build the Fence
Mark and measure the area where you’ll be building the fence using chalk or spray paint. Making a distinct bordering line is necessary to get the right amount of wooden pallets.
For instance, a standard-size lawn needs approx 150 linear feet of fencing. The larger your area gets, the more material you’ll need.
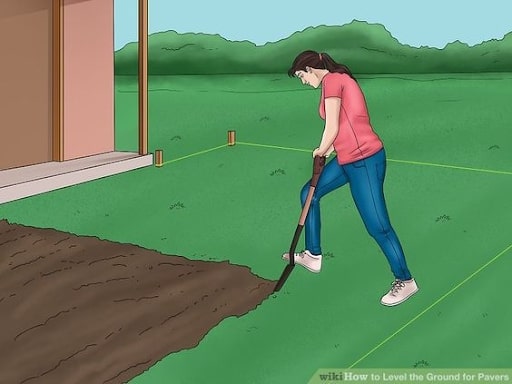
Once you decide on the area, it’s time to level or flatten the ground. Clean the ground and remove any vegetation and small pebbles from it.
Step 3: Mark The Fence Perimeter Using Stakes And A String Line
The next step is to pound wooden stakes into the ground. You’ll do this on the outer edge of all the corners of the bordering line and every 3 meters along the line.
Now wrap a string around all the stakes in a way that the string remains inside the bordering line or on the fence side.
Alternatively, you can use wooden poles for this purpose. Instead of the stakes, you can pound wooden poles in the four corners of the fenced area and in between the fence line.
Step 4: Secure The First Pallet
Hold the first pallet upright and position it inside the string line. You should hold it in a way that the pallet is touching the string. The pallet should stand straight; if it’s not, then you should make some more effort to level the ground.
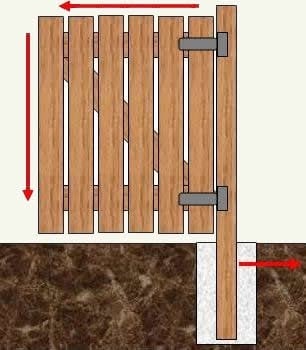
Step 5: Secure The Metal Post Inside The Pallet’s Edge
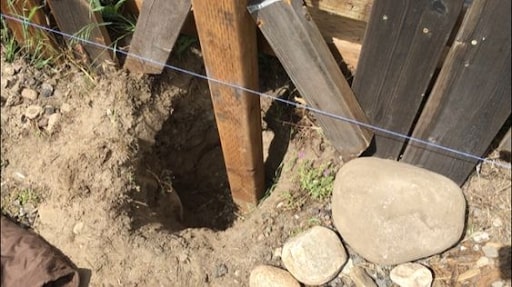
Slide the arrow-shaped end of the metal post through the top of the pallet along the vertical edge of the pallet. Use the small sledgehammer to secure the post. Hammer it until the arrow-shaped edge goes completely under the ground.
If you want your fence to be sturdier, hammer two metal posts on both edges. You’ll repeat this process with each pallet. Make sure you place the rest of the pallets closer to each other so that there are no large gaps.
Step 6: Joint The Pallets Using 2×4 Lumber And Screws
Cut boards of 2×4 lumber. The lumber should be equal in length to the pallets. Hold the lumber upwards and place it at the joint of two pallets. Drill 6 to 8 holes in the lumber and drive screws through it. You’ll need a helping hand who will hold the lumber when you drill holes and screw it.
Repeat the process on other joints of the pallets as well as on the opposite sides.
Step 7: Make The Pallet Gate
You can make two-door gates or single-door gates. I’ll have made the single-door one hence sharing the process of the same. To make the gate, you’ll have to:
- Connect the pallet gate with the fence pallet beside it with three gate hinges. But don’t attach the gate door and the adjacent pallet too close, as you did while making the fence. There should be at least 1 to 2 inches gap between the two pallets.
- Lay a few pieces of wood to lift the gate up about 1 to 2 inches off the ground.
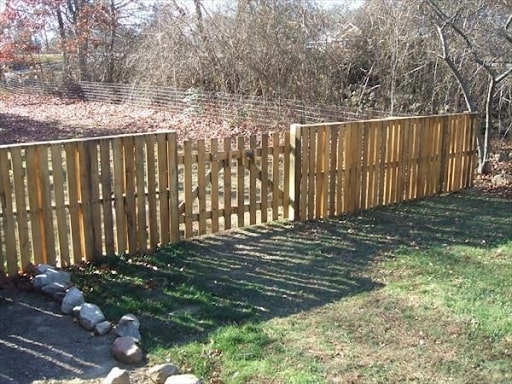
- Add the gate latch on the opening of the gate. Leave the wood pieces for at least 24 hours to ensure the gate retains its structure well. That’s it. You’re done making a pallet fence, and the end result should look like the picture below.
Step 8: Weatherproof Your Fence
Finally, you need to waterproof the fence. Pellet fences are prone to water, sun, and termite damage, rotting, and discoloration, so apply a sealant stain to treat the pallets. Let the sealant dry, and apply paint if you want to color your pallet fence.
For more clarity, you can check out this video tutorial on making pallet fences:
Different Pallet Fence Ideas You Can Try
- Pallet Fence On Wheels
If you want a mobile fence in your house to gate your pets, a pallet fence on wheels is a great idea. The only additional material you’ll need are the wheels, and the construction procedure is also the same, except you have to add the wheels at the end.
- Double High Pallet Fence
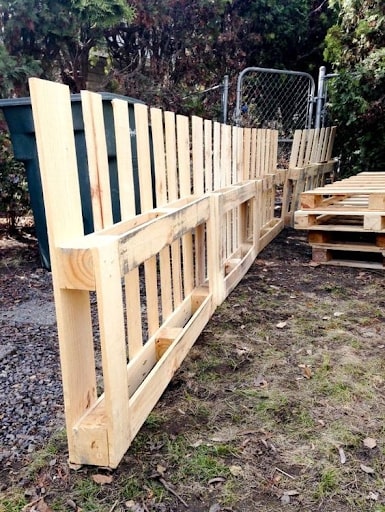
People wanting to build a taller fence should opt for the double-high pallet fence design. Making the high fence can be a little complicated, so you’ll need a helping hand.
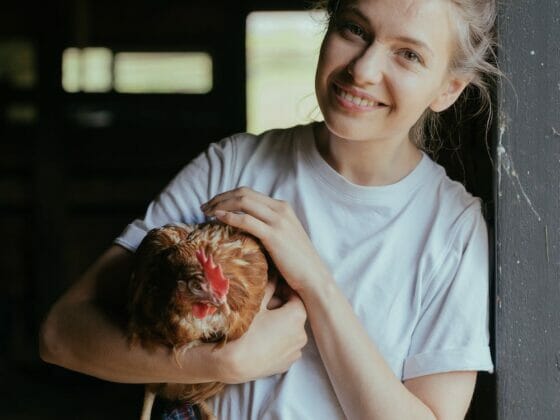
- Farm Animal Pallet Fence
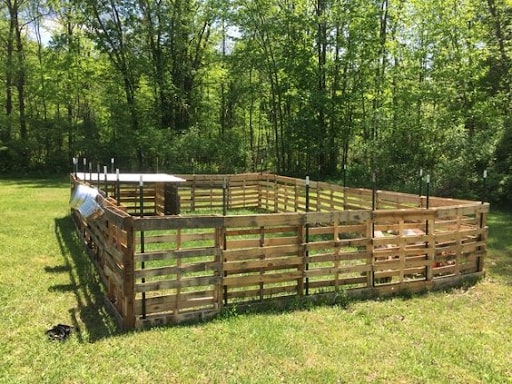
A small pallet fence works great for containing small animals, especially chickens, ducks, or rabbits. They are super easy to build and serve the purpose of guarding your poultry.
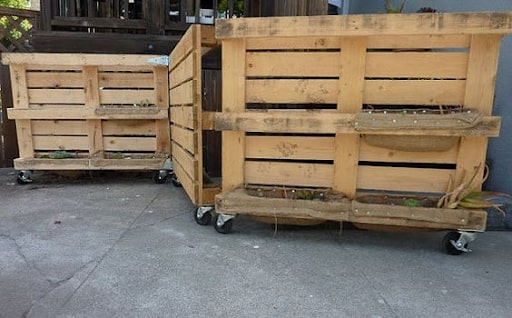
- Compost Bins With Pallet Fence
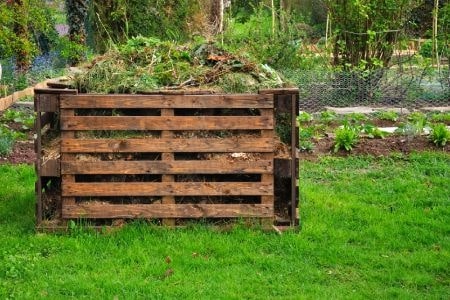
Pallet fences are an innovative and practical way to fence your compost bins. These compost fences look great from the outside and work perfectly well to keep kids and pets outside.
More Diy Tutorials
- 25 DIY PLant Stant Plans & Tutorials
- 13 Free Bunk Bed Plans
- 11 Free DIY Adirondack Chair Plans & Kits
- 25 Free Macrame Wall Hanging Patterns
- How To Make Bed Frames Out Of Pallets?
- How To Build A Bookshelf Wall?
- How To Make A Tire Swing?
How To Make A Fence With Pallets? Easy DIY Guide FAQs
What Is The Cheapest Fence To Build?
Wooden pallet fences are the cheapest to build. These pallets are cheaper than metal or other materials. The other supplies, such as nails, screws, etc., are also pretty affordable.
How To Make A Pallet Fence Gate?
You have to follow the same procedure for making a pallet fence gate. You need to measure, cut, and assemble the pallets and then start assembling them with nails, screws, and hammers. Additional things you need are a latch and hinges.
How To Stabilize A Pallet Fence?
You should add posts in between the pallets to make them stable. You can also use large roofing nails and hammer them to the pallets to make them even sturdier.
Can I Add a Pallet Fence Indoors?
Yes, if you have the space, you can also add a pallet fence indoors. These fences work best, especially if you want to prevent your pets or toddlers from roaming around the house. Usually, thin wooden pallets work best for indoor fences.
Conclusion
Wooden pallet fences are an eco-friendly and cheaper option, and making them is great fun too. This guide is especially for people with little crafting knowledge, but based on your crafting skills and creativity, you can make a lot of different designs.
The only drawback with these pallet fences is that they easily get damaged in the rain and are home to termites. Therefore, regular inspection and repair are a must to keep them in the best shape.