
We all have fond childhood memories of playing with tire swings. And adding one in your backyard is undoubtedly the best decision you can take, especially if you have little ones at your home.
Making a tire swing is pretty simple and safe when applying the right techniques. Moreover, you can make one with minimal tools readily available in any hardware store. You’ll find some of them in your garage as well.
In this guide, I’ll share some easy-peasy tips to make a tire swing, along with the complete supply list. Read on to find out.
Related: How To Make Bed Frames Out Of Pallets? A Detailed Guide
What Hardware Do I Need To Make A Tire Swing?
You’ll need the following tools to make the tire swing-
- Rubber tire
- Polypropylene rope (length as per your requirement)
- Power drill
- Knife
- Measuring tape
- Lighter
- Ladder
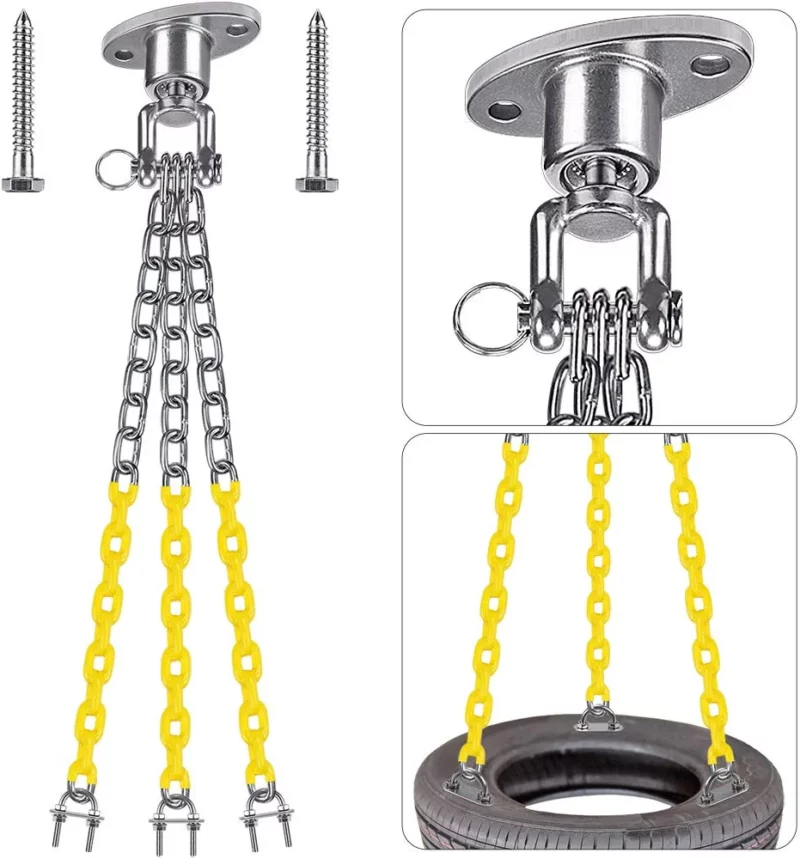
Additional Stuff For The Horizontal Swing
- Eye Bolts
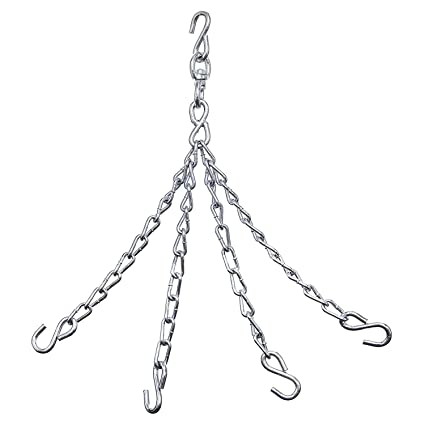
- Three Chains and a long one to hang on the tree
- Four S Hooks
- Vice Grip Brand Pliers
- Swivel
- Connector Link
- Clip hook
Tree Tire Swing Kit

Steps to Make A Real Tire Swing: Explained in Detail
There are two types of tire swings: vertical and horizontal. The vertical one is straightforward compared to the latter, and I’ll show you the steps for both types.
The vertical swing is more beginner-friendly, and people with some crafting knowledge can try making the horizontal one. Let’s get started.
Step One: Select The Branch
The first step in the process is to find a robust and healthy tree branch. Since all your weight will be on the tree branch, you must pick a mature, hardwood tree like oak, maple tree, and similar.
Do not hang the swing on the soft branches of fruit trees. They are fragile and may break easily, causing unwanted accidents.
Related: Best Wood Engraving Machine in 2023: Our Top 6 Choices
Step Two: Gather The Rope And The Tire
Polypropylene ropes are the best to make tire swings. Generally, you should pick a ¾ inch of strong enough rope to hold your weight. Moreover, these ropes aren’t easily affected by sun, wind, and rain, making them a durable option. Finally, buy the rope as per the distance from the tree branch to the ground.
You can recycle an old tire you may already have at your home. If not, you can pick one from the nearby garage. Ensure that you don’t pick a very large tire, especially if your children will use it, because adults can comfortably use a small tire, but kids can’t use a big one.
Make sure you clean the tire before actually using it. The best way to clean the tire is using a pressure washer, but if you don’t have one, you can clean it under running water.
Related: 8 Best Laser Engraving Machines For Wood in 2023
Step Three: Adjust The Rope With The Branch
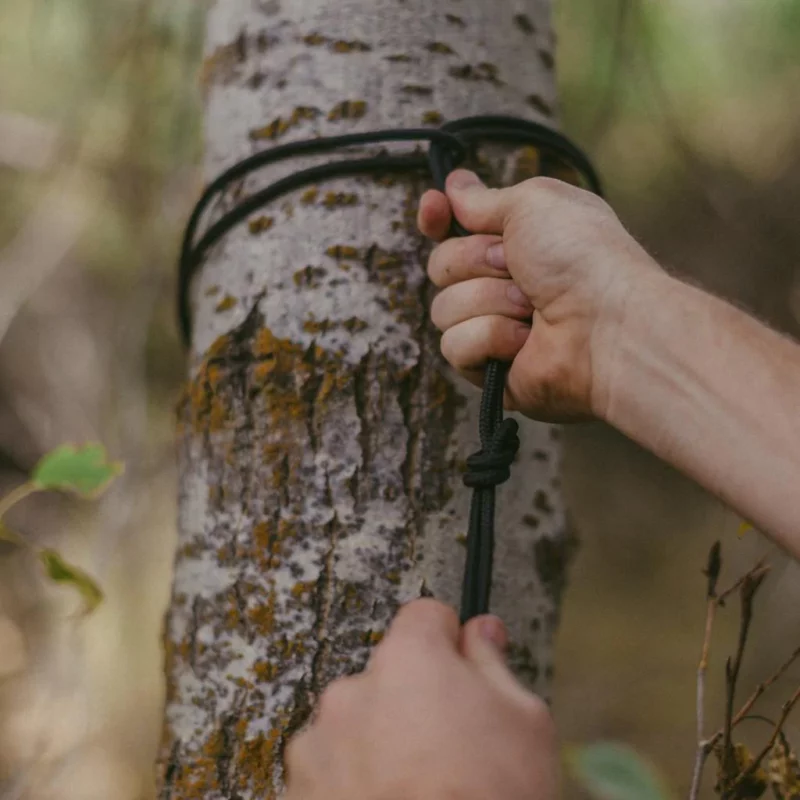
Use a ladder to reach the tree branch and tie the rope around the branch. Double-wrap the rope to ensure a tight grip and prevent slippage. If you don’t have a ladder, you can use duct tape or something with a similar weight.
Tie it with one end of the rope, toss it around the branch, and repeat the procedure several times to ensure a tight grip. Once done, untie the duct tape attached to the rope end. Secure the shorter end of the rope on the branch with a knot; you can do so with a fisherman’s bend or a bowline.
Related: What Can I Make With A Cricut Machine? 15 Ideas For All Levels
Step Four: It’s Time To Attach The Rope And The Tire
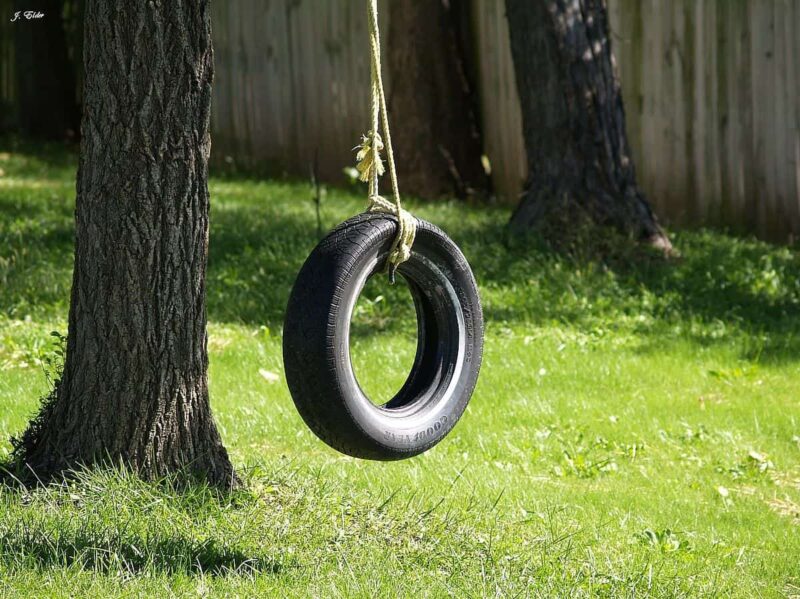
It’s again a pretty simple step, and all you have to do is wrap around the end of the rope with the tire’s center. Then, wrap it in a way that the tire is at least 3 feet above the ground. Putting the tire high enough is important to not touch anything on the ground. Moreover, if you place it lower, your and your child’s feet may drag on the ground.
Once done adjusting, tie a knot on top of the tire, leaving some excess rope. Now it’s time to test the swing. First, make an adult sit on it to see how strong the swing is. If you feel it needs more adjustments, you can do so.
Step Five: Cut The Access Knot
After you’re done with all the adjustments, cut off the access rope from the tire. But don’t cut at the very edge of the rope. Leave at least 4 to 5 inches. Then burn the rope using a lighter to prevent spraying.
Step Six: Drill Drainage Holes

Drilling a few holes towards the bottom side of the tire is necessary to prevent water accumulation. It’s time to put the power drill to work and drill the holes.
Be careful while doing it, as tires usually have metal strands inside, which may hit with the drill.
Steps to Make a Horizontal Swing
Since I have mentioned the basic steps like picking the right tree, tire, and rope in the previous method, I won’t repeat them again. So let’s get straight into the procedure.
Step One: Attach Eye Bolts To The Tire
Flip the tire upside down to attach the bolts. Mark three spots in a triangular manner to attach the bolts. After marking the spots, drill three holes using a drill machine. The hole should not be too big but just enough for the eye shaft of the bolts to fit.
You should place all the holes at equal distances. Therefore, this procedure may take a few attempts. To prevent errors, drill one hole at a time. Place the bolt, and after carefully measuring the distance, go on with the other two drills.
Secure the eye bolts with one nut and fender washer. Next, place another fender washed on the inside of the tire and another nut and secure it. Attaching two fender washers from the outside and inside is crucial. It prevents the nuts from loosening up when you put weight on them.
Step Two: It’s Time Attach The S Hook
Take the S hooks and attach one end with the eye bolts. Now with the pair of vice grip brand pliers, squeeze the attached end of the S hook. It’ll require some effort because you have to close the S hook entirely so it does not come out.
Step Three: Attach The Chains
Now attach the three chains with the open end of the S chain. Take the fourth S hook and attach the other ends of the chains with it. Once done, it’ll look like a triangle. Take the vice grip, pliers, again and tighten one end of the S hook where you have attached the chains.
Step Four: Attach The Remaining Equipment
We’re about to finish the vertical tire swing. It’s time to use the swivel, connector link, and clip hook. You need to attach the swivel to the S hook’s other end. Next, put the connector link and the clip hook.
Finally, you have to attach the clip hook with the handing chain. Make sure you measure the height of the hanging chain well to leave enough space between the swing and the ground.
Some Additional Tips To Make The Perfect Swing
- While the rope, tire, and chains won’t easily get damaged, you must inspect the branch periodically.
- Also, the tire swing is an ideal home for bugs, pests, spiders, etc. So, always inspect the tire before sitting on it. You can also use a bug-repellent spray.
- While buying the components like the S hook, swivel, clip hook, etc., check their weight capacity. I recommend buying the ones with greater weight capacity than the usual body weight of any adult (over 300/ 400 pounds).
How To Make A Tire Swing FAQs
1. What Kind Of Rope Do I Need For A Tire Swing?
Polypropylene is the best rope to make tire swings. Make sure you get braided ropes, as they provide the best grip and can hold a lot of weight.
2. How To Make A Tire Swing Without A Tree?
You don’t necessarily need a big tree to make a tire swing. You can buy a swing stand or make one yourself and hand the tire swing.
3. What Size Tire Is Ideal For A Tire Swing?
You can use any passenger car rubber tire to make the swing. Don’t go for high-capacity vehicle tires like trucks or buses.
Final Thoughts!
Making a tire swing isn’t that complicated, especially if you make the vertical one. It requires less effort and minimal equipment. And if you want to put your crafting skills to the test and don’t mind spending around $100, you can make the vertical tire swing.