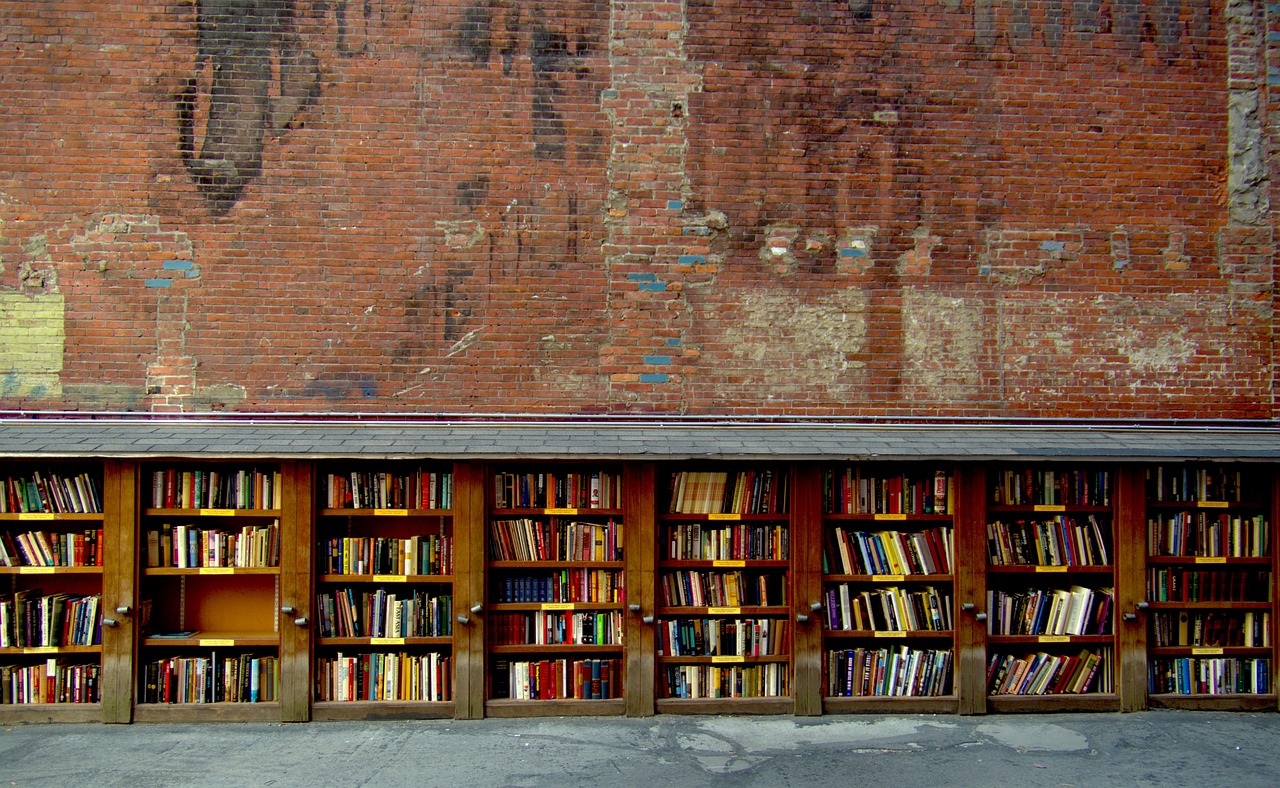
Stacking up your books in piles is not a pretty sight. And the best way to showcase your exquisite book collection is by storing them on wall shelves.
And you don’t need fancy tools or the help of a carpenter to build a wall bookshelf. Simple supplies like wood boards, a drill, a saw, and some brackets are enough for the purpose.
Are you getting curious? Here is an easy-to-follow guide on building a wall bookshelf from scratch. Read on to learn the steps and other essential tips.
Table of Contents
- 1 What Tools & Materials Do You Need To Build A Bookshelf Wall?
- 2 How To Build A Bookshelf: Step By Step Guide
- 3 Can Bookshelves Be Built Into A Wall?
- 4 How Much Does It Cost To Build A Wall Bookshelf?
- 5 How Do You Make Cheap Built-In Bookshelves?
- 6 Is It Cheaper To Build A Shelf Or Buy One?
- 7 Conclusion
What Tools & Materials Do You Need To Build A Bookshelf Wall?
To build a bookshelf wall, you will need the following tools and materials:
- Measuring tape: To measure the length and width of the wall where you will install the bookshelf, the size of the shelves, and any other components.
- Pencil: To mark the locations of the shelves and other components on the wall.
- Level: To ensure that the bookshelf is level and straight.
- Screwdriver: To install screws and other fasteners.
- Power drill: To drill holes for screws and other fasteners.
- Wood screws: To attach the shelves and other components to the wall.
- Planks: To create the frame and shelves for the bookshelf. You will need to determine the size of the shelves based on the books you plan to store on them.
- Wood glue: To secure the joints of the frame and shelves.
- Finish: To protect the wood and give it a polished look. This can be a clear sealant, paint, or stain.
- Sandpaper: To smooth out any rough edges or imperfections in the wood.
- Clamps: Hold the frame and shelves in place while the glue dries.
- A saw: To cut the lumber to the desired size and shape.
- Chisels: To create precise joints and edges in the wood.
- A hammer: To drive nails or other fasteners into the wood.
- Protective gear: To protect yourself from sawdust, wood chips, and other debris, wear goggles, a dust mask, and gloves.
Related: Best Wood Engraving Machine in 2023: Our Top 6 Choices
It’s also a suitable idea to have a helper at hand to assist with holding and positioning the shelves and other components while you work. With these tools and materials, you should be well-equipped to build a sturdy and stylish bookshelf wall.
Related: How To Secure A Bookshelf To The Wall? An Illustrated Guide
How To Build A Bookshelf: Step By Step Guide
Here are the steps you can follow to build your bookshelf wall:
- Design and Measure:
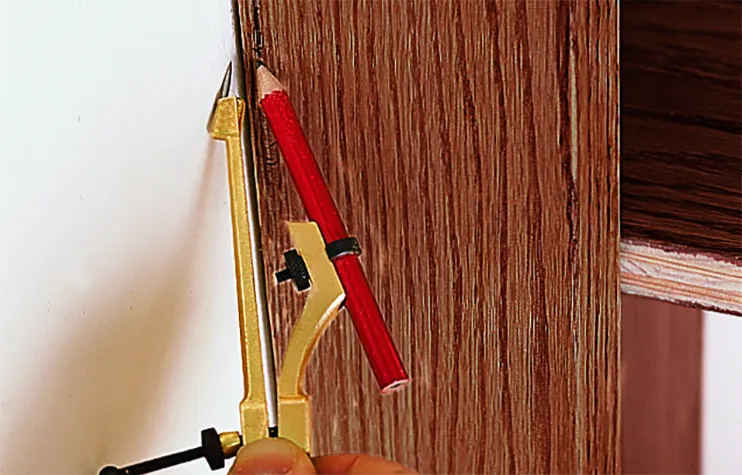
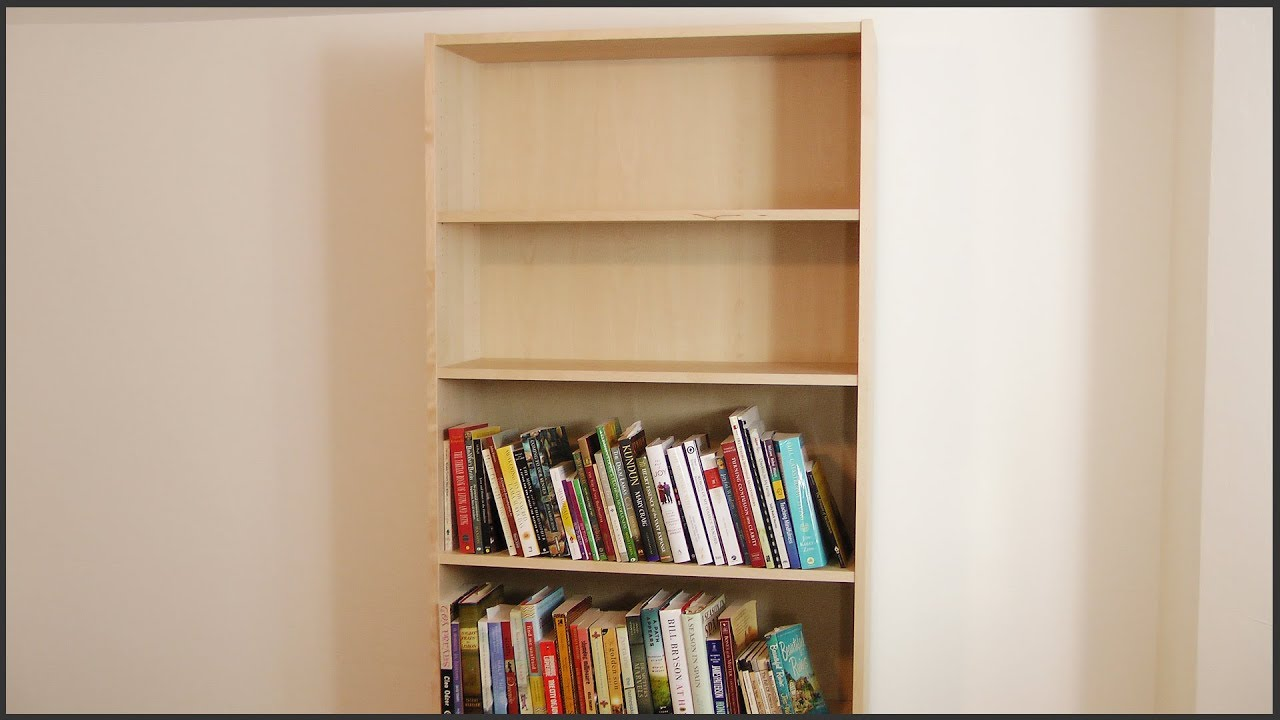
First, you’ll need to plan out the design of your bookshelf wall. You can consider a simple design for the bookshelf with a dimension of 198.0 cm x 103.0 cm x 44.0 cm (adjust according to your preference).
Next, measure the wall where you are planning to install the bookshelves and determine how many shelves you want and their dimensions.
You can add four to five shelves easily in the dimensions mentioned above. You’ll also need to consider the weight of the books and other items you want to store on the shelves and ensure your design is sturdy enough to support their weight.
Related: How To Make A Lazy Susan – A Step-by-Step Guide
- Gather:
Once your design is planned, it’s time to gather the materials. You’ll need wooden planks for the shelves, support brackets, screws, nails, and additional hardware.
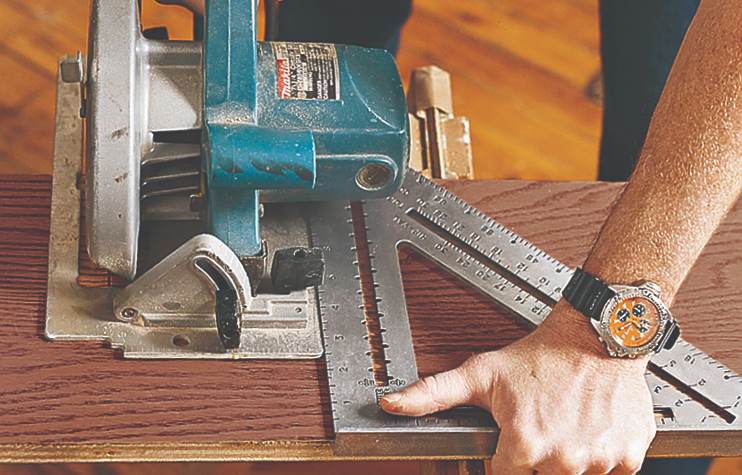
- Cut the Planks:
Next, cut the wood for the shelves and support brackets to the appropriate sizes using a saw and a measuring tape. Again, it’s essential to be precise when cutting the wood to ensure that everything fits together correctly.
- Put it in Place:
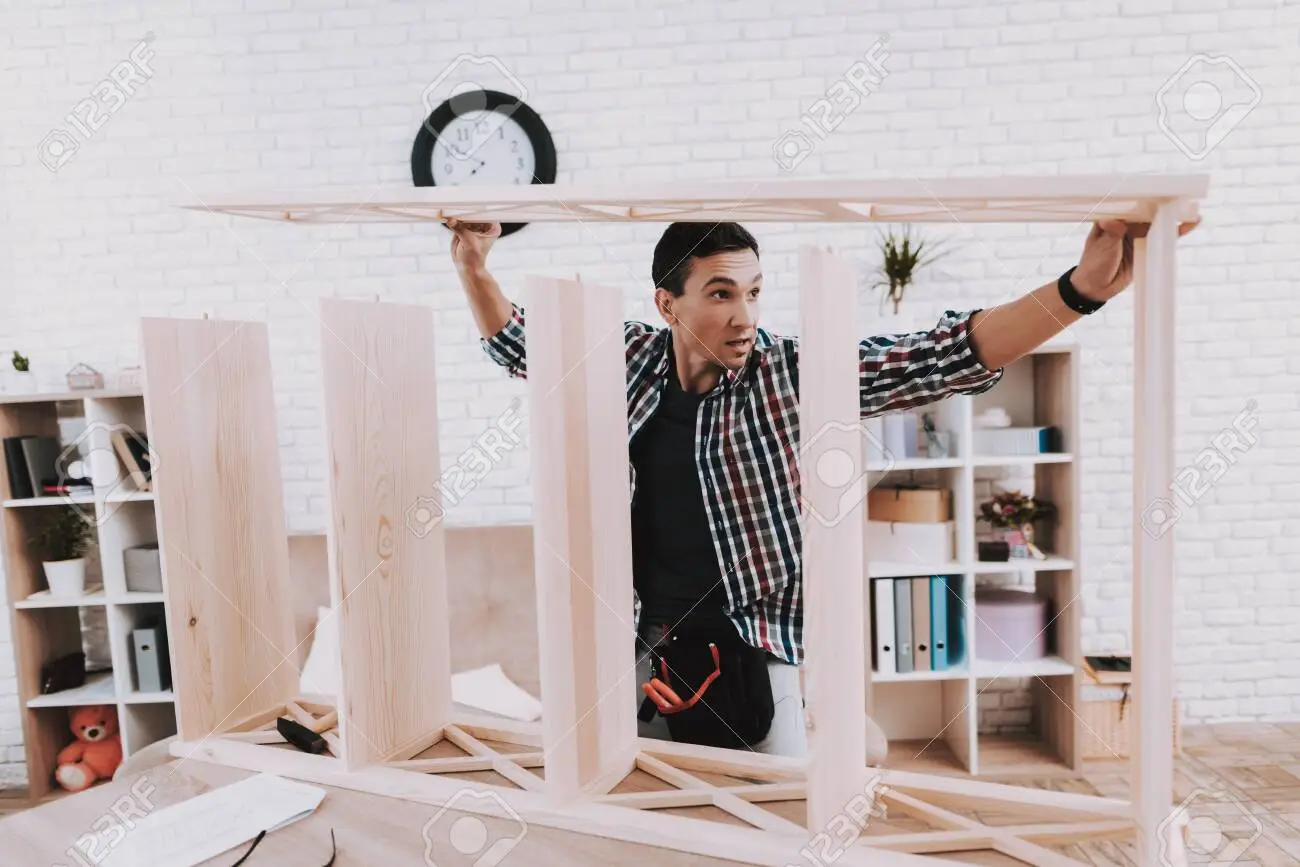
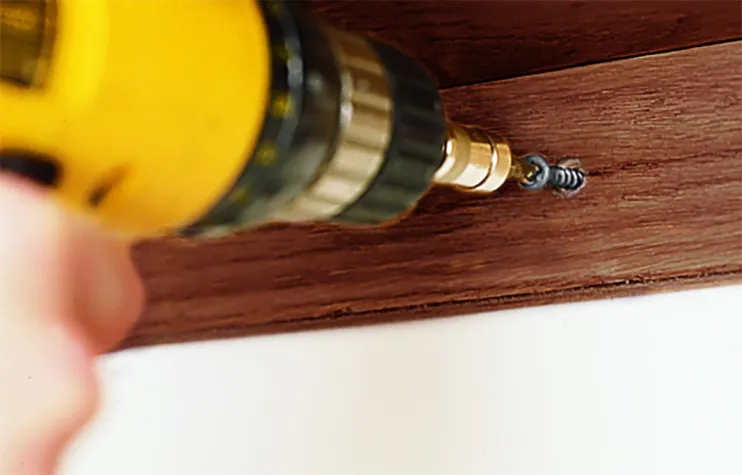
Once you have all the pieces cut to size, it’s time to start assembling the shelves. First, you need to attach the support to the leg. Supports are the long, thin pieces of wood that run along the bottom of the shelf.
When you have the supports, set them up so they are parallel to the legs of the shelf and evenly spaced apart. You might have to make a few marks or take a few measurements to get the pillars exactly where they need to be. Then attach the shelves to the wooden case or box.
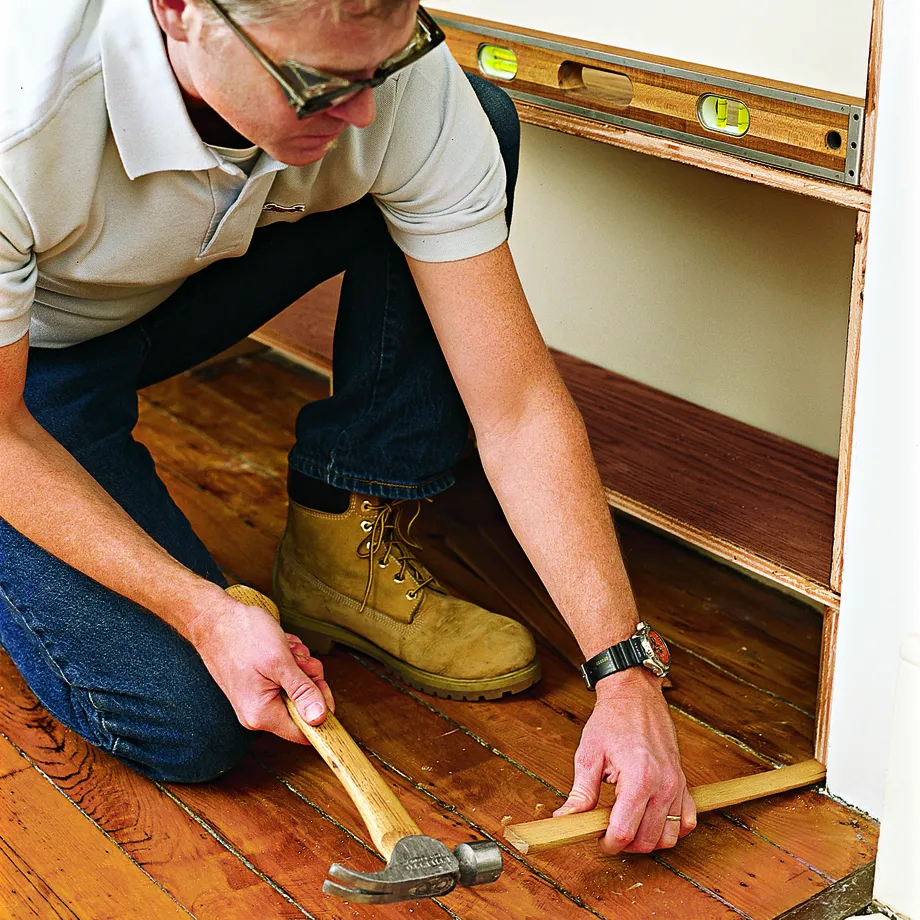
You need to attach the top first and then the rest shelves. You will require screws and nails to attach the wall support brackets and the shelves to the brackets. Next, you need to level the shelf. If two sides are not aligned, you need to place thin wood to level the shelves.
- Decorate it:
Once the shelves are assembled, you can add any decorative elements, such as molding or trim. You can also paint or stain the shelves to match your décor.
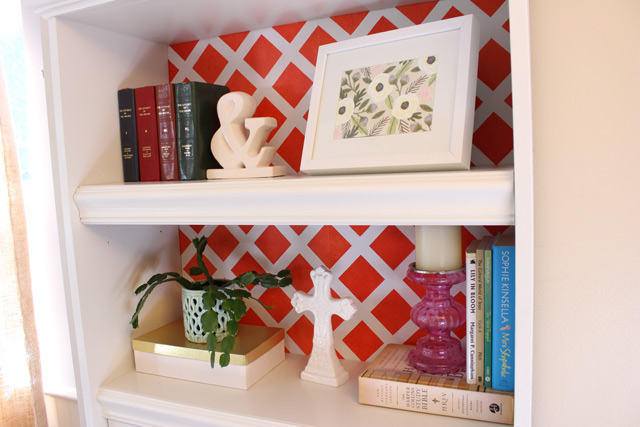
- Arrange Your Books:
Finally, you can start filling the shelves with books and other items.
Building a bookshelf wall is relatively simple and can add storage and display space to your home. With detailed planning and attention to detail, you can create a beautiful, functional bookshelf wall that will last for years.
However, if you still face problems, you can watch the following video to get an idea. THE BUILT-IN BOOKSHELVES WALL /// Experiment #004
Can Bookshelves Be Built Into A Wall?
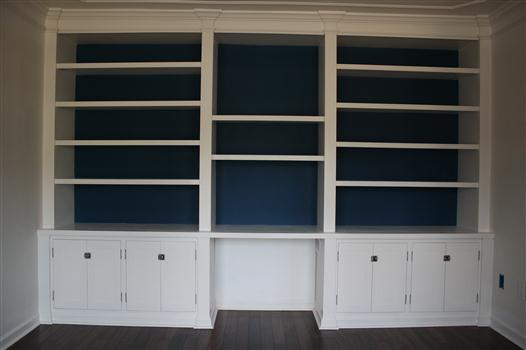
Yes, you can build bookshelves into a wall. This type of shelving system is integrated into a wall structure. To build a bookshelf into a wall, you will need to plan the placement and size of the shelving unit.
You will also need to consider the load-bearing capacity of the wall and choose materials that are strong enough to support the weight of the books and any other items that you will place on the shelves.
Once you have planned out the design and chosen the materials, you will need to cut openings in the wall and install the shelves using screws or other fasteners. It is vital to ensure that the shelves are level and secure so that they do not tip over or sag under the weight of the items placed on them.
Building a bookshelf into a wall can be a challenging DIY project, especially if you are unfamiliar with construction or carpentry. Consult with a professional or seek guidance from a home improvement store or online resource if unsure how to proceed. You can also check this video: Basic Bookcase Build
How Much Does It Cost To Build A Wall Bookshelf?
Overall, building a wall bookshelf could range from $450 for a basic design using inexpensive materials to $1500 for a more complex, custom-built shelf using high-end materials.
Though I gave an estimate, it isn’t easy to estimate the cost of building a wall bookshelf without knowing more about the specific design and materials you want. The cost generally relies on factors such as:
- Size of the shelf
- The type and cost of the materials you use
- Any special features or customizations you want to include
- Whether you will hire a professional or do the work yourself
Some general estimates for materials you might use in a wall bookshelf include:
- Basic lumber: $10-$20 per linear foot
- MDF (medium-density fiberboard): $15-$25 per linear foot
- Plywood: $20-$30 per linear foot
- Hardwood: $30-$50 per linear foot
In addition to materials, you will also need to consider the cost of any hardware or other supplies you will need, such as screws, nails, brackets, and finish materials. If you hire a professional to build your bookshelf, labor costs will also be another factor.
How Do You Make Cheap Built-In Bookshelves?
There are a few ways you can create built-in bookshelves on a budget:
- Use standard shelves: You can use standard shelves readily available at most home improvement stores and place them in an empty wall space. These shelves can be easily cut to size and painted or stained to match your existing decor.
- Repurpose old furniture: You have an old piece of furniture that you no longer use. Now utilize it and repurpose it into a built-in bookshelf by removing the back and attaching it to the wall.
- Use floating shelves: Floating shelves are a simple and affordable option for creating a built-in look. They are straightforward to install and can be customized to fit your space and design preferences.
- Using inexpensive materials: If you have basic carpentry skills, you can build your own built-in bookshelves from scratch. Using inexpensive materials such as plywood and dowels, you can do it. This option will require more time and effort, but it can be a cost-effective way to create a custom look.
Regardless of which option you choose, measure the space carefully and plan out the design before you start to ensure that the bookshelves will fit and look the way you want them to.
Is It Cheaper To Build A Shelf Or Buy One?
It depends on several factors, including the materials you use, the size and complexity of the shelf, and your skill level. In general, building a shelf is always cheaper than buying one.
If you purchase a simple, mass-produced shelf from a store, especially on sale or at a discount, you can get them cheap.
On the other hand, if you want a custom shelf with a specific size or shape or if you use high-quality materials, it may be more cost-effective to build the shelf yourself.
Here are some other things to consider when deciding whether to build or buy a shelf:
- Cost of materials: Building a shelf will require you to purchase the materials needed, such as wood, screws, nails, and any other hardware. The cost can add up quickly if you need to buy all new materials.
- Time and effort: Building a shelf can be time-consuming, especially if you are new to woodworking or need access to the necessary tools. If you value your time, it may be worth purchasing a shelf instead of building one.
- Skill level: If you are an experienced woodworker, you can build a shelf more quickly and efficiently than someone new to woodworking. Building a shelf may be cheaper if you are confident in your abilities.
Overall, it’s essential to consider all these factors when deciding whether to build or buy a shelf. It may be cheaper to build a shelf in some cases but not in others. The best choice for you will depend on your specific needs and circumstances.
More Diy Tutorials
- 25 DIY PLant Stant Plans & Tutorials
- 13 Free Bunk Bed Plans
- 11 Free DIY Adirondack Chair Plans & Kits
- 25 Free Macrame Wall Hanging Patterns
- How to Make a Fence With Pallets?
- How To Make Bed Frames Out Of Pallets?
- How To Make A Tire Swing?
- 19 Diy Chicken Coop Plans
Conclusion
That’s all you need to learn about how to build a bookshelf wall. I hope this will help you to get a clear view of the construction. It will also guide you with everything you need and how to start the process! So, don’t wait! do it!