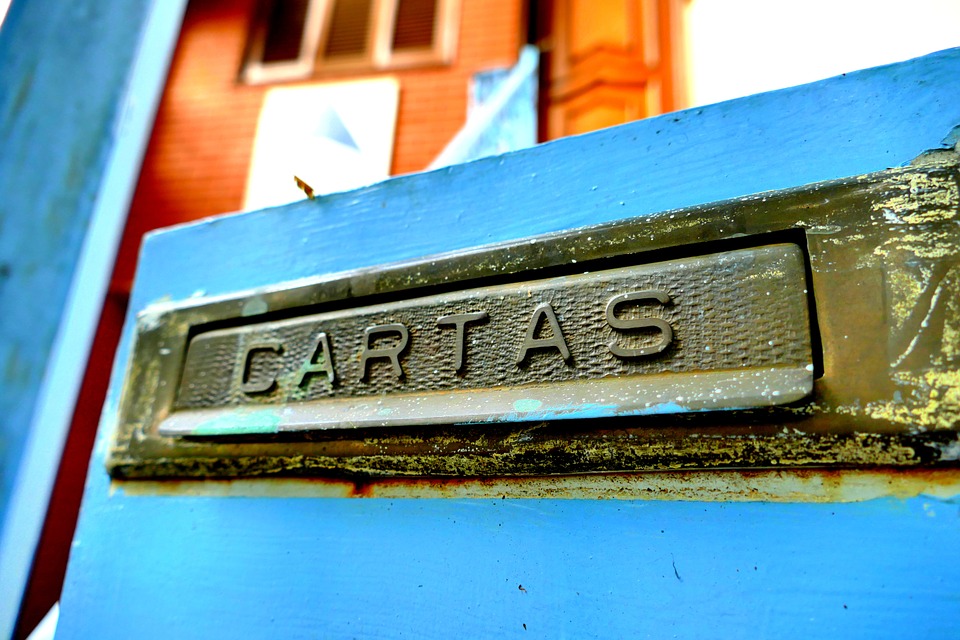
Since metal was discovered and commercialized, humans have been marking it for artistry and traceability.
It is complex and different from other materials like wood and plastic. Therefore, hobbyists new to this craft often ask questions like, ‘How to engrave metal at home? Can I engrave with my hand?’
If you want to personalize your metal jewelry or utensils but are unsure about the technique, this article is for you.
I will list the best tools for engraving metal and how to use each tool at your home or workshop. More specifically, I will walk you through the working process of Dremel, Cricut Maker, laser engraver, and hand tools to engrave metal.
Related: How to Engrave Glass: Step By Step Beginner’s Guide
With that said, let’s get started!
Table of Contents
What Can You Use to Engrave Metal?
As already mentioned, engraving metal requires a set of tools or machines. These have pointed tips that help to etch the design on the surface.
You can classify the tools into three categories:
- Handheld tools
- Rotary tools
- Engraving machines
- CNC routers
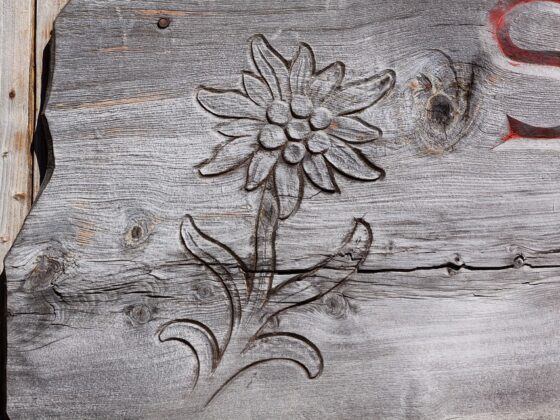
Handheld tools are the most basic form of engraving tools. These have been used since humans learned to shape metals and inscribe drawings for personalization or traceability.
These tools are available in a much better configuration with ergonomic handles. And they’re the cheapest of all the options.
A step up from the traditional tools is motorized rotary tools like Dremel. These are equipped with a rotary motor connected to the shaft and an engraving bit at one end. The bit removes the metal from the surface to carve the design.
The last tool you can use is a specialized laser engraving machine for metal. These machines generate high-energy beams that act like a chisel.
The beams vaporize the material they fall into fumes, leaving behind deep marks.
Professional artists may use one or all of the tools for creating the design on the metal. Hobbyists usually stick to rotary tools since they balance speed and affordability.
Related: How to Engrave Rocks or Stones?
What is the Easiest Way to Engrave Metal?
Various options are available to engrave metal, but laser engraving is the easiest way.
This method employs lasers to inscribe designs on the metal surface. While operating a laser engraving machine requires some technical expertise, no manual labor is involved. The laser engraver does everything.
And the results are superior to other methods as well.
The cuts are sharper and deeper, and the overall design is more accurately inscribed on the metal surface.
How to Engrave Metal by Hand?
Hand engraving is arguably more laborious than all three methods and requires a high skill level. But many industries still require hand engravers, especially the jewelry industry.
To engrave by hand, you’d need specialized engraving tools, also known as gravers. These are miniature chisels made from top-quality refined fine-grained steel or tungsten carbide. They are sharpened to a certain angle and have a mushroom-shaped or rounded wood handle that allows safe and controlled handling.
Before you learn to engrave metal by hand, let me shed some light on the types of gravers. These differ from one another by the tip shape and sharpness level.
Here are the types of gravers you get to work with:
- Onglette graver – Onglette is the most popular graver tool that can easily cut both thin and wider lines, thus offering versatility.
- Knife graver – Knife gravers are much like Onglette, except they have a slimmer body. They cut deep and add delicate embellishments to the metal.
- Oval graver – Oval gravers have oval-shaped bits that are slimmer than an Onglette graver.
- Beveled graver – Beveled gravers are used to make beveling cuts, one of the most challenging ones to master.
- Flat graver – These gravers have a flat base and are designed to remove undesired metal from the surface.
- Rounded graver – Rounded gravers aren’t round by themselves but cut round-bottomed trenches on the metal surface, hence the name.
Instead of purchasing the gravers individually, you can grab a basic graver set that includes most, if not all, gravers. You’ll have the ones you’d need.
So to engrave metal by hand, you’d need the following:
- A graver set
- A metal hammer
- A vise
- Stencil or printed image with the design
- Acetone (optional but recommended)
Once you have the tools, here are the steps to follow:
-
Secure the metal piece to the ball vise
The first step is to take the metal you want to engrave and lock it to the ball vise’s jaw. A ball vise (or simply vise) is a tool to hold the metal piece while working on it. These tools have a spherical bottom that lets you tilt the metal 360 degrees to get the desired angle.
A vise isn’t necessary if working on smaller metal blanks. You can engrave such blanks on a flat surface. But a vise makes things much more manageable if you’re working on metal plates or jewelry.
-
Stamp the design on the metal
The next step is to create an outline on the metal surface that you can follow with the hand tools. This is called stamping the design.
For this, you’d need a printed image with the required design. Place this printed image on the metal surface, with the design facing the metal. Then, place a cloth dampened with acetone over the print. Press for a few seconds until the design is stamped on the metal.
Instead of stamping, you can draw the design by making a stencil and outlining the surface with a marker.
-
Start engraving
The stage is set for you to engrave metal by hand. Now all you need to do is take the required graver and hammer it while following the outline. Which graver you’d select would depend on the cut needed.
Another thing you need to take care of is the angle of attack. To carve the metal pieces, you must maintain a certain angle against the metal surface.
If the angle is too steep, you won’t be able to push the tool forward and instead will cut deep into the surface. Likewise, if the angle is shallow, the graver will glide across the surface without making any cuts.
The angle and the pressure you apply will change throughout the engraving process. This is something that comes with practice.
How to Engrave Metal with Dremel?
Dremels are handy handheld tools for cutting, cleaning, polishing, sharpening, or engraving various materials such as wood or leather.
When used specifically for engraving metals, you can create grooves and lines to create the design. The motor rotates the shaft, which has changeable bits at one end. You inscribe the design by gliding the Dremel tool across the metal surface.
To engrave metal with Dremel, you’d need the following things:
- Dremel engraving tool
- Engraving tips
- Stencil
- Graphite pencil or marker
Apart from the items mentioned above, it’s recommended that you wear protective glasses, a dust mask, and gloves before starting to engrave.
Once you have the things in place, follow these steps to start engraving metal with the Dremel tool:
-
Select the engraving bit
When working with a Dremel tool, the most crucial step is selecting the right bit for the project. Dremel comes with engraving bits, and you can purchase additional ones if necessary.
You should use diamond or carbide point bits to engrave metal with Dremel. These have the necessary strength to work on hard metal surfaces. But you can use other bits when working on softer metals like brass.
If this is your first time working with Dremel, you should know how to change Dremel bits and correctly install the ones you need.
-
Draw the design on the metal surface
The next step is to outline the design on the metal surface. Most engravers use either a graphite pencil or marker for this purpose.
A graphite pencil is perfect for most metals, but if the surface is too smooth, you’d need a marker. Draw the design with the marker and let the ink dry.
Alternatively, you can use a stencil and follow the design pattern. Many Dremel sets also come with stencils that you can use immediately.
-
Start engraving
The last step is to start the engraving process.
Before that, you’d need to set the speed. Dremel 3000 has six-speed control and can rotate anywhere between 5,000 RPM to 35,000 RPM.
It’s better to start at a lower speed and then crank it up only if necessary. There’s no point in running it at a higher speed and carving excess metal.
So set the speed, hold the tool with a firm grip and loose wrist, and follow the design pattern. It takes some practice to get the depth and texture right.
Finally, replace the diamond tip with the polishing bit and remove the metal swarf.
The design is now engraved on the metal surface!
How to Engrave Metal With Cricut Maker?
Cricut is the ultimate cutting machine that can smoothly pierce through various materials. But its newest capabilities include engraving too.
With the new Cricut Maker, you can engrave metal too. It ships with the engraving bit made of premium carbide steel. Once you set everything up, it can automatically inscribe letters and intricate designs on the metal surface.
To engrave metal with Cricut, here are the things you’d need:
- Cricut Maker
- QuickSwap Housing (isn’t included with the Cricut Maker)
- Engraving tip
- StrongGrip mat
- Painter’s tape
- Lint roller
Then follow these steps to engrave the metal piece with the Cricut Maker:
-
Create the design in Cricut Design Space
First, open the Cricut Design Space app on your PC or mobile. In the canvas, create the design you want to etch on the metal surface. You can browse pre-made templates available in the library or download designs in SVG format onto the app.
Once the design is ready, you need to outline the metal object on the canvas. It’s recommended that you keep the dimensions exact.
Then, drag the design inside the outline and resize it till you’re satisfied with the placement and size.
Click on the design and change the Operation (Linetype in older models) drop-down menu to ‘Engrave.’ It will change the cut lines to engrave lines.
-
Select the right material
This is an important (and often confusing) step. You need to select the right material to engrave on. But the problem is that the Cricut Maker only has two metal options in the official compatible materials list: aluminum sheets (0.5mm) and 40 gauge thin copper.
But Cricut users have reported engraving as many as 14 different types of metals. This includes brass, bronze, stainless steel, galvanized steel, and anodized aluminum.
The suitable material is crucial since it determines the force the machine will exert on the surface.
If you do not find the material on the list, look up its Mohs Scale of Hardness and select an equivalent from the list.
-
Align the metal object on the StrongGrip mat
Take the metal object and place it on the StrongGrip mat. You need to align the object to the center of the mat. Use the grid lines to locate the central point and position the metal.
Then, take the painter’s tape and tape the edges, so it doesn’t get displaced during the process.
Just like you positioned the metal object on the StrongGrip mat, you must do the same for the design. Locate the center of the canvas in the Cricut Design Space app and drag the design to that point. Then, click on the ‘Make It’ button.
-
Set up Cricut Maker
The final step is to set up the Cricut Maker. This involves sliding the StrongGrip mat inside the machine and placing the engraving tip into the ‘B’ carrier. Then move the white star wheels to the edges.
Now press the flashing button and start the engraving process. It may take more time than usual because engraving metal requires more effort.
After a few minutes, your design will be complete!
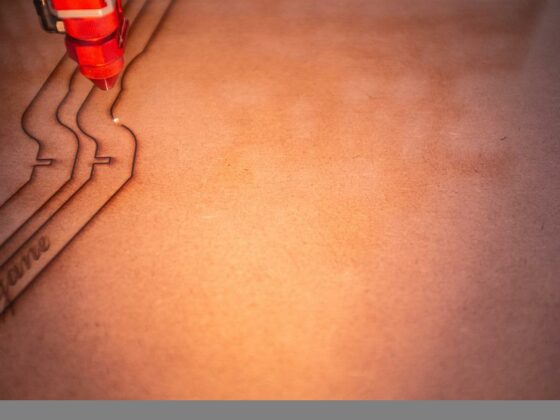
How to Engrave Metal with Laser?
With the availability of low-cost laser machines, engraving with lasers is now quite popular among hobbyists. These machines are easier to use than the other methods I’ve mentioned.
But to engrave metal, you need to invest in a specific laser machine: fiber laser engravers.
These have the same working principle as other laser types but use silica glass to shoot the beam. Fiber lasers are much more powerful and don’t require any more energy than a toaster.
Although a fiber laser engraver is highly recommended, you can also use a diode or CO2 laser. But expect a drop in quality.
To engrave metal with a laser machine, you’d need the following things:
- Laser engraver
- isopropyl alcohol
Follow the steps to engrave metal with laser:
-
Set up LaserGRBL
LaserGRBL is a free laser engraving software supported by most laser engravers. So install it on your computer to start engraving.
Upload the design that you want to engrave and make the necessary settings. You’d have to select the material, size, and laser mode, among other parameters.
-
Place the metal inside the laser engraver
Next, place the metal object in the engraving area. But before that, it’s recommended that you clean the metal with isopropyl alcohol and let it dry.
Once the metal is positioned correctly, start the engraving process. Make sure to wear safety goggles to protect your eyes from harmful rays.
The laser engraver would inscribe the design within a few minutes.
How Do You Make Engraving Stand Out on Metal?
Engraving metal is different from engraving other materials like wood or acrylic. That’s partly because of the hard surface. So you may not get the same contrast or intricacy.
But there are a few ways to make the engraving stand out on metal.
-
Engrave twice
The easiest way to enhance the engraving on metal is to engrave the surface twice. Let the engraving tip run through the design twice. This would create deeper grooves and better contrast.
You can easily program the laser engravers to engrave twice. In a Cricut Maker, you must create the same design twice and superpose them. The Cricut will engrave the metal twice.
-
Enhance with color
Engraving with tools doesn’t add any color to the metal. But you can add it later to enhance its overall look and feel.
Antiquing is a popular method to fill engraved designs with colors. Many jewelers use this method to beautify their jewelry work. You must apply an antiquing formula over the metal surface and let it dry for a few hours. It creates a dark and clean look after drying.
Another procedure to add color and enhance the metal is enameling. You need to apply enamel to the engraved area and let it dry. You’ll be surprised by the result!