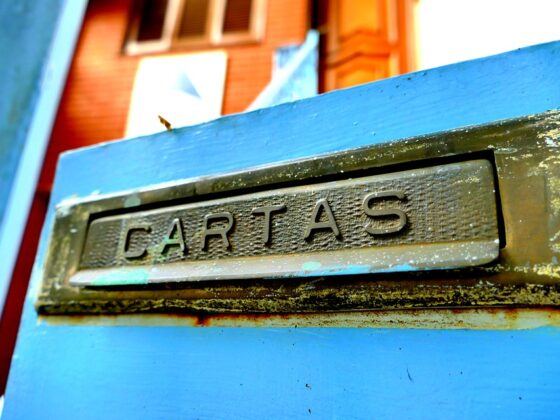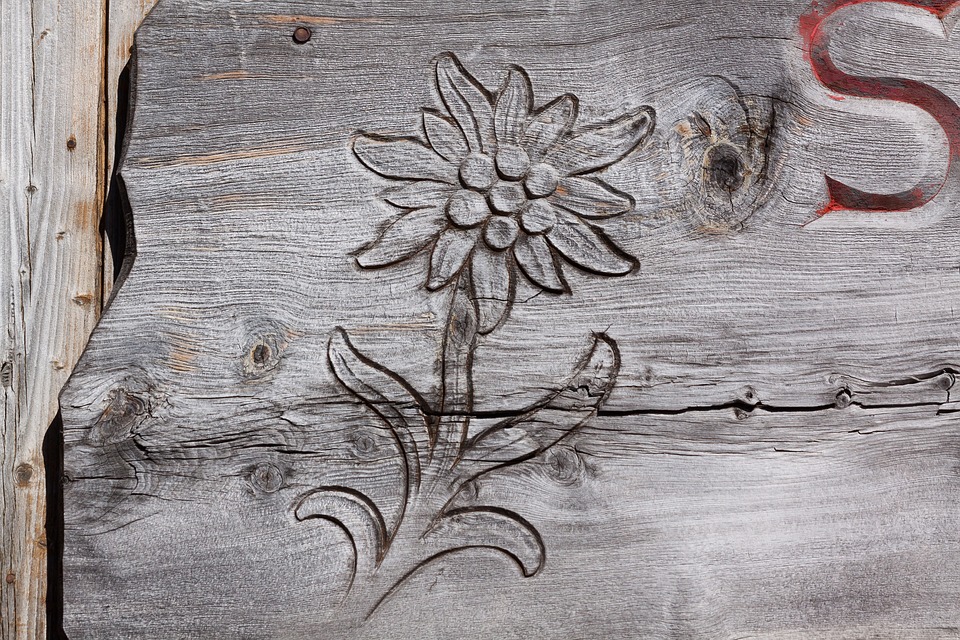
Wooden surfaces with deeply etched letters and intricate burn marks look pleasing to the eye. If you’re wondering how to replicate the same at home, this article is for you.
With low-cost engravers and handheld tools, engraving on wood is now a favorite pastime among many hobbyists. Engraving on wood involves carving out and making delicate grooves on the surface to produce the desired result.
The design possibilities are nearly endless with the right tools. What’s important is learning how to use the tools the correct way.
Drawing from years of experience engraving wood with various tools, I explain how to engrave wood at home. Learn how to use the traditional engraving method, like chisels and advanced machines, to inscribe your design on a wooden surface.
Table of Contents
- 1 What Tools Do You Need to Engrave Wood?
- 2 How Do You Engrave on Wood?
- 3 Wood Engraving vs. Wood Burning
- 4 How to Engrave Wood with Dremel?
- 5 How to Engrave Wood with Cricut Maker?
- 6 How to Engrave Wood with a Router?
- 6.1 Create a design on CAD software
- 6.2 Use CAM software to create a g-code file
- 6.3 Load the g-code to CNC controller software
- 6.4 Set up the CNC router and start engraving
- 6.5 How to Engrave Wood Without Tools?
- 6.6 Place the wood on a flat surface
- 6.7 Outline the design on wood
- 6.8 Start engraving with a chisel
- 7 Can You Engrave Plywood?
- 8 Can you use the same machines to engrave wood and leather?
What Tools Do You Need to Engrave Wood?
Five different types of tools and machines are available for engraving on wood. You wouldn’t need all of them but have to pick the right one for the job. The five types of tools are:
-
Chisels and gouges
Chisels are the most basic tools used for engraving wood. They have been in use for centuries by artisans.
They consist of a long blade with a sharp tip and beveled cutting edge that carves out the wood pieces. A gouge is a handheld tool with a concave blade, while the chisel has a flat blade.
Chisels and gouges come in different styles and sizes. For example, the chisel can either have a tang or a socket that connects the wooden handle to the blade. Chisels with tangs are used for delicate jobs, while those with sockets are made for heavy-duty purposes.
Other classical tools used for engraving wood are knives, mallets, and hammers.
-
Rotary tools
The next set of tools is rotary tools. These are equipped with motors and a fast-spinning tip. The devices also have various attachments designed for tasks like grinding, sanding, polishing, cutting, and engraving.
Dremel is the best rotary tool for engraving wood. These are small, lightweight, and easy to use on wood and other materials. Dremel can reach a speed of 35,000 RPM, thus engraving faster.
Besides Dremel, there are other brands as well that make rotary tools. While they differ in capabilities, the basic functioning remains the same.
-
Laser engravers
The most advanced tools for engraving wood are laser engraving machines or laser engravers. Previously, these were limited to industrial use. But with the availability of low-cost laser engravers, you can now use these machines to engrave wood at home.
These machines utilize high-energy laser beams to chisel the surface and leave behind cut marks.
One advantage of using laser machines over other methods is speed. The process is fully computer controlled; you must set the design on the machine and let the laser do its job. You can have the design inscribed within a few minutes.
But laser machines don’t come cheap, and you must spend significantly more than handheld tools.
-
CNC Routers
CNC Routers, just like laser engravers, produce superior results on a wooden surface. These machines utilize spindles and motors to carve the design pattern. Moreover, the routers can create 3D designs and have more control over the engraving process.
CNC Routers follow the subtractive manufacturing mechanism, which involves cutting away the materials from a large wooden log. These are impossible for a laser engraver or a Dremel tool to achieve.
There are now low-cost CNC routers available for hobbyists. If you intend to engrave 3D designs on wood, you should get one of these.
-
Cricut Maker
Cricut is often thought of as a cutting machine that can cut a wide range of materials, especially craft items. While that’s true, the Cricut Maker is also designed for engraving various materials.
It comes with an engraving tip that makes inscribing possible. You can engrave materials like acrylic, leather, plastic, and softwood.
Related: How To Make Bed Frames Out Of Pallets? A Detailed Guide
How Do You Engrave on Wood?
Different tools are available for engraving wood, but the process remains more or less the same.
To engrave on wood, you start with a wooden surface where you will inscribe the design. Then stamp or draw the design pattern on the surface using ink or pencil. Finally, you use the tools to etch the design. This process is the same for both chisel and rotary tools.
For laser engravers and CNC routers, you can skip the stamping part. The exact process is explained in greater detail in subsequent sections.
Wood Engraving vs. Wood Burning
Before you proceed, it’s better to distinguish between wood engraving and wood burning.
Both these methods are employed to decorate wood with letters and designs, but the difference lies in the process and the final result.
Wood engraving involves carving the wood with handheld tools or laser beams. On the other hand, wood burning creates burn marks on the wooden surface, which serve as decorative patterns. Wood burning is more specifically known as pyrography.
Tools like the chisel and Dremel cannot be used for wood burning. You’d need a pyrography pen for that purpose.
How to Engrave Wood with Dremel?
Dremel is a popular tool for engraving wood. It’s cheap, easy to use, and produces excellent results. And you can use this whirring tool with nearly every type of wood.
To engrave wood with Dremel, you’ll need the following things:
- Wooden blank
- Dremel (290, 3000, or 4000)
- Carving knife
- Stencil
- Pencil or marker
- Sandpaper
Once you have these items at your disposal, follow these steps:
-
Set the wooden blank on a flat surface
Start with selecting a flat, rigid surface for the wooden blank. Working on a flat surface ensures the blank doesn’t get displaced when working on it.
After that, prepare the wooden blank for engraving. Make sure it’s scorched and clean. If you spot dust or debris, take a sponge and clean the surface before engraving.
-
Draw the design on the blank
The next step is drawing the design you want to engrave on the blank. The purpose is to have an outline on the wood that you can follow with the Dremel tool. This eliminates errors and prevents you from going back and forth between the design and the wooden blank.
Make use of a pencil or a temporary marker to prepare the outline. Be as accurate as possible and start engraving only when you’re satisfied with the design.
Instead of preparing the outline with a pencil, you can use a stencil. The design is printed on paper, which you can place on the wooden surface and trace.
Some Dremel models come with a set of stencils. But they may not contain the design you want to inscribe.
-
Select the right engraving bit
The Dremel tool has multiple bits that you can interchange and use for specific projects. Changing the bit in Dremel is similar to changing the bit on other rotary tools.
There’s a button near the chunk nut to release the bit you’re currently using. Replace it with a diamond point engraver bit. This is perfect for engraving wood and a wide range of materials. Then, tighten the chunk nut back to secure the new engraving bit in its place.
You can use other bits for engraving wood, like Dremel 107 and 196. The latter is best suited for cutting/engraving rounded surfaces.
-
Start engraving with Dremel
Now you’re ready to engrave on wood with Dremel. Set the speed — which can range from 5,000 to 35,000 RPM — and follow the outline with the Dremel tip.
The angle is essential when you work through the surface. You should approach the wood at an angle of 20 to 30 degrees. Along with the angle, you should know how much pressure to exert. These things come with practice, so do not worry.
Once completed, remove the chips and clean the surface with sandpaper. Your design is now engraved!
Related: 13 Free Bunk Bed Plans: The Ultimate Guide to Building a DIY Bunk Bed
How to Engrave Wood with Cricut Maker?
Working with the Cricut Maker is easy. Now that it has the engraving tip, you can inscribe text and images on various materials.
To start engraving with the Cricut Maker, you’d need the following things:
- Cricut Maker machine
- Engraving tip
- StrongGrip mat
- Painter’s tape
- Lint roller
Related: What Is A Lazy Susan? Everything You Need to Know
After you’ve assembled the items, follow the steps to start engraving wood with the Cricut Maker:
-
Create the design on the Cricut Design Space
Open the Cricut Design Space app on your computer. Here, you need to draw or download the design you want to inscribe on wood. If it’s an intricate design, it’s recommended that you download the design in SVG format onto the canvas.
Then outline the wooden object on the canvas. Try to keep the dimensions exact. Now drag the design inside the outline and resize it if necessary.
Click on the design and change the operations to ‘Engrave’ in the drop-down menu. Now, align the design and the outline centrally on the canvas and click on the ‘Make It’ button.
-
Align the wooden piece on the StrongGrip mat
The next step is to align the wooden piece centrally on the StrongGrip mat, just like you did on the canvas. Use the grid lines if you’re having trouble locating the central spot.
Then, take the painter’s tape and tape the object’s edges to secure it to the mat. Once taped, slide in the StrongGrip mat inside the Cricut Maker.
-
Load the engraving tip and start engraving
When prompted, place the engraving tip inside the ‘B’ carrier. Also, move the white star wheels of the roller bar to the edges.
Once you’re ready, press the button to start the engraving process. Depending on the design, it may take several minutes for the process to complete.
After it’s done, remove the mat, remove the tape, and polish the wooden piece with a lint roller.
You’ve successfully engraved on wood with the Cricut Maker!
How to Engrave Wood with a Router?
Compared to other machines, working with a router requires technical expertise. You need to be able to work on GRBL control software and map out the X, Y, and Z coordinates. Also, you must know how to assemble the router before working on it.
To engrave wood with a CNC router, you’d need the following items:
- CNC router machine
- CAD and CAM software installed on the PC
- Painter’s tape
- Lint roller
Then, follow these steps:
-
Create a design on CAD software
The first thing you need to do is create the design on CAD software like AutoCAD. You need to have some expertise in operating this software. Think of this design as the blueprint for your project.
-
Use CAM software to create a g-code file
The next step is to load the design file onto CAM software and convert it to a g-code file. G-code is the universal programming format adopted by all CNC router machines. It essentially instructs the machines on the task it needs to do.
-
Load the g-code to CNC controller software
The third step is transferring the g-code file onto the CNC controller software that controls the router. This software is connected to the CNC controller via USB or a parallel DB25 port.
Once you’ve transferred the g-code to the CNC controller software, you can start engraving.
Instead of using three different software, you can use an all-in-one software that handles everything from end to end. The Easel is one such CNC software. It’s a freemium software, and some of the features cost money.
-
Set up the CNC router and start engraving
The final step is preparing the router to engrave. It would be best if you employed a suitable end mill, and I recommend using a two-flute ball nose end mill. This is ideal for engraving and carving softer materials, while four-flute end mills are used for more rigid materials.
After selecting the end mill, you must set up the wood piece in the working area. Tape the back of the wooden piece and place it on the router.
You might have to make some additional selections on the software. Once done, start the engraving process and let the spindle carve out the design for you.
Wait a few minutes for the router to complete the design on the wooden object.
How to Engrave Wood Without Tools?
If you’re on a tight budget or only have a one-off project, it’s understandable that you don’t want to buy a Cricut Maker or CNC router.
If you want to engrave wood without tools, you need to buy a chisel set for woodworking at the bare minimum. It’d have the chisels needed to engrave wood like the paring chisel, bench chisel, and mortise chisel.
Once you have the chisels, follow these steps to engrave wood:
-
Place the wood on a flat surface
Take the wooden board or object and place it on a flat surface. You must take wood free of knots or defects for engraving without tools. Clean it with a cleaner and dryer if necessary.
-
Outline the design on wood
The second step is to outline the design on the wood with a pencil or temporary marker. Or you can use a stencil instead.
-
Start engraving with a chisel
Now it’s time to start the engraving process. Take a chisel and place it at a right angle against the surface, with the beveled side facing away from you. Tilt the chisel slightly and carve into the wood by pushing it ahead.
If you’re engraving a hardwood, you’d have to use a mallet and strike the chisel. Start with milder strokes and gradually increase the intensity and speed.
Once the design is complete, take sandpaper and sand the sides to remove the crumbs. To enhance the design, apply liquid polish around the design and let it dry.
Can You Engrave Plywood?
Not all types of wood are suitable for engraving projects, but what about plywood? It’s a material made by gluing together several layers of wood veneer.
You can engrave plywood with a laser engraver, router, or Dremel tool. But it’s tough to achieve the same results with a chisel because plywoods are usually tough with hard surfaces.
Another fact you need to be aware of is that there are different types of plywood. These might be made from softwood like cedar and pine or hardwood like oak and maple.
You’d need a stronger laser engraver like a CO2 laser or a CNC router to engrave hardwood plywood. Depending on the thickness, you need to use an appropriate bit and set a shallow enough depth. You may pass the engraving tip twice to get the best results. The machine will carve the design within a few minutes.
Can you use the same machines to engrave wood and leather?
You can use the same tools and machines to engrave wood and leather. There are many benefits to using the same machine for both materials. The main benefit is that it saves money. You don’t have to buy two separate machines; you can use the same software and settings for wood and leather.
Another benefit is that it’s more efficient. You can set up your machine once and quickly switch between engraving wood and leather without making any changes. This is especially helpful if you’re working on a large project requiring engraving many different materials.
There are a few things to remember when engraving wood and leather. First, the depth of the engraving will be different for each material. Second, leather is a more delicate material, so you’ll need to be careful not to damage it.
Overall, using the same machine to engrave wood and leather is a great way to save money and be more efficient. Just make sure to keep the differences between the two materials in mind.