Invented to easily share dishes, sauces, or condiments among diners, lazy Susan has become today’s must-have tool for every household.
A lazy Susan neatly organizes everything – be it those messy spice jars on the kitchen shelf or storage containers eating up valuable space inside the cabinet. Isn’t it a lifesaver?
But what exactly is this “lazy Susan?” Why is it called so? Where to buy it from?
Continue reading as I answer each of these questions in detail.
If you’re a DIY person like me, why not create a lazy Susan at home? I’ve shared the step-by-step process for the same as well.
Table of Contents
What Is A Lazy Susan?
A lazy Susan is a rotating tray placed (temporarily or permanently) over a table or countertop. It’s generally used for serving food or as a space organizer in kitchens, bathrooms, etc.
In a lazy Susan, the rotating tray is usually circular (but can be given any shape, square, kidney, or pie) and made of plastic, glass, or wood.
Note: Lazy Susans with multiple tiers are also popular in modern households. They include rotating trays in varying sizes to eliminate clutter, create more space vertically, and make everything easily visible and accessible.
Related: How To Organize A Lazy Susan Cabinet – Full Guide [2023]
Why Is It Called A “Lazy Susan?”
Why is it called a “lazy Susan?” If you’re wondering about this name, you’re not alone.
But unluckily, no credited theory tells how this turntable got its name, “lazy Susan.”
Still, it’s said that “Susan” used to be a generic term in the 18th century to refer to that time’s female maidservants. And since these servants were usually lazy, thus the name “lazy Susan.”
How To Make A Lazy Susan?

A basic 15″ wooden lazy Susan in Ikea costs around $18. And if you wish for more inches in diameter, you would need to spend at least $50 or even more. So, why not make a DIY lazy Susan at home, under $10-$15?
Time?
It’ll be less than 30-45 minutes, for sure!
Just follow the following step-by-step guide, and you’re done.
Supplies:
- Circle-cutting jigsaw/compass
- Pencil (for marking)
- Measuring tape
- Screwdriver + some screws
- Jigsaw
- Electric sander (or sandpaper)
- Lazy Susan turntable hardware (ball bearings, base metal plate, etc.)
- 2-foot x 4-foot plywood or MDF
- Any paint
Procedure:
-
Measure The Space Where You’ll Install The Lazy Susan
Whether you’re making the lazy Susan for your office table, dining table, or kitchen cabinets, measure the target space’s size using the measuring tape. Skip this step if you’re not critical about the size and only plan to place the lazy Susan on the top of a large table.
Tip: To prevent your lazy Susan from bumping the cabinet walls, make the unit smaller than the cabinet. This will allow more room to spin.
Related: How to Organize a Craft Room? Basement Makeover
-
Draw A Circle On The MDF/Plywood
Take the plywood or MDF and draw a circle on it following the measurements. I usually use my compass, but a circular saw is also good.
-
Cut Out The Circle
Once the circle is drawn to perfection, cut it out using the jigsaw. Here, ensure smooth edges and no damage to the circle.
-
Smoothen Out The Circle
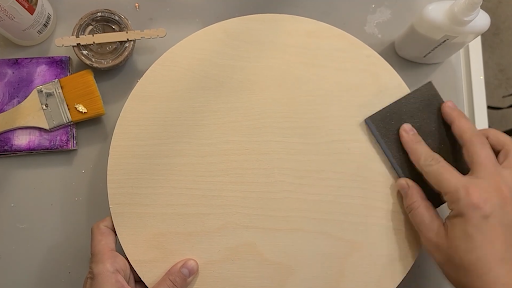
It’s time to smoothen out the circle cut above. You can use an electric sander (to save time and effort) or regular sandpaper (suggested grits – 120-220)
In the latter, you’ll just need to put in more time and effort for the same results as with the electric sander.
Tip: Refer to this guide for sanding plywood.
-
Prime & Paint Your Lazy Susan
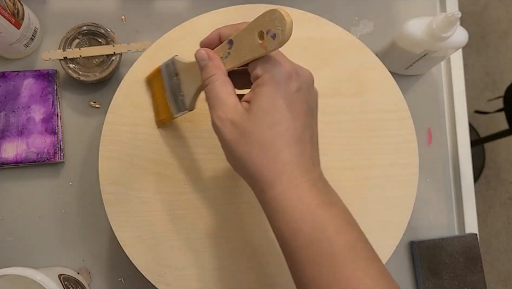
Before you begin the priming and painting job, clean one surface of the circle with any soft cloth to remove any leftover sanding dust. This will be our “top” for the lazy Susan.
Once cleaned, apply 2 coats of primer on this top surface (with a 3-6 hours gap between), let them dry, and apply your favorite paint. Again, 2 layers of paint for the best finish. Some plywood-friendly paints include milk paint, acrylic latex paint, chalk paint, etc.
Note: Depending on your paint, you might require more than 2 coats. But 2 coats are the minimum.
-
Set The Finished Lazy Susan
After letting the paint dry for a couple of hours (or more), your DIY lazy Susan is ready for installation.
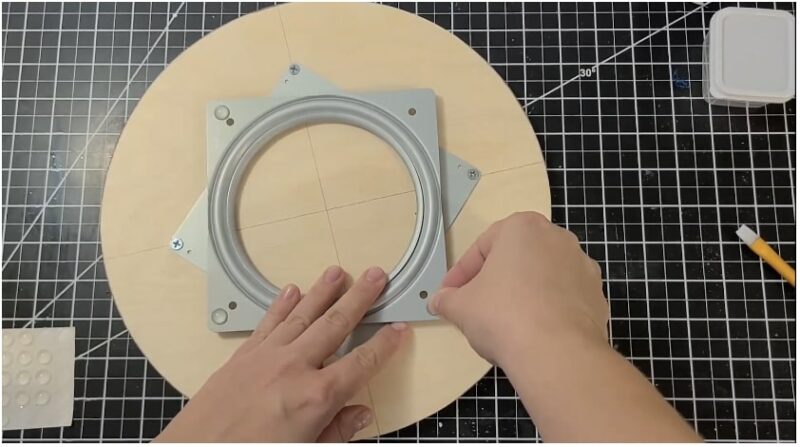
For this step, you’ll require the lazy Susan turntable hardware, pencil, screws, and hammer.
Turn over the painted circle so its unprimed and unpainted side faces upward. Place the hardware at its center point and mark the location of the holes with the pencil.
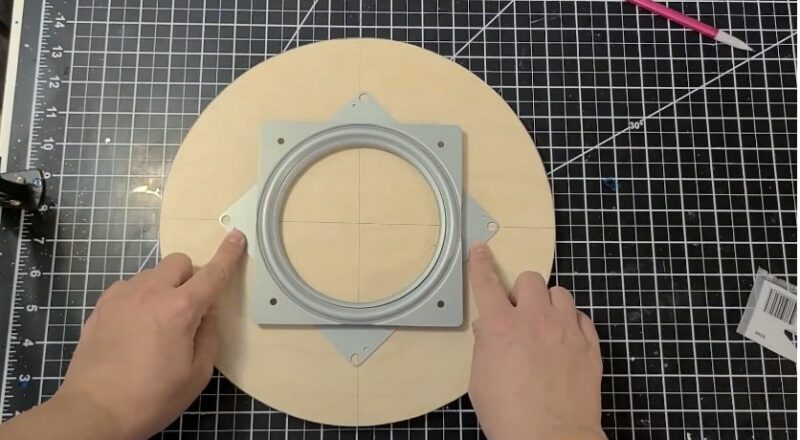
Using a small handheld driller, drill small holes for the screws after removing the hardware. Make sure the holes have enough depth.
Use the screwdriver to place the hardware again on these holes and screw in the screws.
-
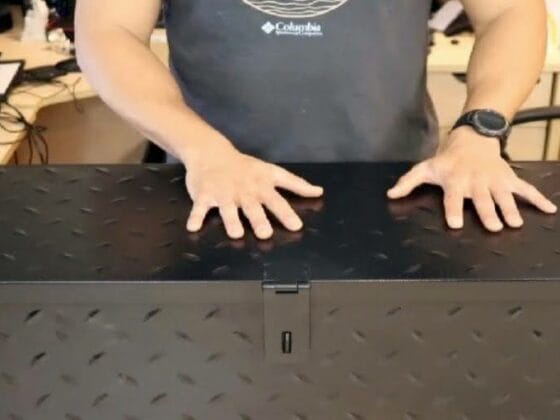
Check The Entire Arrangement
Lastly, check the entire arrangement by rotating the wooden turntable on its hardware. If required, do the alterations. You can always add a personal touch by engraving it.
Congratulations, your DIY lazy Susan is ready to use.
Tip: You can also prime and paint the other layer of the wooden circle for a complete finish look.
Related: 8 Best Laser Engraving Machines For Wood in 2022
What Is A Lazy Susan? (FAQs)
-
Who Invented The Lazy Susan?
Ans: Thomas Jefferson is believed to be the inventor of lazy Susan.
-
How Do Lazy Susans Work?
Ans: A lazy Susan is a combination of a rotating platform (made of plastic, wood, or glass) on a set of bearings. It’s set on a firm surface and rotated from the sides.
-
What Do Most People Use A Lazy Susan For?
Ans: The most common uses of a lazy Susan include the organization of:
- Spice jars
- Cleaning supplies
- Beauty products
- Bathroom Vanity
- Garage workbench
- Pots
- Small appliances
-
Is Lazy Susan An Offensive Term?
Ans: No, lazy Susan isn’t an offensive term.
Conclusion
Here you go, peeps. That’s everything you should know about lazy Susan. From merely a rotating table used to distribute food among the diners to helping people with home organization, lazy Susans have come a long way.
Today, you can also make your own lazy Susan at home (called a lazy Susan cabinet or lazy Susan organizer), the quick process of which has been discussed above for your reference.
So, are you using a lazy Susan at your home? If yes, for what purpose?