Securing a bookshelf to a wall is an important safety measure. It prevents the bookshelf from tipping over and potentially causing injury or damage. There are several methods for securing a bookshelf to a wall.
However, they depend on the wall type and the bookshelf’s weight. The most effective method for securing a bookshelf to a wall is by finding studs and securing the shelf to it.
But wait! Are you trying to figure out how to secure a bookshelf to the wall from scratch?
Don’t worry! I’ll guide you through the steps and methods by which you can fix the bookshelf on your wall.
Do I Need To Secure My Bookshelf To The Wall?
It is generally a good idea to secure a bookshelf to the wall, especially if it is tall or contains heavy items. This can prevent the bookshelf from flipping over, which could otherwise be a hazard.
If you have children or pets in your home, securing the bookshelf to the wall is especially important to prevent accidents. Follow the manufacturer’s instructions for attaching the shelf to the wall using proper hardware.
Related: How To Build A Bookshelf Wall? A Detailed DIY Guide
How Do You Secure A Freestanding Bookcase?
There are several ways to secure a freestanding bookcase to ensure that it remains stable and safe to use. Here are some steps you can follow:
Step 1: Place The Bookcase On A Flat, Stable Surface:
Before you start securing the bookcase, it’s important to ensure that it’s placed on a flat, stable surface. This will help prevent it from tipping over or becoming unstable.
Step 2: Anchor the bookcase to the wall:
One of the most effective ways to secure a freestanding bookcase is by anchoring it to the wall. This will help prevent the bookcase from toppling if it’s bumped or if someone leans against it. You’ll need to use wall anchors and screws to anchor the bookcase to the wall. Here’s how to do it:
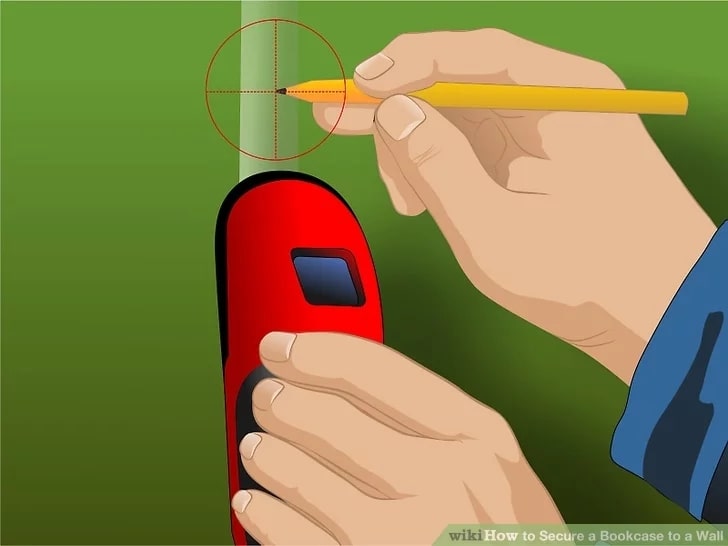
Step 3: Locate the studs in the wall behind the bookcase:
To anchor the bookcase to the wall, you’ll need to locate the studs in the wall. You can do this by using a stud finder or by tapping on the wall with your knuckles and listening for a solid sound (this will indicate a stud).
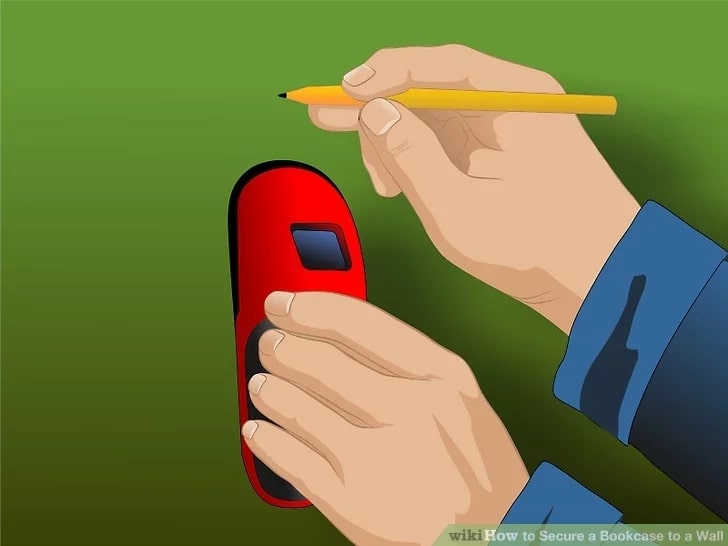
Step 4: Mark the studs on the wall:
Once you’ve located the studs, use a pencil to mark their locations on the wall.
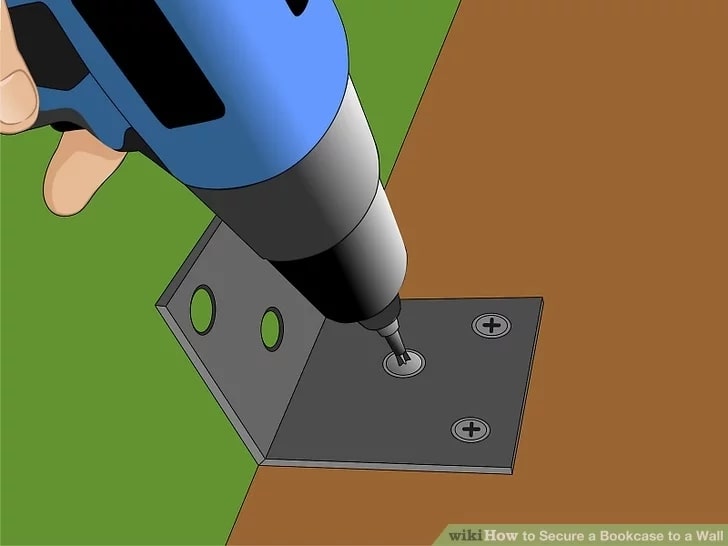
Step 5: Attach the wall anchors:
If the bookcase is heavy, you’ll need to use wall anchors to help distribute the weight of the bookcase across a larger area of the wall. To attach the wall anchors, use a drill to make a hole in the wall at each marked location.
Then, insert the wall anchors into the holes and use a screwdriver to secure them in place.
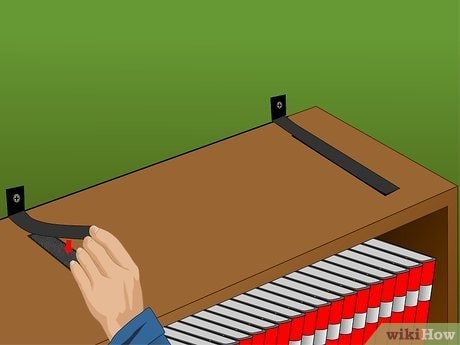
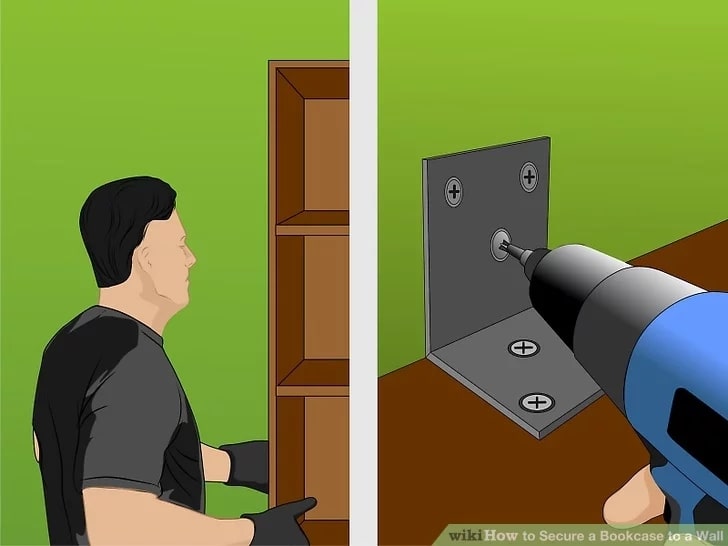
Step 6: Attach the bookcase to the wall:
Once the wall anchors are in place, you can attach the bookcase to the wall using screws. Place the bookcase against the wall and use a drill to screw it into the wall anchors. Make sure the screws are tightened securely to ensure a strong connection.
Step 7: Add braces or brackets:
If the bookcase is especially tall or heavy, you may want to add braces or brackets to help reinforce it. Braces can be attached to the sides of the bookcase using screws, and brackets can be attached to the back of the bookcase using screws or adhesive. This will help prevent the bookcase from tumbling or becoming unstable.
Step 8: Secure the shelves:
If you’re concerned about the stability of the shelves, you can also secure them to the bookcase using screws or adhesive. This will help prevent the shelves from sagging or becoming unstable.
Step 9: Avoid overloading the bookcase:
Finally, it’s essential to avoid overloading the bookcase. This means not stacking too many heavy books or objects on the shelves, as this can cause the bookcase to become unstable or even tip over.
Following these steps can help ensure that your freestanding bookcase is stable and secure. You can also refer to this video for better guidance.
Related: How To Make Bed Frames Out Of Pallets? A Detailed Guide
How Do You Stop A Bookcase From Tipping Over Without Drilling?
There are a few ways you can use to keep the bookshelf secured to the wall without drilling:
Use adhesive strips: Adhesive strips like Velcro or double-sided tape can be used to secure the bookcase to the wall. Apply the strips to the back of the bookcase and press it against the wall.

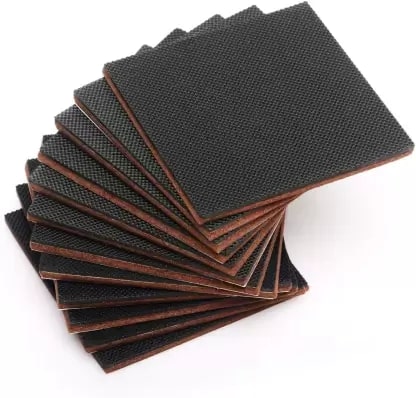
Use furniture pads: Furniture pads, also known as furniture grippers, are rubber or silicone pads that can be placed under the legs of the bookcase to prevent it from sliding or tipping over.
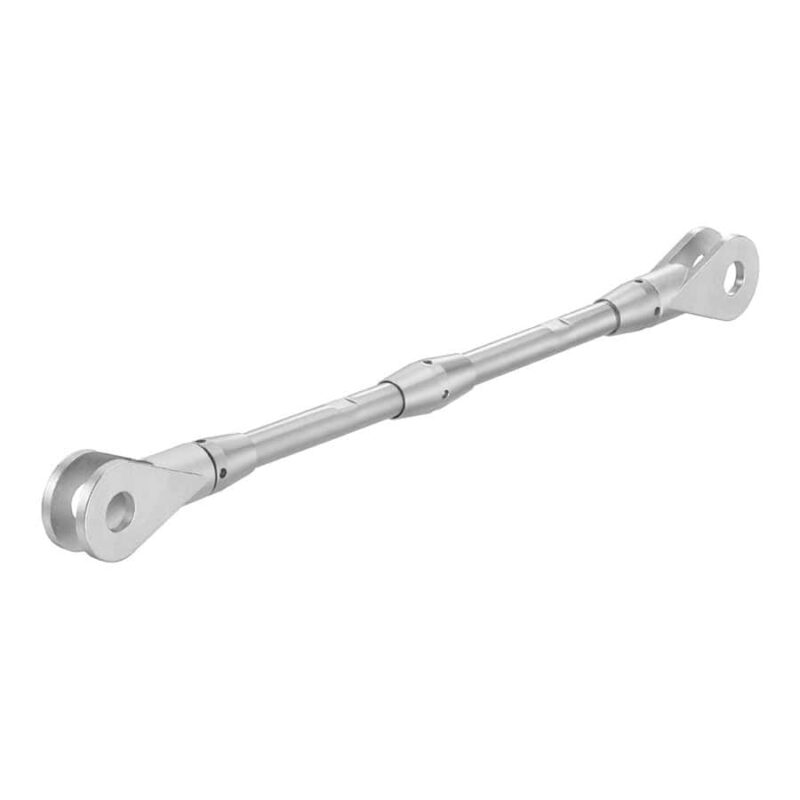
Use tension rods: Tension rods can be used to hold the bookcase in place by creating tension between the bookcase and the wall. Simply place the rod between the bookcase and the wall, and adjust the length as needed to create tension.
Use books to balance the weight: If the bookcase is falling because it is unevenly weighted, you can try balancing the weight by placing heavy books on the lower shelves. This can help distribute the weight more evenly and prevent the bookcase from falling off.
Anchor it to the floor: If the bookcase is on a carpeted floor, you can try anchoring it to the floor by placing a piece of heavy-duty fabric or a rubber mat under each leg. This would keep the bookcase stable and prevent it from falling.
It’s important to note that while these methods may help prevent a bookcase from falling off, they are not foolproof and may not be suitable for all situations. If you are concerned about the stability of your bookcase, it may be best to consult a professional for advice.
Related: How To Make A Lazy Susan – A Step-by-Step Guide
Do Bookshelves Need To Be Anchored To Studs?
It is generally recommended to anchor bookshelves to studs in the wall to ensure stability and prevent the shelf from falling off the wall. This is especially important if the bookshelf is tall or if it will be holding heavy items.
To anchor a bookshelf to studs, you will need to locate the studs in the wall using a stud finder. Once you have found the studs, you can use screws or wall anchors to secure the bookshelf to the studs.
Related: Best Wood Engraving Machine in 2023: Our Top 6 Choices
Wall anchors can be used if you cannot find studs in the wall or do not have access to the back of the wall to attach the screws directly to the studs.
It is essential to follow the manufacturer’s instructions for installing the bookshelf and to use the appropriate hardware for the specific type of wall and bookshelf you have.
If you are unsure how to anchor a bookshelf properly, it is a good idea to seek the help of a professional.
Related: How to Engrave Wood? Dremel, Router, Chisel & Cricut
How To Attach A Built-In Bookcase To The Wall?
To attach a built-in bookcase to a wall, you will need to follow these steps:
Find the studs in the wall: You will need to attach the bookcase to the wall studs to provide sufficient support. You can use a stud finder or knock on the wall to locate the studs.
Mark the stud locations: Once you have located the studs, mark them on the wall, so you know where to place the brackets for the bookcase.
You can install adhesive tape brackets if you do not want to find studs and drill.
Install the brackets: The brackets for the bookcase should come with mounting hardware. Follow the manufacturer’s instructions for attaching the brackets to the wall. Make sure that the brackets are level and spaced correctly.
Attach the bookcase to the brackets: Once the brackets are installed, lift the bookcase into place and attach it to the brackets using the mounting hardware provided. Ensure the bookcase is level and secure before attaching any items to the shelves.
Finish the installation: You may want to add trim or molding around the edges of the bookcase to give it a finished look. You can also add support by installing screws through the back of the bookcase and into the wall studs.
Related: How to Make a Fence With Pallets? Easy DIY Guide
How To Secure The Bookshelf To The Wall By Drilling?
To secure a bookshelf to a wall, you will need to follow these steps:
Find the studs in the wall: Use a stud finder to locate the studs in the wall. Studs are typically 16 inches apart and provide a solid foundation for attaching the bookshelf. Make sure the bookshelf is evenly spaced between at least two studs.
Mark the drilling locations: Using a pencil, mark the locations where you will drill the holes in the wall. Make sure the marks are level and evenly spaced.
Drill pilot holes: Employ a drill and a bit that is a little smaller than the screws you will be utilizing to attach the bookshelf. Drill pilot holes at the marked locations. This will make it easier to insert the screws and will help prevent the wall from cracking.
Attach the bookshelf: Place the bookshelf against the wall. Align the pilot holes with the holes in the back of the bookshelf. Insert the screws and tighten them securely.
Repeat the process for the bookshelf’s other side, ensuring the screws are evenly spaced and tightened securely.
It is essential to follow these steps carefully to ensure that the bookshelf is securely attached to the wall and will not tip over or fall. You can watch the following video, too, for help: How to attach a bookshelf to the wall.
How To Secure A Bookshelf To The Wall FAQs
How does one secure a large bookshelf without screws?
Fortunately, there are alternatives to using screws or studs to fix a bookshelf to the wall. When anchoring a bookcase to the wall without a stud, I recommend using Velcro strips, heavy-duty glue, heavy-duty tape, or a no-screw anti-slip kit.
What is the most secure technique to attach the shelf to the wall?
For the most stable attachment, fasten your shelf directly to wall studs whenever possible. To detect studs in a wall, use a stud finder.
Are nails or screws preferable for shelf construction?
Although nails are better fasteners for shear strength and screws are better fasteners for grip strength, both will work in most cases.
However, screws are better. Even experienced carpenters will use screws when a nail would have sufficed simply because it is easier to remove a screw in the event of a mishap.
How do you mount a shelf without a stud?
If a wall stud doesn’t match up to where you’d like to hang a shelf, you can easily replace it with new hardware. Drywall anchors are ideal for low loads, molly bolts are ideal for medium-sized shelves, and toggle bolts are ideal for your largest units.
How do you organize a bookshelf?
Usually, heavier goods, such as art books or storage bins, are placed at the bottom of the bookshelf. Lighter goods, such as paperbacks, should be placed at the top.
What materials are Velcro straps made of?
They are made of polypropylene with tailored backings (polypropylene, polyester, and PVC), making them suited for applications requiring a soft and flexible closure.
Concluding Thoughts
Securing your bookshelf on the wall is very important to avoid any mishap. As discussed, there are several ways to do it. You can drill to attach it or use furniture pads or adhesives to fit it to the wall. Follow the steps to attach the shelf and decorate it with your books to add elegance to your room.