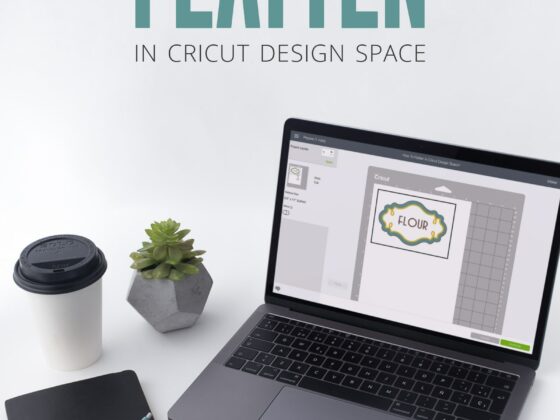
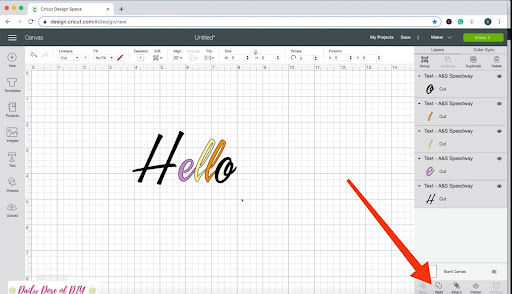
Those eye-catching complex craft pieces on Cricut, for example, stickers, are made from dozens to hundreds of layers. Once completed, all the layers are welded into a single image using the “Weld” option on the Design Space.
But have you wondered if these welded objects are required separately for another project? Or if there seems to be an issue with the weld?
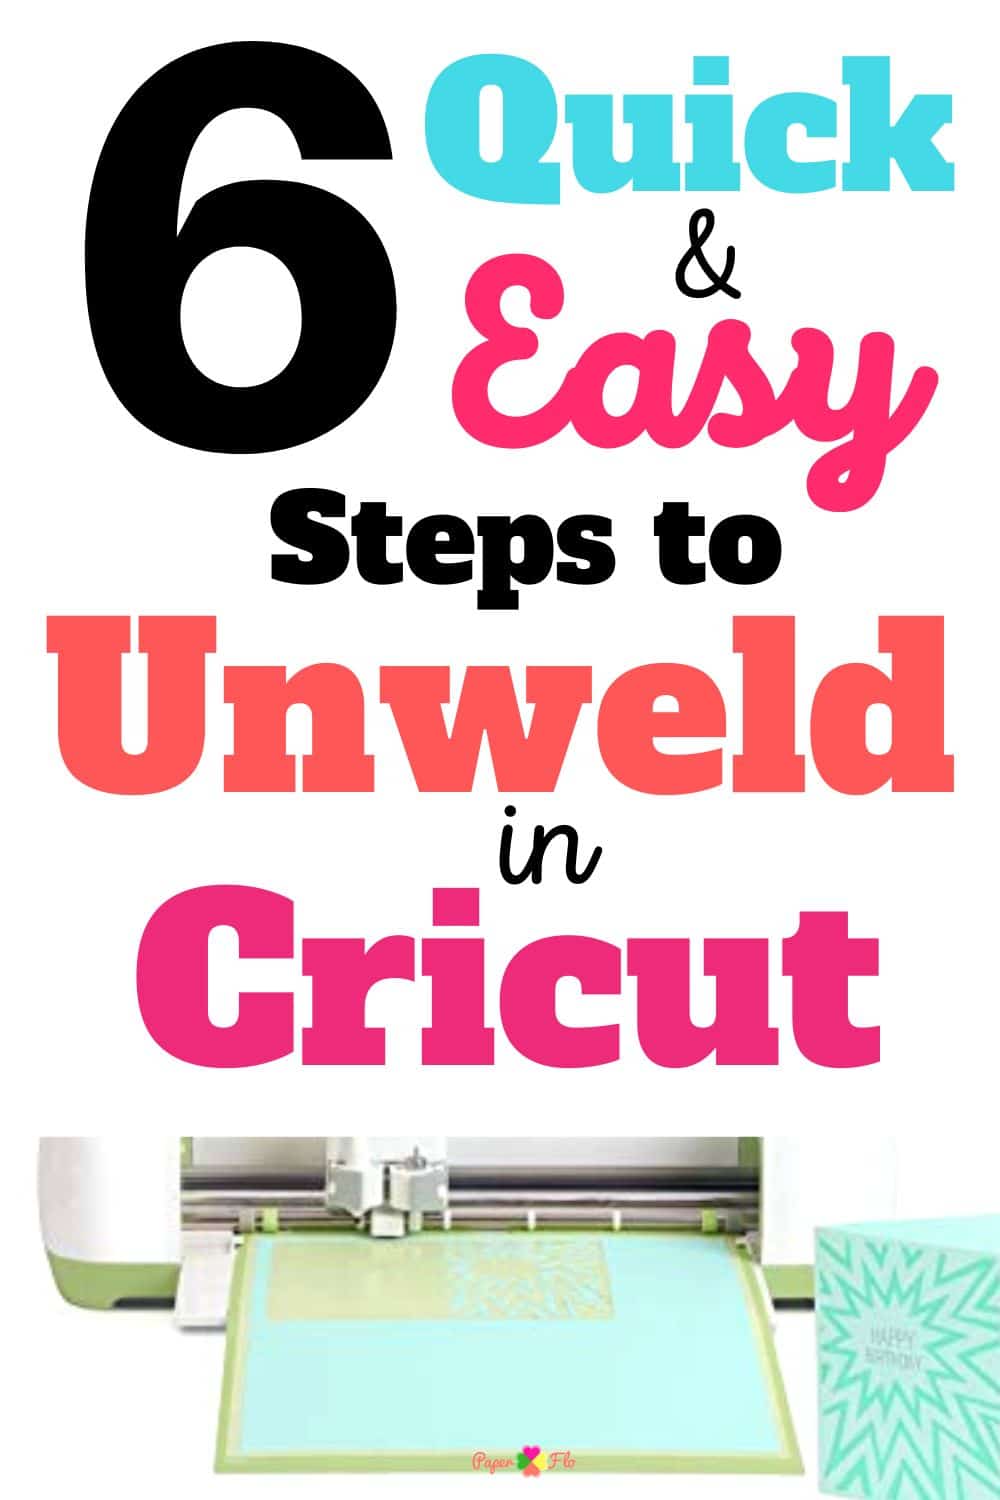
You’ll have to “unweld” the weld.
To unweld on Cricut, immediately hit the “back” arrow at the top left of Cricut Design Space. You can also use keyboard shortcuts “Command + Z” or “CTRL + Z” on your Mac and PC.
Continue reading to know more about how to unweld a weld on Cricut and some tips to follow while welding to avoid such a situation.
Related: Cricut Maker Vs. Cricut Maker 3 – A Detailed Comparison
Table of Contents
What Does Unweld Mean On Cricut?
To understand what “unweld” means on Cricut, let’s first discuss what “weld” means.
Do you know about metal arc welding? Yes, I’m talking about joining two metal pieces to make a single piece.
In Cricut, the Weld function works pretty much the same. It melds two or more texts, shapes, and images together to create your desired unique design or a single file of reduced file size.
But since Cricut automatically saves every change you make in the file simultaneously, if you suspect any error or mistake, you’d need to “unweld” the weld.
Unweld on Cricut means to undo the weld or changes made to a file before they become permanent.
Read on to learn how to unweld on Cricut.
Related: How to Engrave with Cricut Maker? Acrylic, Wood, Metal
How To Unweld On Cricut?
It’s been a while since I started using the Weld function of Cricut to combine multiple objects. It’s straightforward. However, I often require welded objects separately for my other projects, for which unwelding the welded items is essential.
But unfortunately, there is no such option on Cricut so far, unlike the “Ungroup” option to ungroup grouped objects (texts or images.)
Still, there’s a way to unweld things in the Cricut Design Space.
As soon as you find any error in the weld or want to change anything, immediately hit the “Undo” option to undo the weld.
Acting promptly here is vital, as Cricut simultaneously saves every change in the file as you work. If the file gets saved or closed, the weld becomes permanent, and there’s no way to undo it!
Just like you unweld a welded shape or object to create separate entities, Cricut tools like “Ungroup” and “Slice” mostly function similarly.
Let’s discuss these features in detail next.
Related: Best Printer For Cricut – 5 Excellent Printers in 2023
How To Ungroup On Cricut?
In Cricut, the Ungroup option ungroups a set of layers, texts, or images. This way, they can move and size independently on the Canvas.
Here are the steps to follow to Ungroup layers, texts, or images on Cricut.
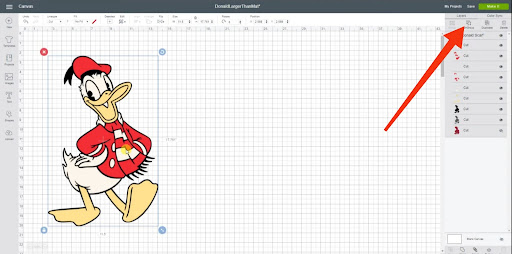
- On your device, go to the SVG file you want to ungroup. It’ll have the browser icon you’d use, for example, Chrome.
- Next, insert the image into the canvas.
- In this step, duplicate the image for all colors you want it to have.
- Navigate to the top bar of Design Space. Find the Select All option and click on it.
- Since all the images are not aligned on the canvas, select Center from the Align option, this option is also on the top bar.
- On the right or Layers panel, click on the eye next to 2 of the image layers.
- Select the only image left on the canvas, making the Contour button on the lower right corner of the screen clickable. Click on it.
- A Hide Contour pop will appear on the screen to hide any cut line.
- When you’ve hidden the required cut lines, this image layer will be the 1st color. You can edit anything on the image. When done, hit the “X” in the upper right of the pop-up window to close the Hide Contour window.
- Again, close the eye on this image from the Layers panel and open one on any duplicates.
- This image layer will be the 2nd color. Repeat the above steps here and for every color left after this. But don’t forget to open the eye on each layer.
So, that’s how to ungroup layers, text pieces, and images on Cricut.
Related: What Does Flatten Mean On Cricut? All The Answers
How To Slice On Cricut?
Do you want to split an image or text into different parts? If so, Slice is the tool to use.
The following tutorials will demonstrate how to Slice images or texts on Cricut.
Related: Best Laptop For Cricut Maker – 5 Top Picks Reviewed
1. Slice Images
The following steps slice images to create another image with different properties.
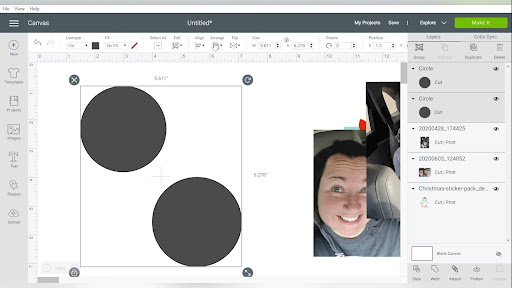
- Add two single-layer images to the canvas, as you can only slice two images simultaneously. (You can select any built-in image from the “Images” section or upload your own.)
- Next, place one image anywhere over the other image. Positioning doesn’t matter here. Just put it where you want it to cut out.
- Highlight the images. To do so, click and drag the images. You’ll notice a bounding box around the images and individual layers on the Layers panel.
- The Slice button on the bottom right-hand corner will now become clickable or active. (The Slice option will appear under the Actions tab on smartphones.)
- Hit Slice, and you’re done!
Initially, you might feel that nothing happened, but now, you’ll find three layers on the Layers panel and other canvas cutouts.
Related: How to Clean a Cricut Mat – A Step-By-Step Illustrated Guide
2. Slice Text + Image
Slicing text and images is relatively straightforward, as the given steps depict.
- Add the text and image to the canvas.
- Shift the text anywhere on the image.
- Highlight by clicking and dragging each to get a bounding box.
- The Slice button will become visible in the bottom right-hand corner of the screen.
- Hit Slice, and you’re done.
BONUS!!!
Related: How To Make Business Cards On Cricut? The Complete Guide
3 Cools Tips To Follow Before Welding To Avoid Unwelding On Cricut
Since welding is a step that can’t be nullified later, follow these tips to avoid worrying about unwelding.
- Duplicate your original file, name it “Backup,” and start working on this file. If any issues or errors occur during welding, you can import images from the original file and restart.
- Besides backup files, you can also create a backup of layers. Here, you can work on the original layer after hiding the duplicate. Repeat this step every time you make a mistake and can’t undo the changes. I prefer duplicating the layers.
- Another option is to use the “Group” option instead of “Weld.” The simple reason behind this is the built-in “Ungroup” option to undo the changes.
Related: What Can I Make With A Cricut Machine? 15 Ideas For All Levels
How To Unweld On Cricut (FAQs)
-
Why Can’t I Unweld In Cricut?
Ans: If you’re unable to unweld your weld in Cricut, it’s because your weld has become permanent and can’t be undone now. As aforementioned, you can only unweld any weld on Cricut before the project gets saved.
-
How To Unweld A Saved Project?
Ans: You can’t unweld a saved project.
-
How To Unweld On Cricut On iPhone?
Ans: Whether using an Android or iPhone, you must use the “Undo” option to unweld anything on Cricut.
Related: Sublimation vs. Vinyl: The Ultimate Printing Showdown
Conclusion
So, here you go. Weld is the most important and widely used tool almost every Cricut user uses in their projects. It’s very much similar to the Group feature. But unlike the “Ungroup” button, Cricut lacks the “Unweld” button.
Thus, the only way out is to hit the undo button every time you feel undoing the changes or welding. But don’t let your file get saved, as even the undo function won’t work there.
As a remedy, I have also listed some simple tips you can note while using the welding option on Cricut.