
Are you looking for a new hobby? Or maybe you just want to learn something new? Crochet is a great activity for people of all ages and skill levels. If you’re interested in learning how to crochet, this guide will teach you the basics so that you can get started. Crochet is a type of needlework that uses yarn or thread to create fabric from loops of stitches.
It’s similar to knitting, but instead of using two needles, crocheting is typically done with just one hook. Crochet can be used to make a variety of items such as blankets, hats, scarves, and more. In this article, I’ll go over what you need to start crocheting, some examples of easy projects to start as a beginner, and finally, I’ll demonstrate the basic techniques involved with photos and videos.
If you’re a beginner in crochet make sure to read some of my older articles catering to beginner crocheters:
- Best starter crochet kits
- What do you need to start crocheting?
- How to tie off crochet?
- How to count rows in crochet?
- How to crochet a basic beanie hat?
Table of Contents
How do you start crocheting?
We can’t begin a journey without some essential supplies. When embarking on a journey to crochet you’ll need some yarn.
Which type of yarn?
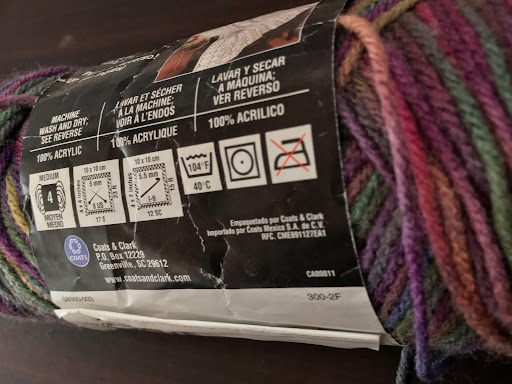
I’d suggest buying a DK (double knit) yarn in a solid color. Make sure to read the label on the yarn carefully as it tells you which type of yarn it is, what hook size would be compatible with the yarn, and how much yarn is there in that ball/skein.
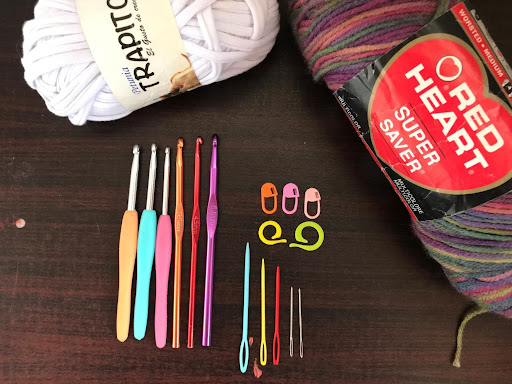
Along with the yarn, you’ll need some crochet hooks. Again buy the hook sizes mentioned on the yarn you’re buying. But one tip I can give you is to buy simple aluminum hooks. You can either buy a full aluminum hook or an aluminum hook with a rubber grip. Both are beginner-friendly and really comfortable to use. You would also benefit from buying an inexpensive yarn winder.
You’ll also need a pair of scissors for snipping the yarn at the end of projects. You’ll need darning needles to weave in the hanging threads and stitch markers come in handy on various occasions but I won’t call them a basic necessity. So that’s all the basic stuff you’ll need to begin with crochet. If you want a more exhaustive list together with more details I have a dedicated article: what do you need to start crocheting.
Related: 27 Free Crochet Top Patterns
What is the easiest thing to crochet?
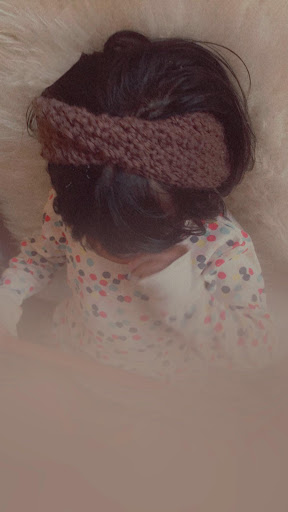
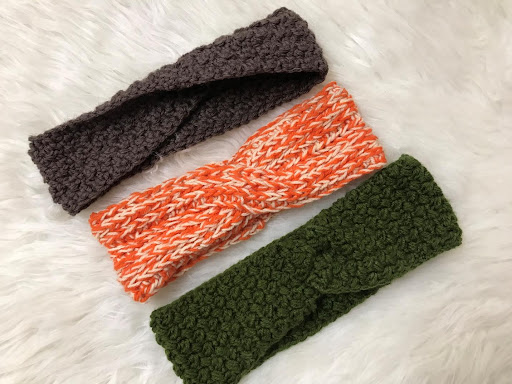
The easiest and most usable thing in my opinion would be a headband. You can make a headband with any basic stitch, all you need to do is crochet a rectangle long enough for your head and then sew both ends together. This can be an elegant piece to wear and showcase. I mean, who doesn’t want to showcase their very first crochet craft and where else if not on the head.
What are the first things a beginner should crochet?
The first few projects mean a lot when embarking on this journey of crochet. I’d suggest keeping it simple and short because long projects will make you tired and lose interest when just starting out. Some short 30 minutes projects will boost your confidence and will make you proud of yourself. Here are some good examples of what you can make incorporating basic stitches in less than an hour.
Related: 32 Free Crochet Sweater Patterns For All Seasons
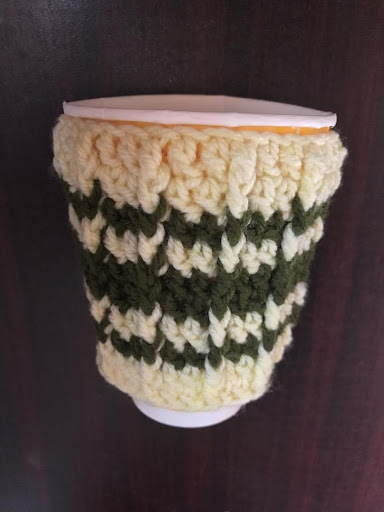
A cup sleeve (30 mins project)
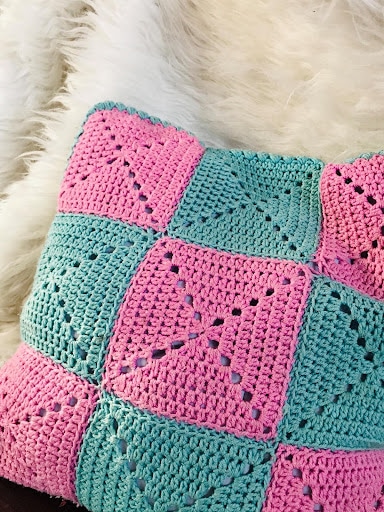
A Cushion (2-hour project but one of the easiest)
A headband (30 mins project)
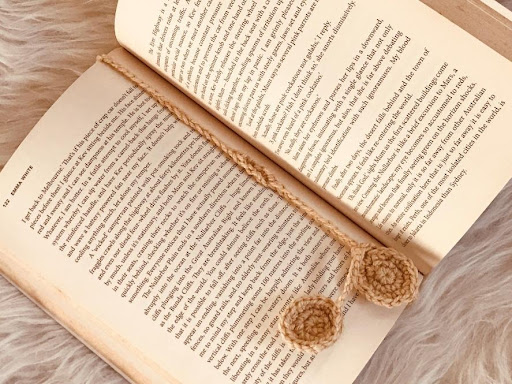
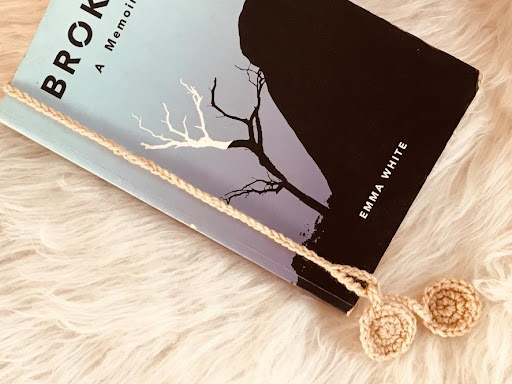
A bookmark. (10-minute project)
How to crochet for beginners step by step with pictures?
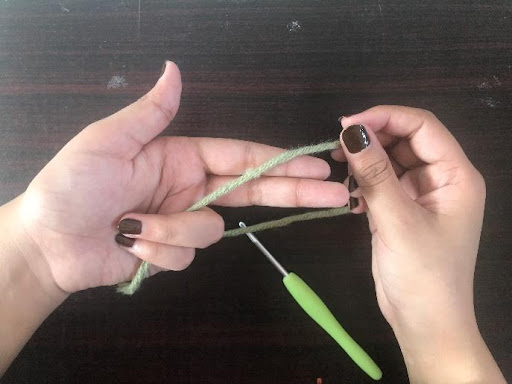
- To make a slip knot with your finger, point the first fingers like a gun and hold the end on the yarn from the bottom two fingers.
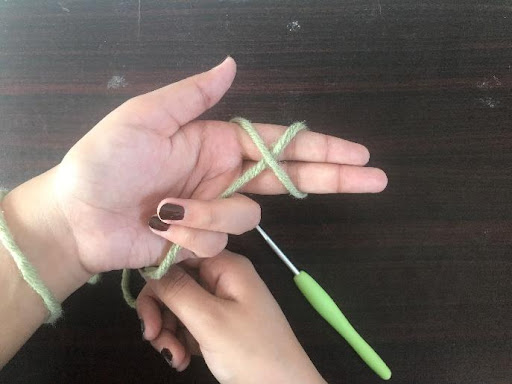
- After holding the yarn in the bottom two fingers, take the working end and make an X on your fingers.
- On the front side, you’ll get an X but on the back of your fingers, you’ll get two parallel lines.
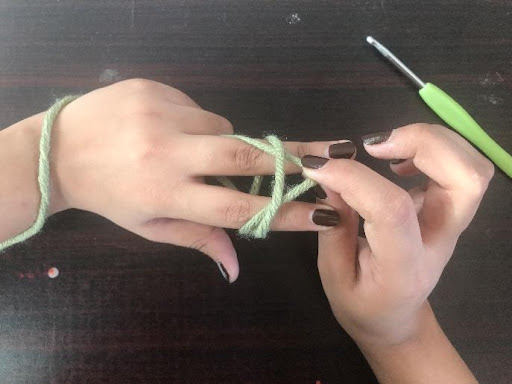
- insert your index finger and thumb through the first loop and grab the second loop.
- Pull the loop and remove your fingers.
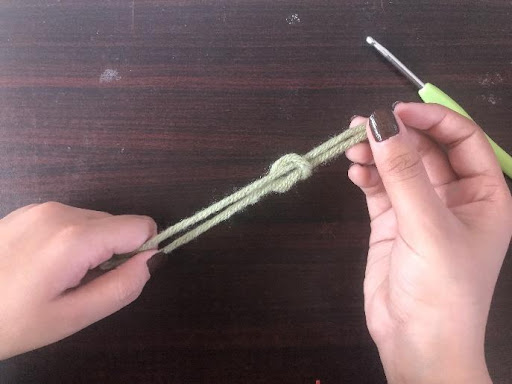
- Now grab both the ends and pull them together.
- And You’ve just made a slip knot.
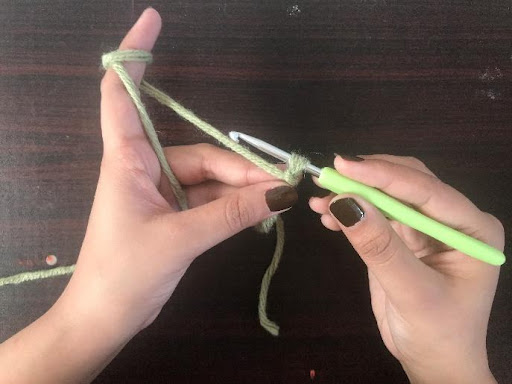
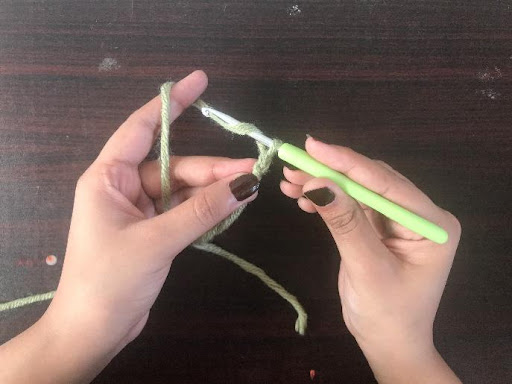
- Now that you’ve successfully made your slipknot. Let’s see how you can hold the hook and maintain the tension in the yarn.
- Many people like to hold their hook like a knife and some hold it like a pencil. Both ways of holding the hook are correct. In fact, many ways of holding the hook exist. Remember to just try and see what works for you.
- There are different ways of holding the yarn too. I just wrap it around my index finger. You have to play around with yarn and hook to find out what works best for you.
- Last but not least, is the tension in the yarn. hold the project from right beneath you’re working area. What I do is I wrap the yarn around my finger until I have just 3 inches left to work with and then I grab the project from right beneath where I’m about to crochet.
- For more clearly see the pictures below:
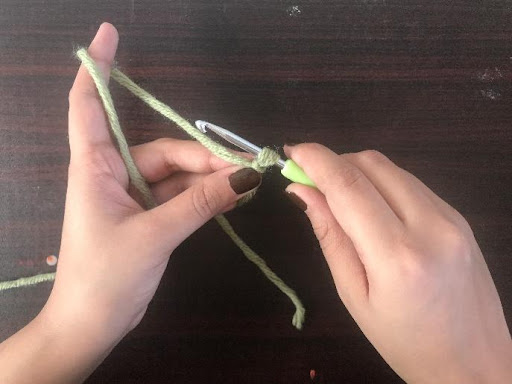
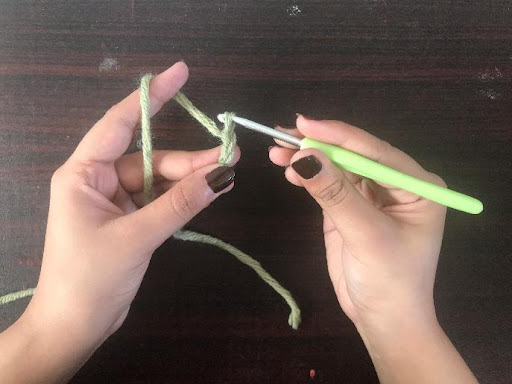
- Now that you have good tension in the yarn, you want to make sure that the loop in the hook is not too tight and has enough room for the crochet hook to glide easily.
- Also, the hook must face you. Now turn it around the yarn so that the hook can grab the yarn, this is called yarn over.
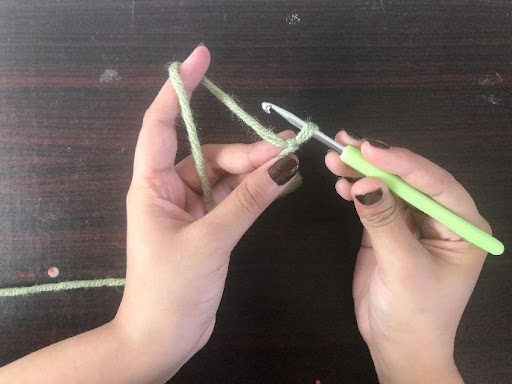
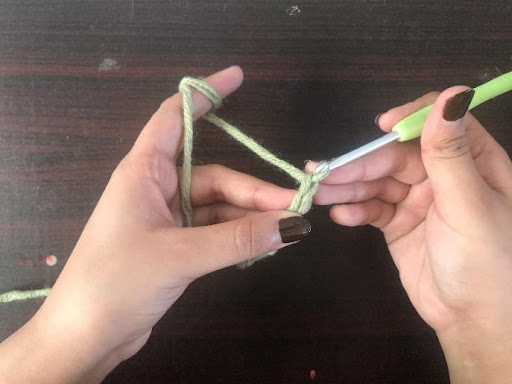
- Now pull the hook out of the loop that you have in your crochet hook along with the yarn it was carrying.
- Once again, yarn over and pull through the loop you have in your crochet hook.
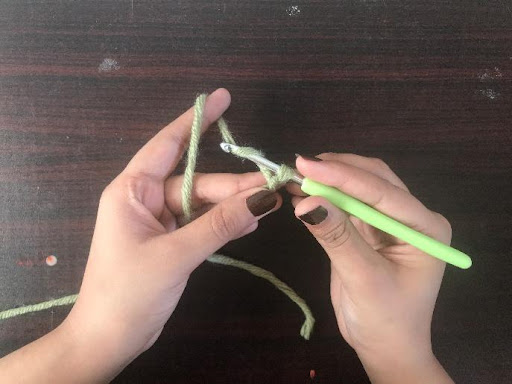
- This is how you make the foundation chain, Yarn over and pull through the loop.
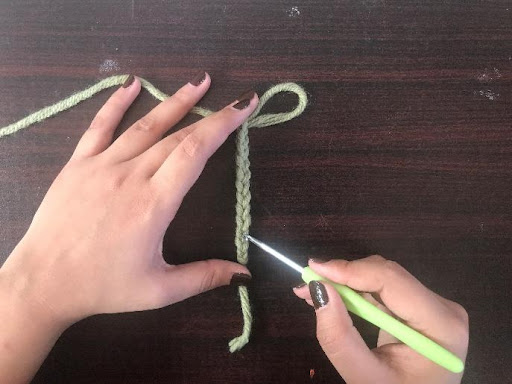
- Initially, it won’t be the perfect chain, it will get tight or loose here and there but you must practice it to master it. No one grabbed their hook for the first time and began crocheting like a pro.

- I’ll end this post with the stitch count. In this series of chains, you can see I have a series of “V” vees going on. So, to count the chain we will count the Vs. As these are the chains themselves. So in this picture, I have a total of 10 chains.


4 comments
Comments are closed.