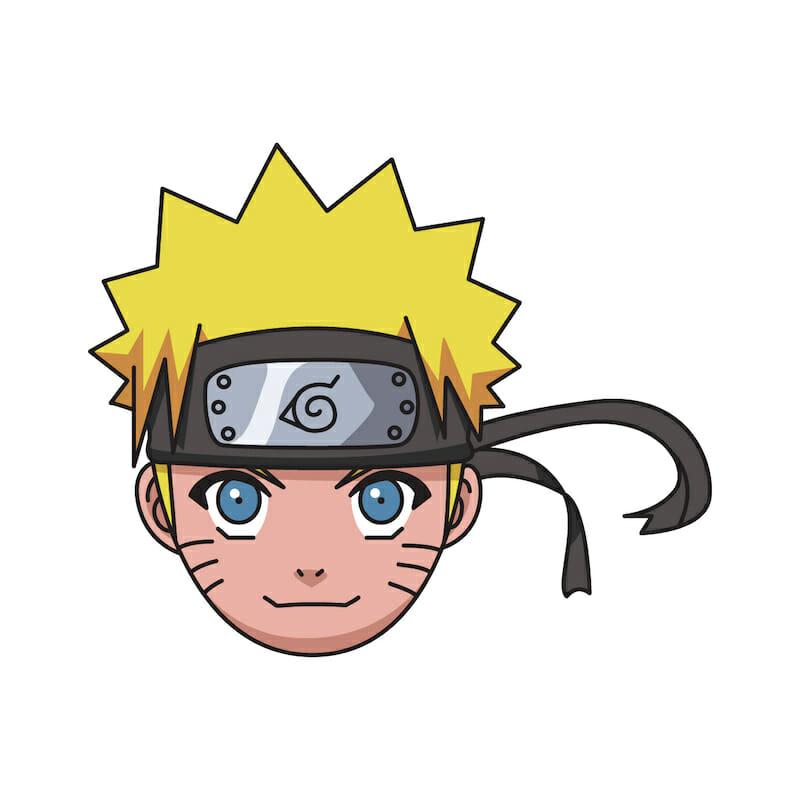
Welcome to this step-by-step tutorial on “How to Draw Naruto!” You’re in the right place if you’re a fan of the iconic anime series or just someone looking to expand your drawing skills. Today, we’ll journey into the world of ninja artistry and bring to life Naruto Uzumaki, one of the most beloved characters in the anime world. With easy-to-follow text instructions, mini video clips, and accompanying images for each step, you’ll master Naruto’s features in no time. Ready to unleash your inner artist? Let’s dive in!
Table of Contents
- 1 Naruto Drawing Steps
- 1.1 Step 1: Sketch Naruto’s Facial Base
- 1.2 Step 2: Attach Naruto’s Ears
- 1.3 Step 3: Lay the Foundation for the Headband
- 1.4 Step 4: Complete Naruto Headband and Front Hair Spikes
- 1.5 Step 5: Finalize Naruto’s Hair
- 1.6 Step 6: Ears, Bottom Hair, and Eyebrows
- 1.7 Step 7: Craft Naruto’s Eyes
- 1.8 Step 8: Add Naruto Facial Markings
- 1.9 Step 9: Create Naruto Nose and Mouth
- 1.10 Step 10: Detail the Headband Rectangle
- 1.11 Step 11: Sketch Naruto Leaf Village Symbol
- 1.12 Step 12: Add Rectangle End Details
- 1.13 Step 13: The Final Touch—Headband Ribbon
- 1.14 Step 14: Voila! You’ve Drawn Naruto!
- 1.15 Step 15: Bring Your Naruto Drawing to Life with Color
- 2 Full Naruto Video Drawing Tutorial
- 3 Tips for Drawing Naruto as a Beginner
Naruto Drawing Steps
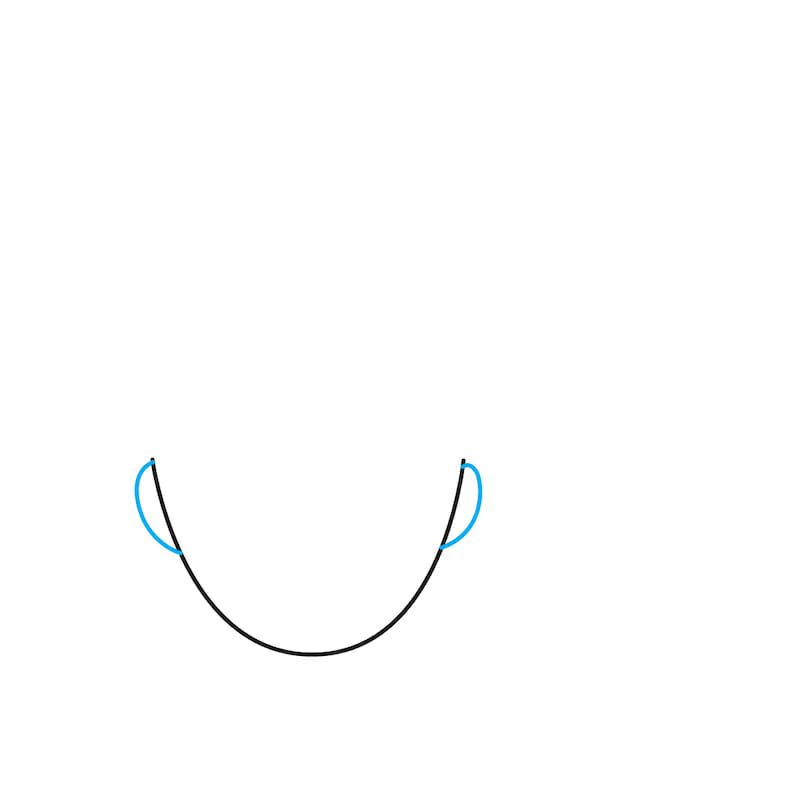
Step 1: Sketch Naruto’s Facial Base
Begin by drawing a shape that resembles the lower half of an egg. This will serve as the base for Naruto’s face. Ensure the lines are smooth and the curve slightly narrows toward the bottom.

Step 2: Attach Naruto’s Ears
Now, let’s give Naruto the ability to hear! Sketch half-ovals on both sides of your initial shape to represent his ears. Keep them proportional to the face to make it look more realistic.
Step 3: Lay the Foundation for the Headband
Next, draw a shape similar to a half-rectangle just above the face. This will act as the base for Naruto’s signature headband.

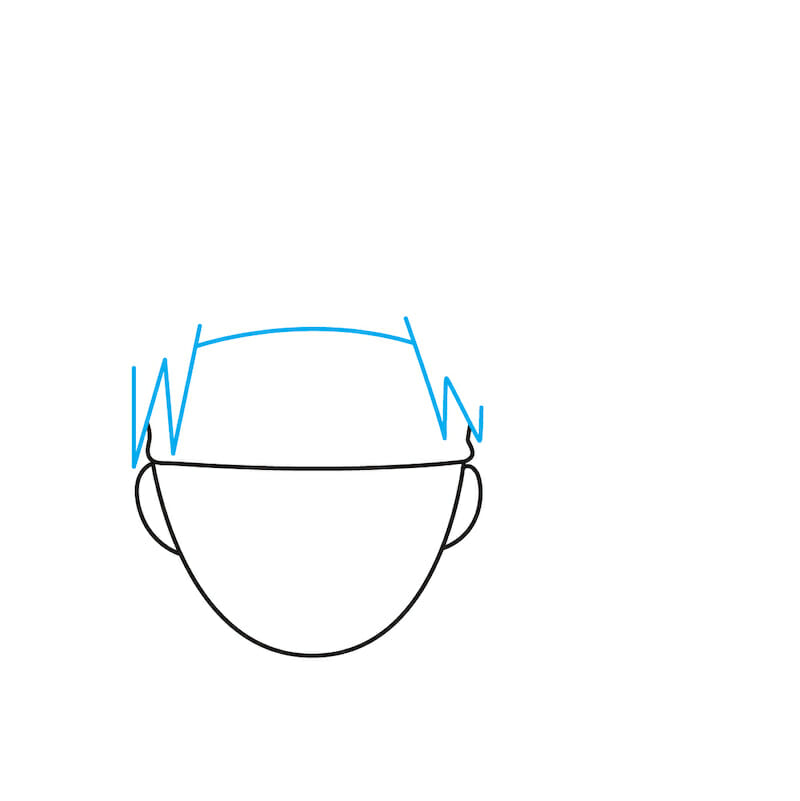
Step 4: Complete Naruto Headband and Front Hair Spikes
On top of the headband base, add a gently curved line. To create the appearance of Naruto’s spiky hair, draw two spikes protruding from the sides in front of the headband.
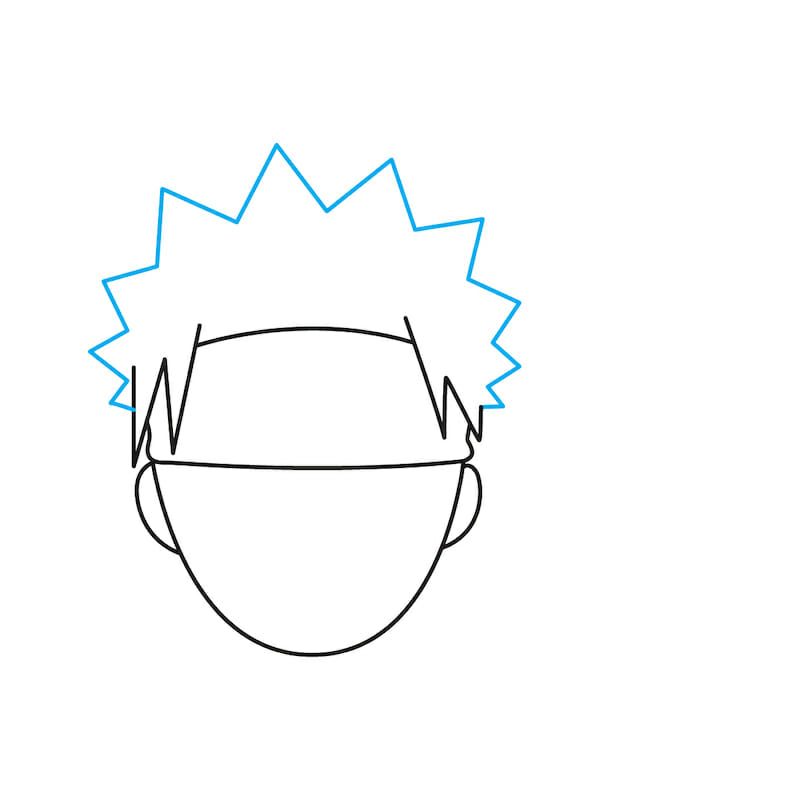
Step 5: Finalize Naruto’s Hair
Once you’re satisfied with the headband, sketch the rest of Naruto’s hair using spikes that go around the top and sides of his head. These spikes should be of varying lengths for a more dynamic look.
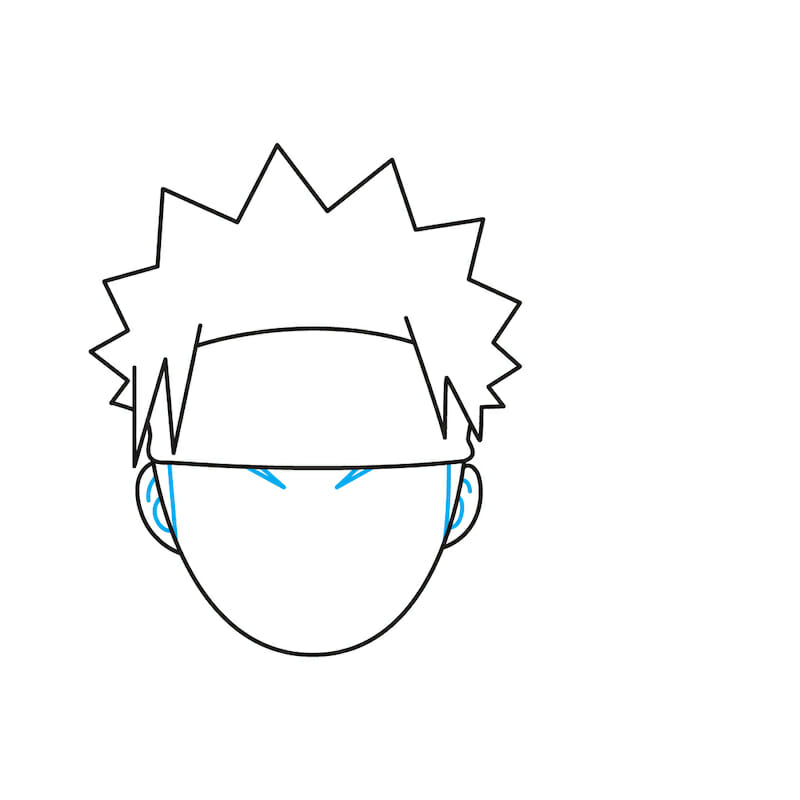
Step 6: Ears, Bottom Hair, and Eyebrows
Inside each ear, sketch a shape that resembles the letter “a” for added detail. Next, draw straight lines extending down from each ear. These lines represent the lower sides of Naruto’s hair. Then, add two distinct spikes in the middle of the face to serve as eyebrows.
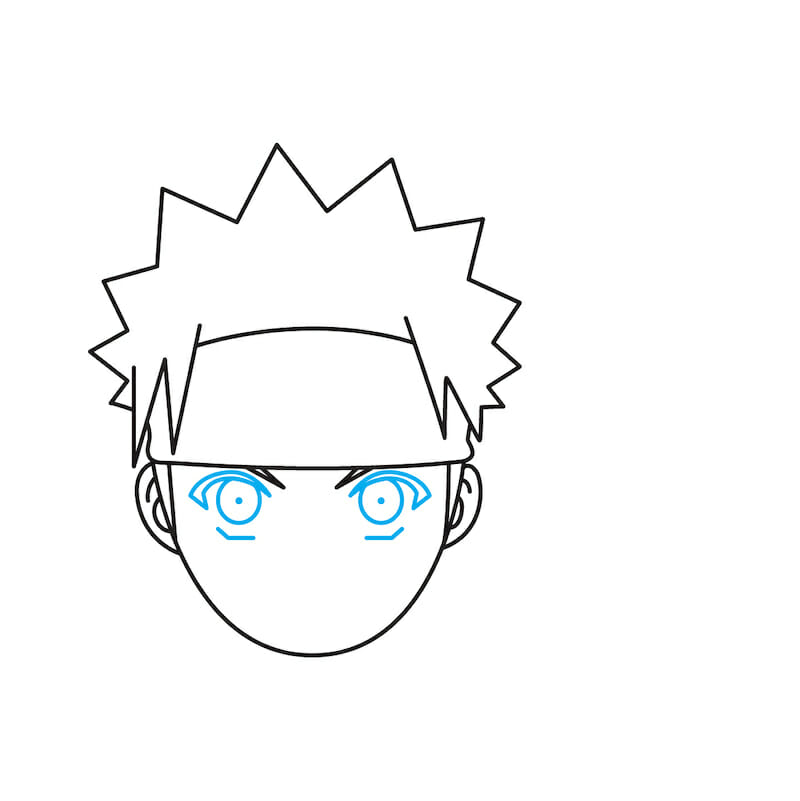
Step 7: Craft Naruto’s Eyes
Start by drawing the upper eyelashes for the eyes, making sure they are bold and thick. Inside these, draw two circles for the irises and place a small dot in each for the pupils. Don’t forget to add the bottom eyelashes for a complete look!
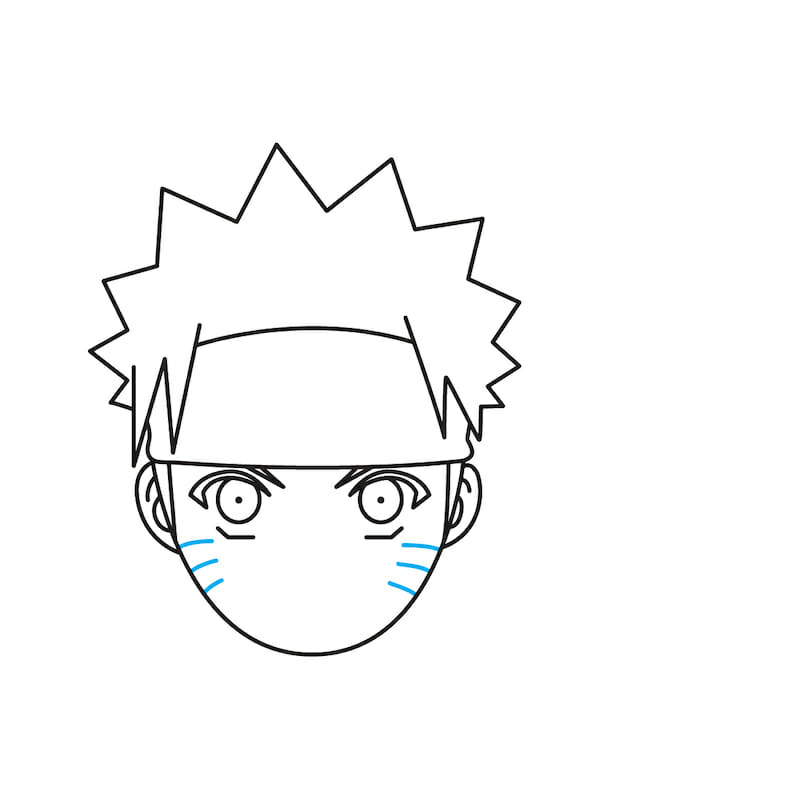
Step 8: Add Naruto Facial Markings
Naruto is well-known for his unique whisker-like marks. Draw three slightly curved lines on each cheek, similar to a cat’s whiskers.
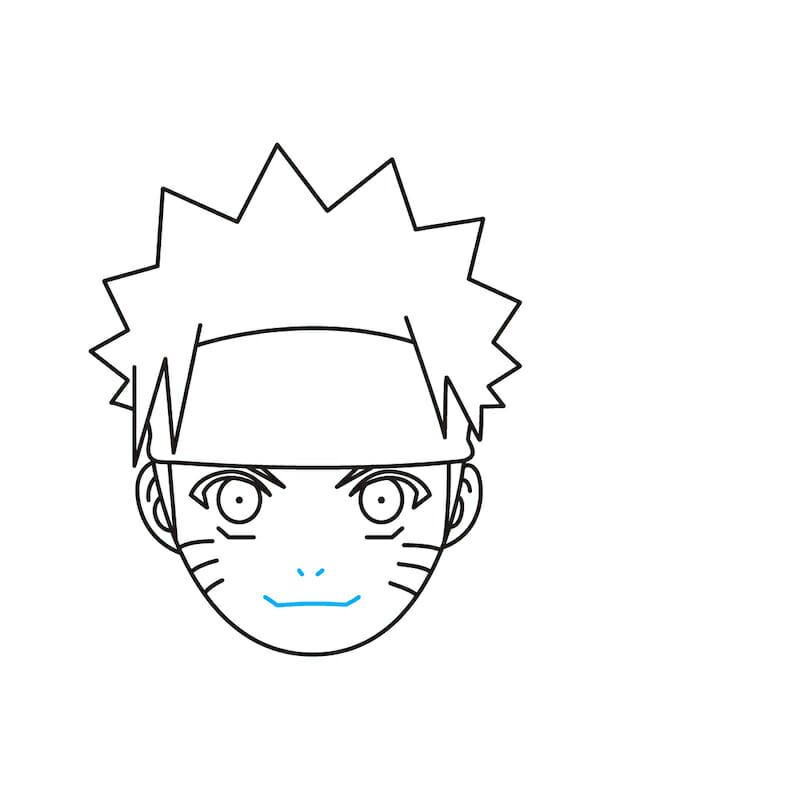
Step 9: Create Naruto Nose and Mouth
For Naruto’s nose, draw a simple “u” shape with two tiny lines above it to indicate the nostrils. The mouth is just a straightforward line, placed a short distance below the nose.
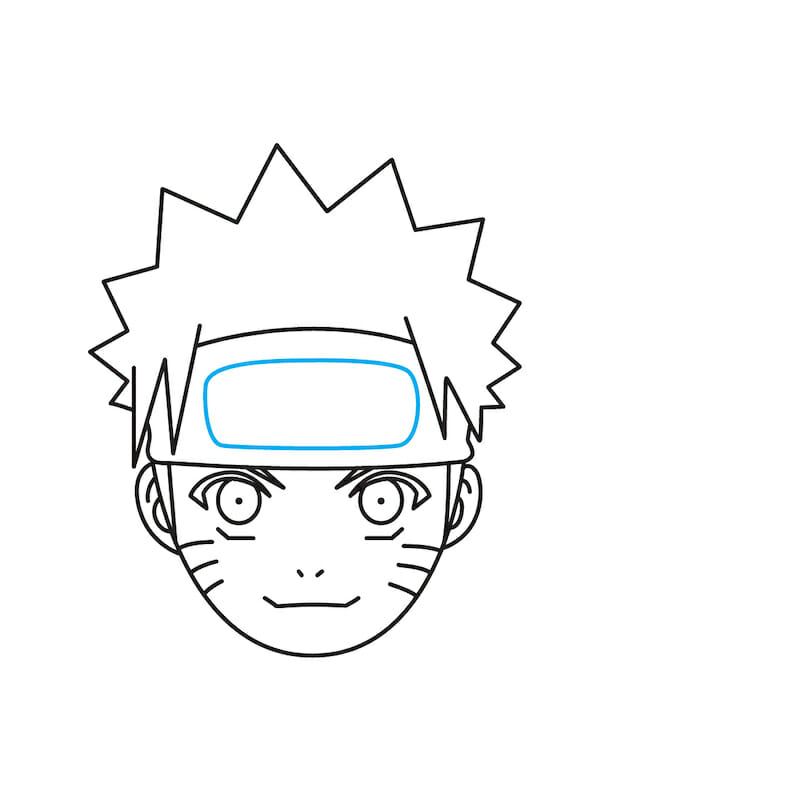
Step 10: Detail the Headband Rectangle
Inside the headband, draw a rounded rectangle. This will serve as the background for the Leaf Village symbol.
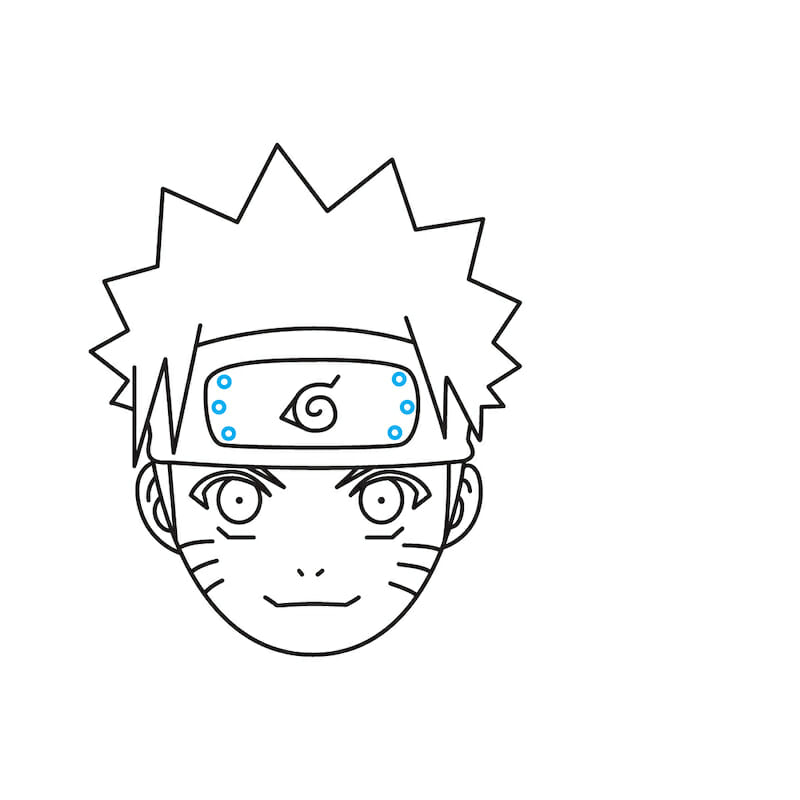
Step 11: Sketch Naruto Leaf Village Symbol
Within the rounded rectangle, carefully draw the symbol of the Leaf Village. This is an important aspect that defines Naruto’s identity.

Step 12: Add Rectangle End Details
To add more detail to the headband, draw three small circles at each end of the rounded rectangle. These serve as rivets, giving the headband a more authentic look.
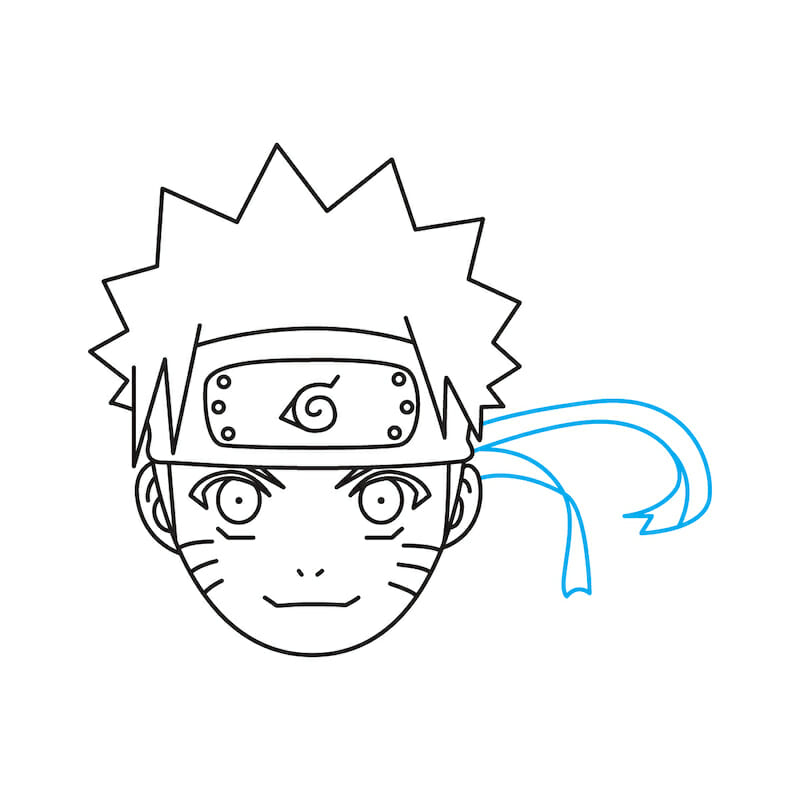
Step 13: The Final Touch—Headband Ribbon
To wrap up your drawing, sketch the ends of the headband ribbon flowing out from behind Naruto’s head. This gives a sense of movement and completes his look.
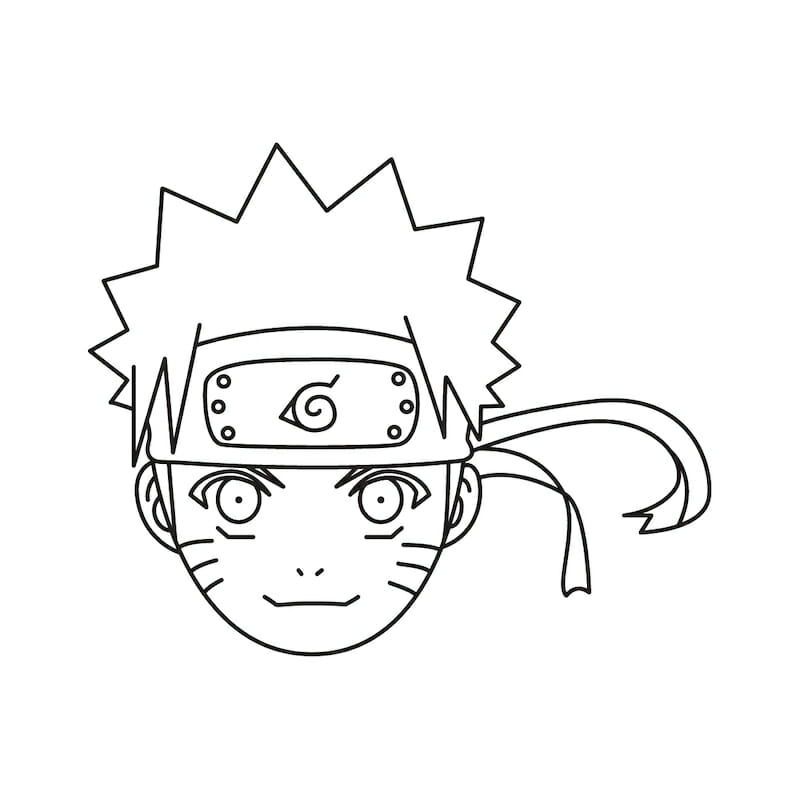
Step 14: Voila! You’ve Drawn Naruto!
Take a moment to admire your work—you’ve successfully drawn Naruto! Feel free to make any final adjustments or add any additional details.
Step 15: Bring Your Naruto Drawing to Life with Color

Now comes the most fun part: coloring! You have complete artistic freedom here. Use the anime as a reference, or create your own color palette. Be as creative as you want!
And there you have it! You’ve just learned how to draw Naruto Uzumaki. Don’t forget to share your masterpiece and tag us—we’d love to see how it turned out. Keep practicing, and stay tuned for more fun and engaging tutorials!
Full Naruto Video Drawing Tutorial
More Drawing Tutorials
- How to Draw Pokemon
- How to Draw Sonic
- How to Draw Eyes Step-by-Step
- How to Draw a Unicorn
- How to Draw a Cartoon-Style Dragon
- How to Draw Fire
- How to Draw a Bat
- How to Draw a Dinausor
- How to Draw a Snowflake Easy
- How to Draw a Bunny
- How to Draw a Cow Easy
- How to Draw a Fox
- How to Draw a Cute Tiger
- How to Draw a Penguin
- How to Draw a Turkey
- How to Draw Godzilla
- How to Draw a Toucan
- How to Draw a Lion
- How to Draw a Butterfly
- How to Draw a Dolphin
Tips for Drawing Naruto as a Beginner
Drawing Naruto can be an exciting but challenging endeavor, especially if you’re a beginner. Here are some tips specific to drawing this iconic character that can help you along the way:
- Start with Basic Shapes: Before diving into the complexities, start with simple shapes like ovals, rectangles, and lines. These will serve as your guides and make it easier to get the proportions right.
- Use Reference Images: Keep a reference image of Naruto nearby. It’ll help you understand the character’s specific features, like his hair spikes or facial markings, as you draw.
- Sketch Lightly: Always start by sketching lightly, so you can easily erase and adjust lines as needed. This is particularly useful when drawing Naruto’s hair and headband, which require some fine-tuning.
- Focus on Symmetry: Naruto’s facial features are quite symmetrical. Pay attention to the placement of the eyes, ears, and whisker-like marks on both sides of the face.
- Mind the Headband: Naruto’s headband is an iconic part of his look. Don’t rush through it; take your time to get the Leaf Village symbol and the rivets right.
- Capture the Spiky Hair: Naruto’s hair isn’t just spiky; the spikes have varying lengths and directions. Be mindful of this while drawing to capture the character’s dynamic look.
- Detail the Eyes: Naruto’s eyes are expressive. Don’t forget details like the pupils, irises, and eyelashes. These minor details can make a significant impact on the likeness.
- Nail the Whisker Marks: The three lines on each of Naruto’s cheeks are one of his most distinguishing features. Make sure they are evenly spaced and slightly curved for authenticity.
- Keep Facial Expressions Simple: Aim for a neutral facial expression if you’re a beginner. Once you’re comfortable, you can experiment with different emotions to bring more life to the character.
- Use Quality Tools: While you can start with any pencil and paper, using quality drawing tools can make a big difference in how your art turns out.
- Practice with Tracing: If you’re struggling to get the proportions and features right, consider tracing over a reference image a few times to get the hang of it.
- Watch Naruto Clips: Watching clips or episodes can help you understand the character’s dynamics and nuances, which you can then incorporate into your drawing.
- Step Away, Then Review: Sometimes, taking a short break and stepping away from your drawing can provide new perspectives. Come back with fresh eyes to make any necessary adjustments.
- Take Your Time: Don’t rush through the steps. Taking your time, especially on the challenging parts like the Leaf Village symbol, will result in a better drawing.
- Practice, Practice, Practice: As with any skill, practice makes perfect. Don’t get discouraged if your first few attempts don’t turn out as expected. Keep drawing!
By keeping these tips in mind, you’ll find the drawing process more enjoyable and achieve a more accurate and satisfying result. Happy drawing!