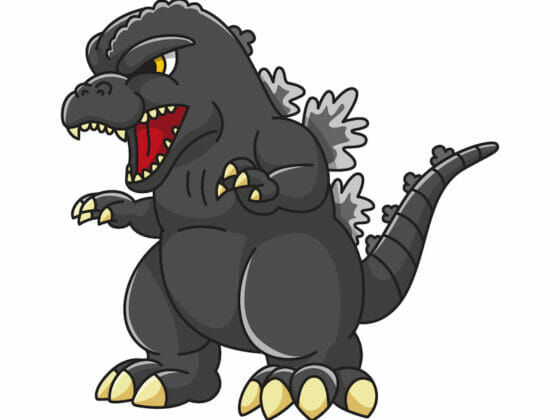
Welcome to this exciting tutorial on “How to Draw a Dinosaur!” 🦖 Whether you’re a seasoned artist looking for a new challenge or an absolute beginner trying to tap into your inner creativity, you’ve come to the right place.
This tutorial provides step-by-step guidance with mini videos and images to help you craft an adorable dinosaur from scratch. By the end, you will have an awesome piece of art and gain valuable drawing techniques you can apply to other projects. So, grab your pencils and paper, and let’s unleash your artistic talent!
Table of Contents
- 1 Suggested Materials 🎨
- 2 Quick Tips to Draw a Perfect Dinausor 🌟
- 3 Easy Steps to Draw a Dinosaur
- 3.1 Step 1: Crafting the Dinausor Eye 👁️
- 3.2 Step 2: Adding Depth to the Dinausor Eye 🖤
- 3.3 Step 3: Eyelid & Expression 🌟
- 3.4 Step 4: Crafting Your Dinaur’s Second Eye 👀
- 3.5 Step 5: The Dino Smile 😄
- 3.6 Step 6: Draw Your Dinosaur’s Nose 🦖
- 3.7 Step 7: Building the Dinausor Body 🦕
- 3.8 Step 8: Draw the Dinausor’s Arms 🤗
- 3.9 Step 9: Create Sturdy Feet 🦶
- 3.10 Step 10: The Claw Factor ⚔️
- 3.11 Step 11: Add the Dinausor’s Swinging the Tail 🌠
- 3.12 Step 12: Spiky Details 🌵
- 3.13 Step 13: Add 3D Effect to Your Dinausor 🌐
- 3.14 Step 14: The Grand Reveal ✨
- 3.15 Step 15: Adding Colors to Your Dinausor 🎨
- 4 How to Draw a Dinausor Full Video Tutorial
Suggested Materials 🎨
To get the most out of this tutorial, we recommend having the following materials on hand:
- Pencil: A standard HB or No. 2 pencil for initial sketches.
- Eraser: A soft eraser for correcting mistakes or refining your lines.
- Fine-liners or Ink Pens: For clean, defined outlines.
- Colored Pencils or Markers: To add a burst of color to your dino masterpiece.
- Drawing Paper: Preferably medium weight—something that can hold pencil and ink without smudging.
- Ruler or Straightedge: For any straight lines or measurements.
- Optional: Blending Stumps: For shading and adding depth.
Quick Tips to Draw a Perfect Dinausor 🌟
- Take Your Time: Art is not a race! Take your time to enjoy each step.
- Be Gentle: Use a light hand while sketching initial lines; it makes erasing mistakes easier.
- Reference Images: Don’t hesitate to look at images of real or illustrated dinosaurs to get ideas.
- Customize: Feel free to add details like scales, patterns, or fun accessories!
- Practice: Like any other skill, the more you practice drawing, the better you’ll get.
Easy Steps to Draw a Dinosaur
Step 1: Crafting the Dinausor Eye 👁️
Video & Image: Crafting the Dinosaur Eye
- Create the Eye: Begin by drawing a medium-sized circle for the eye. Inside this circle, draw another smaller circle.

Step 2: Adding Depth to the Dinausor Eye 🖤
Video & Image: Darkening the Inner Eye
- Add Contrast: Use black to fill the space between the smaller and larger circles. This creates depth and brings your dinosaur’s eye to life.

Step 3: Eyelid & Expression 🌟
Video & Image: Adding the Eyelid
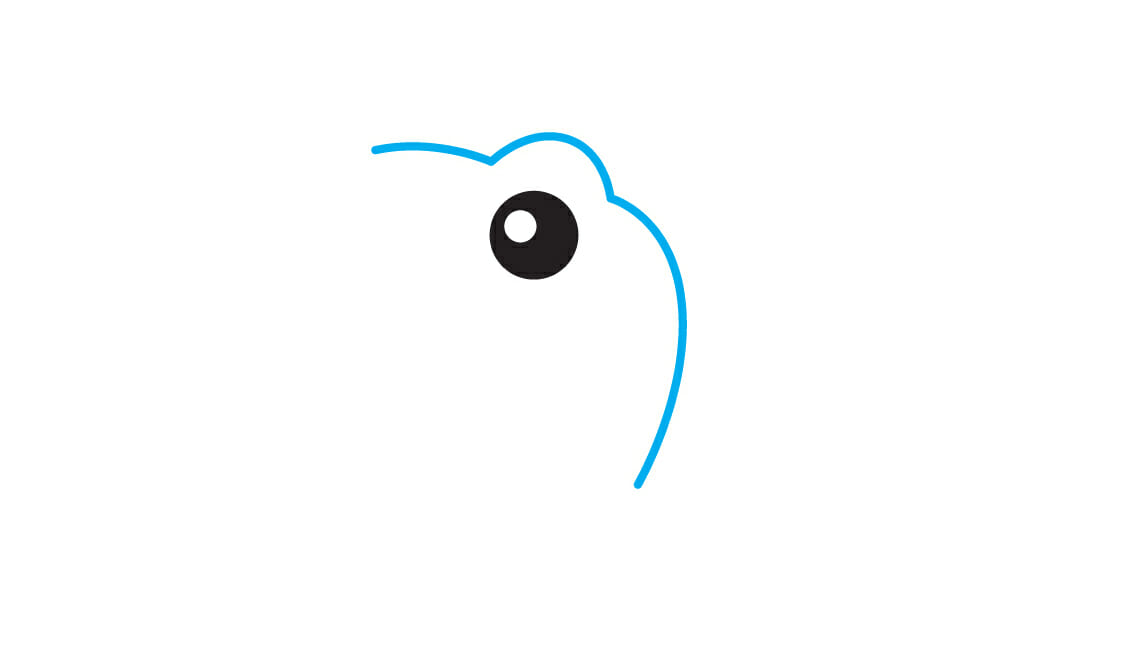
- Draw the Eyelid: Add a slightly curved line above the eye, incorporating a small bump at the top. This will act as the dinosaur’s eyelid and add some expression.
Step 4: Crafting Your Dinaur’s Second Eye 👀
Video & Image: Drawing the Second Eye
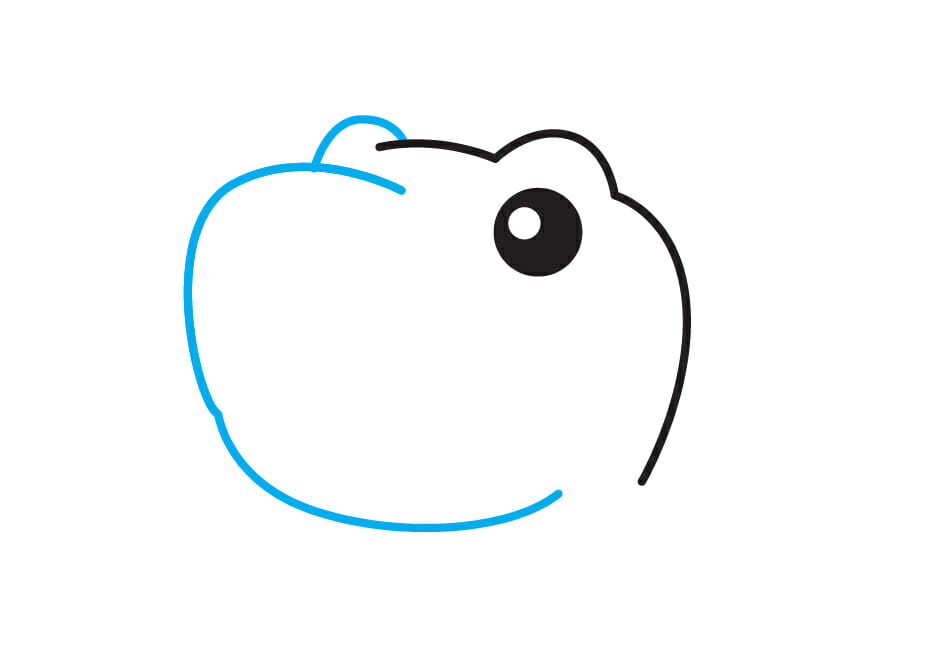
- Second Eye and Its Contour: Draw a small bump for the other eye. Next to it, add a flipped “U” shape that faces the eye. This will define the contour of the second eye.
Step 5: The Dino Smile 😄
Video & Image: Creating the Dinausor Mouth and Teeth
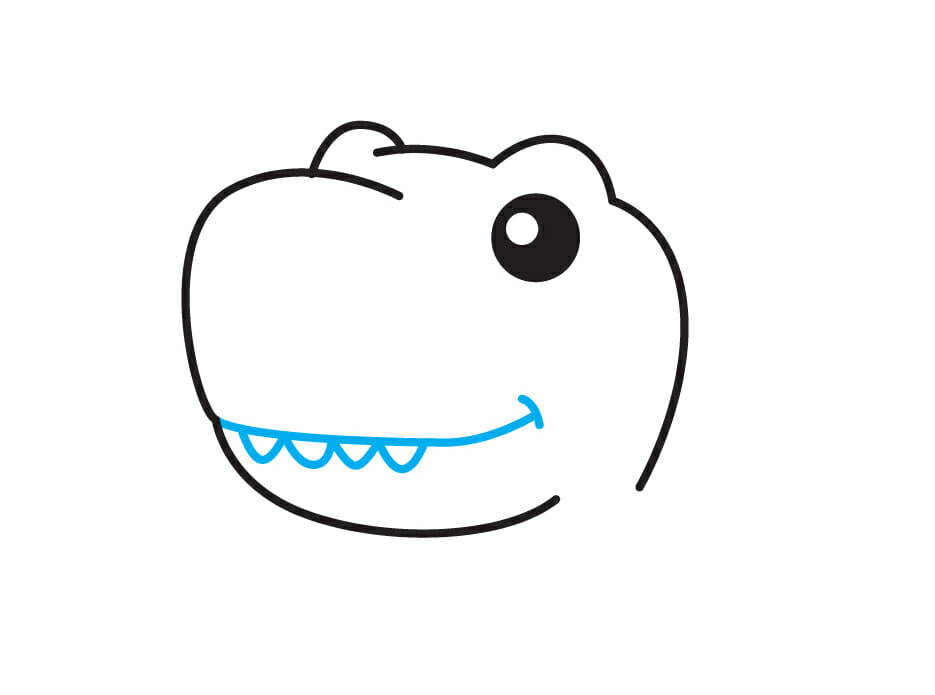
- Shape the Mouth: Draw a curved line for the mouth. At the end of this line, add another small curved line to complete the smile. Finally, add four “V” shapes to represent the teeth.
Step 6: Draw Your Dinosaur’s Nose 🦖
Video & Image: Adding the Nose
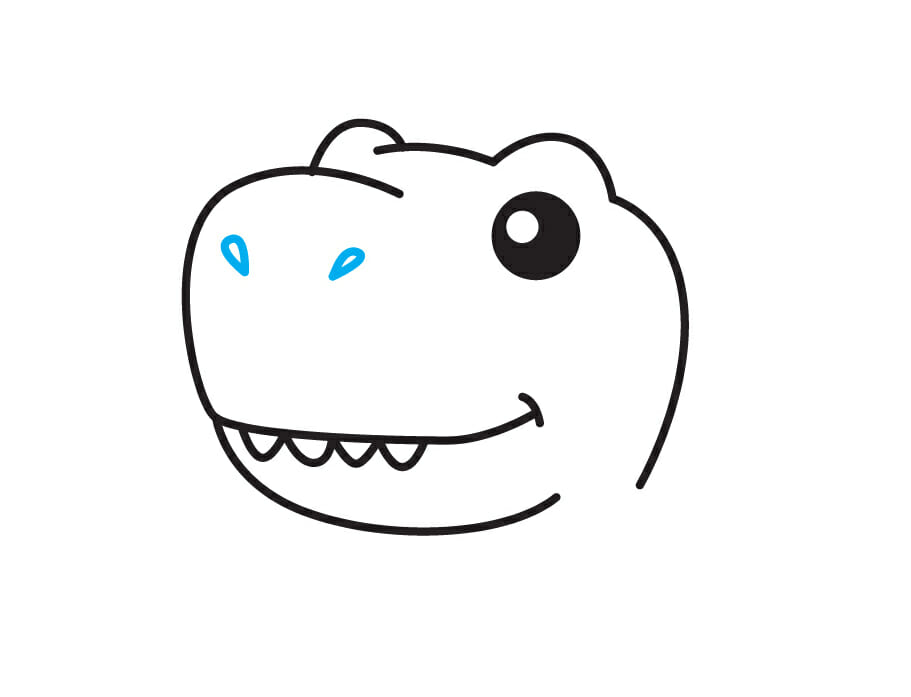
- Create the Nostrils: Draw two upside-down water droplet shapes above the mouth area to serve as the nostrils.
Step 7: Building the Dinausor Body 🦕
Video & Image: Outlining the Body
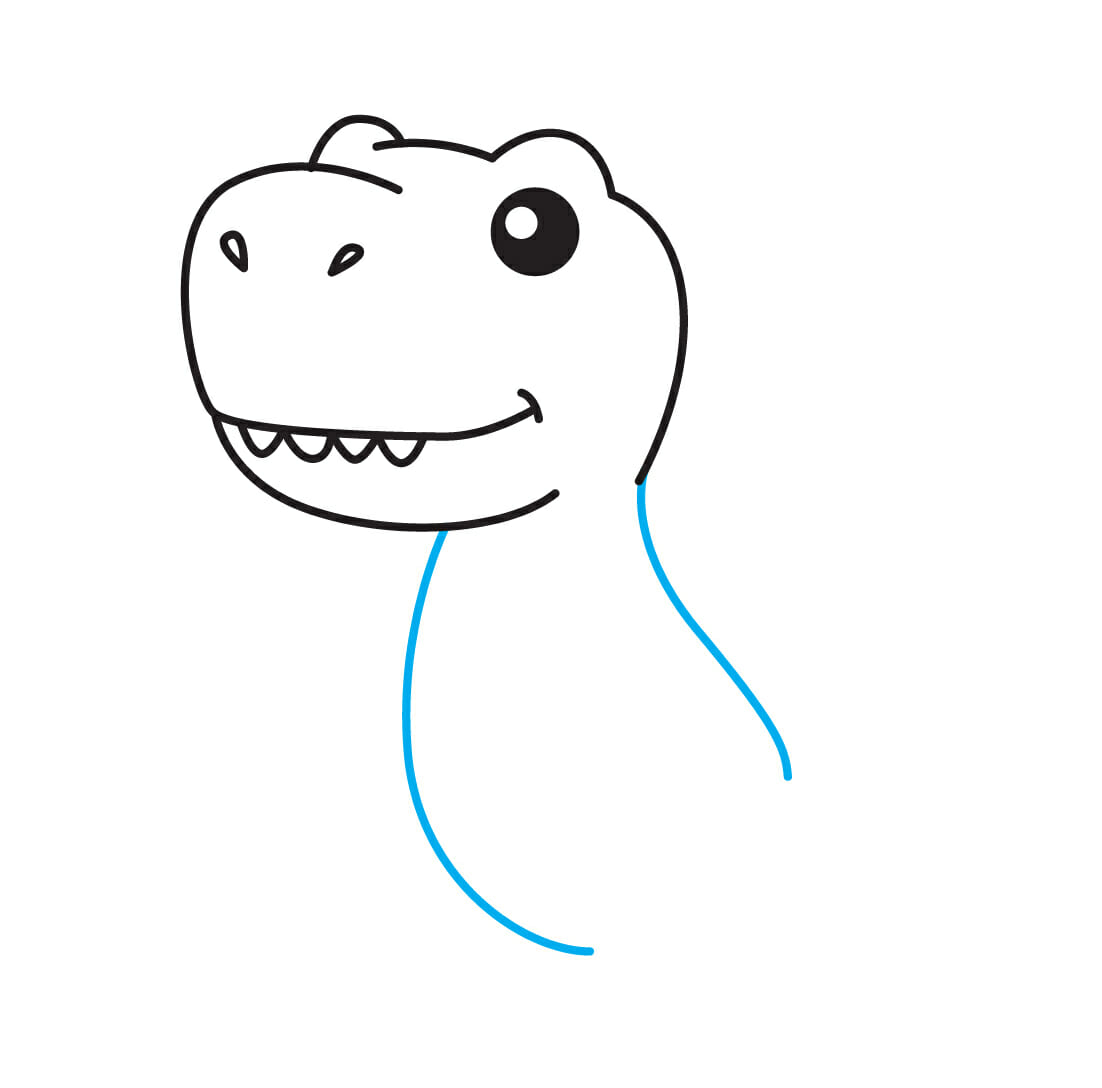
- Outline the Body: Draw a curved line below the mouth area for the body. Don’t forget to add the back by sketching another curved line.
Step 8: Draw the Dinausor’s Arms 🤗
Video & Image: Crafting the Arms
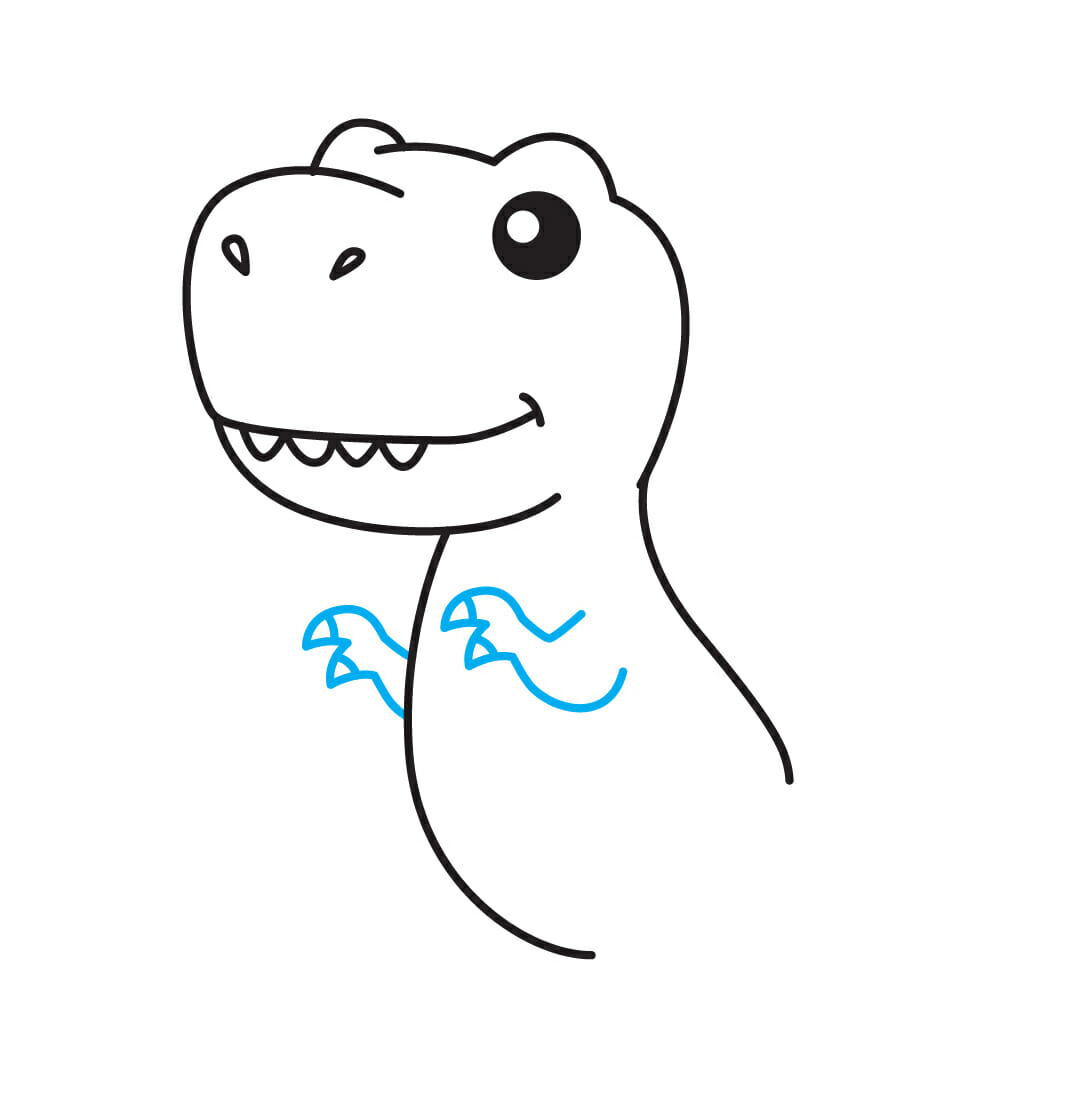
- Sketch the Arms: Draw both arms and add two small claws at the end. Feel free to vary the style—dinosaurs come in all shapes and sizes!
Step 9: Create Sturdy Feet 🦶
Video & Image: Drawing the Feet
- Create the Feet: To form the feet, smoosh two oval-like shapes together.
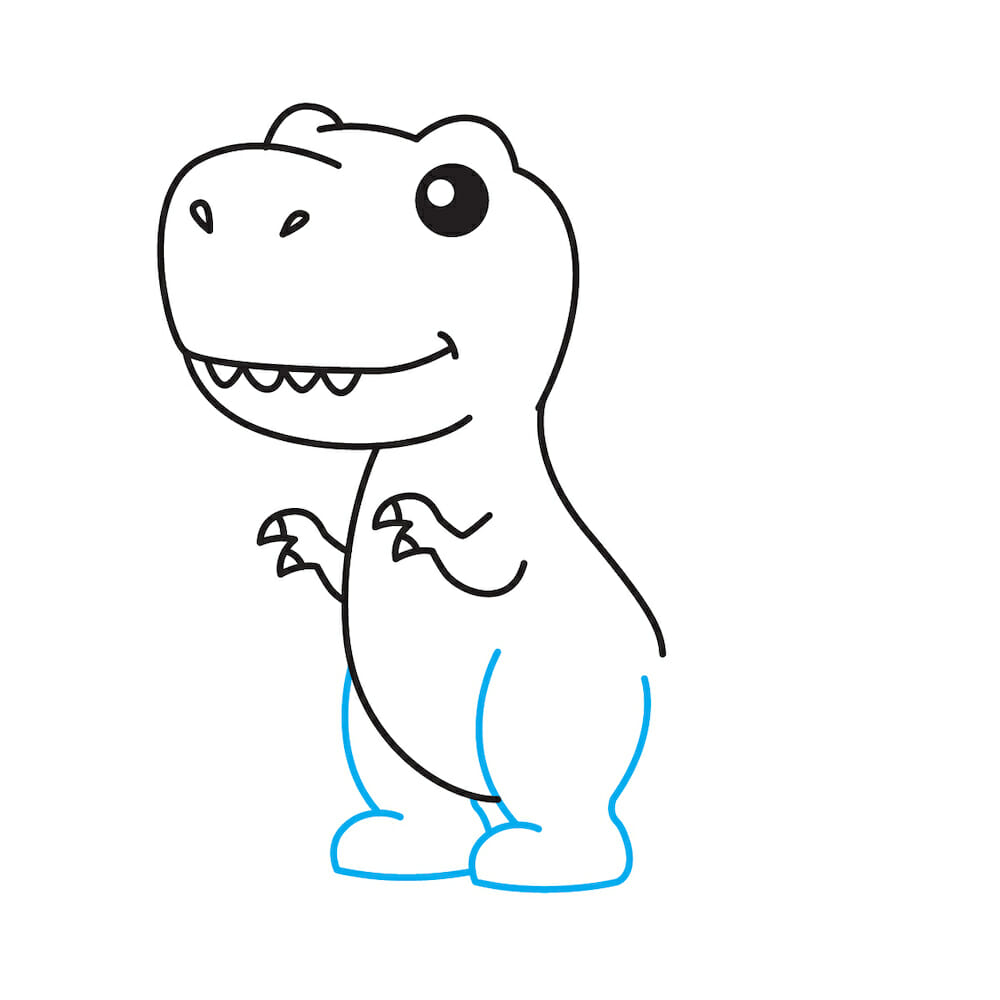
Step 10: The Claw Factor ⚔️
Video & Image: Adding the Claws
- Add the Claws: At the end of each foot, sketch three small upside-down “U” shapes to create the claws.

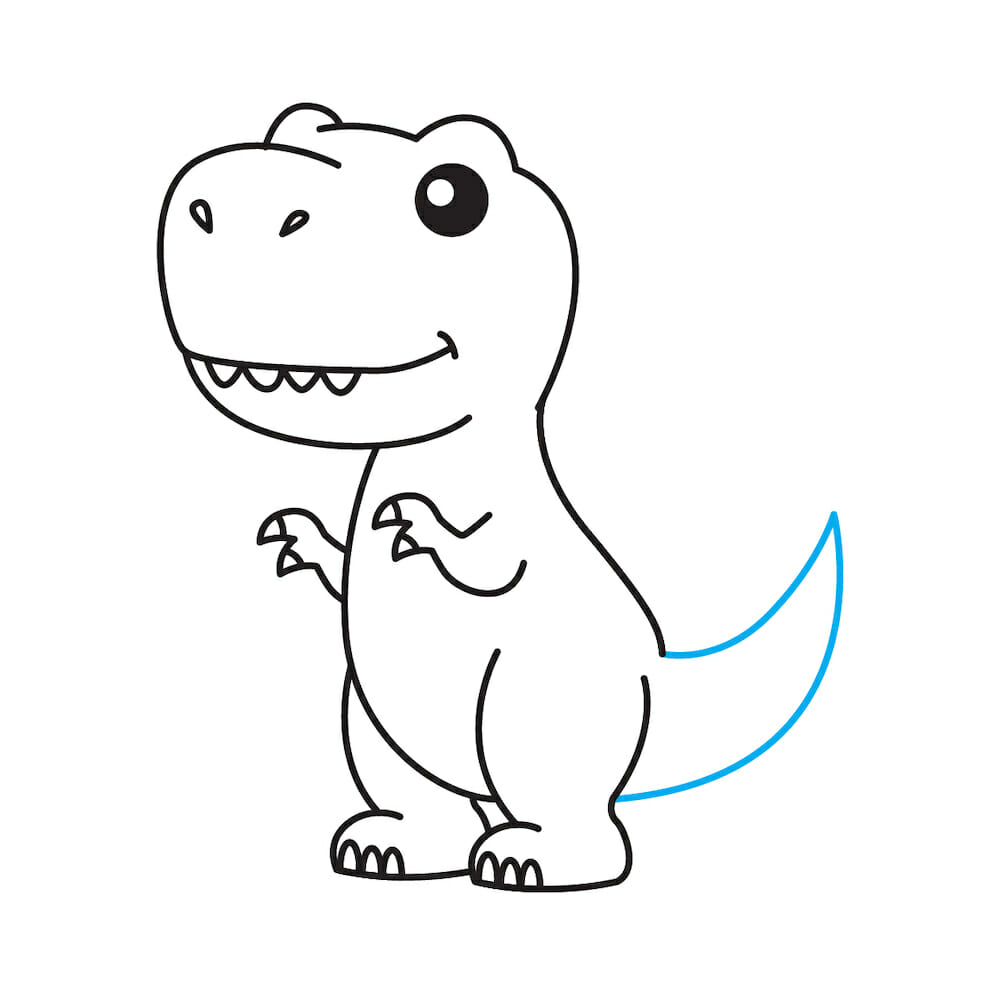
Step 11: Add the Dinausor’s Swinging the Tail 🌠
Video & Image: Designing the Tail
- Design the Tail: Draw two curved lines that meet at a point to create a lively and dynamic tail.
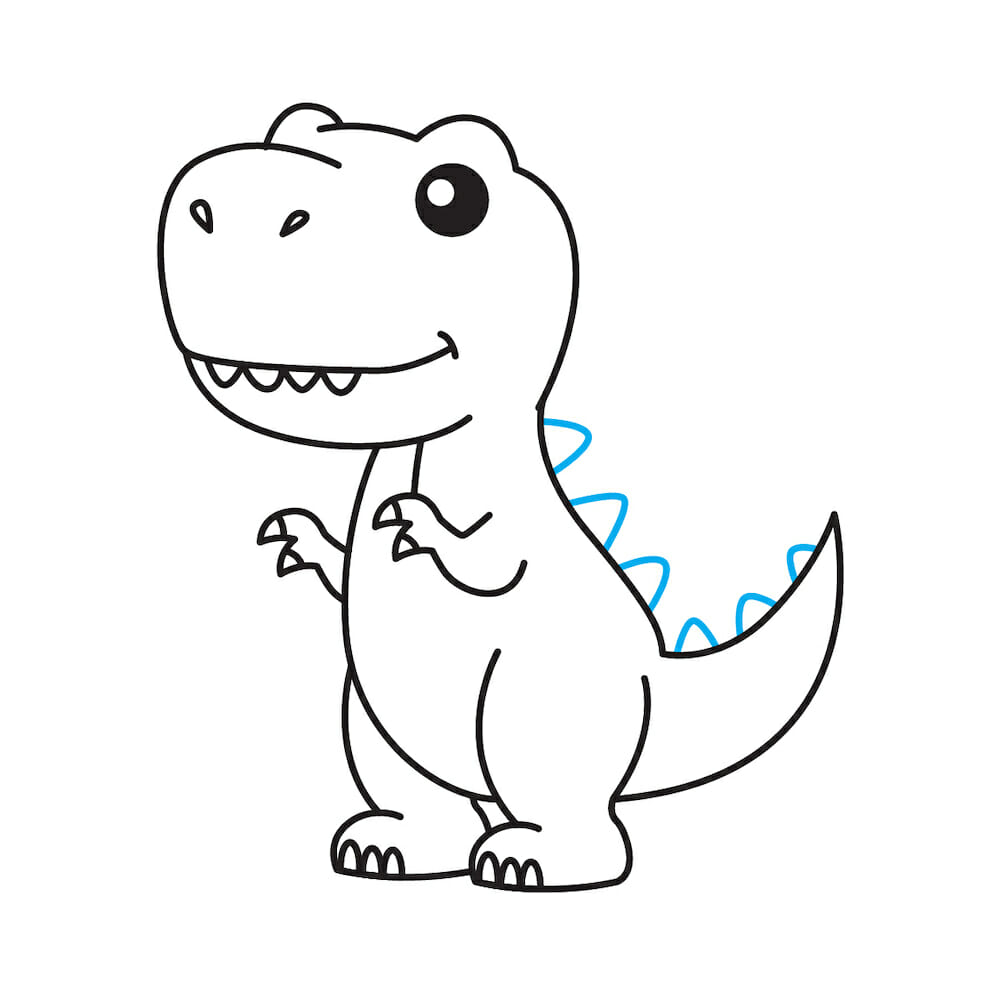
Step 12: Spiky Details 🌵
Video & Image: Adding Spikes
- Add Spikes: Add “V”-shaped spikes along the back and tail to give your dinosaur a more ferocious look.
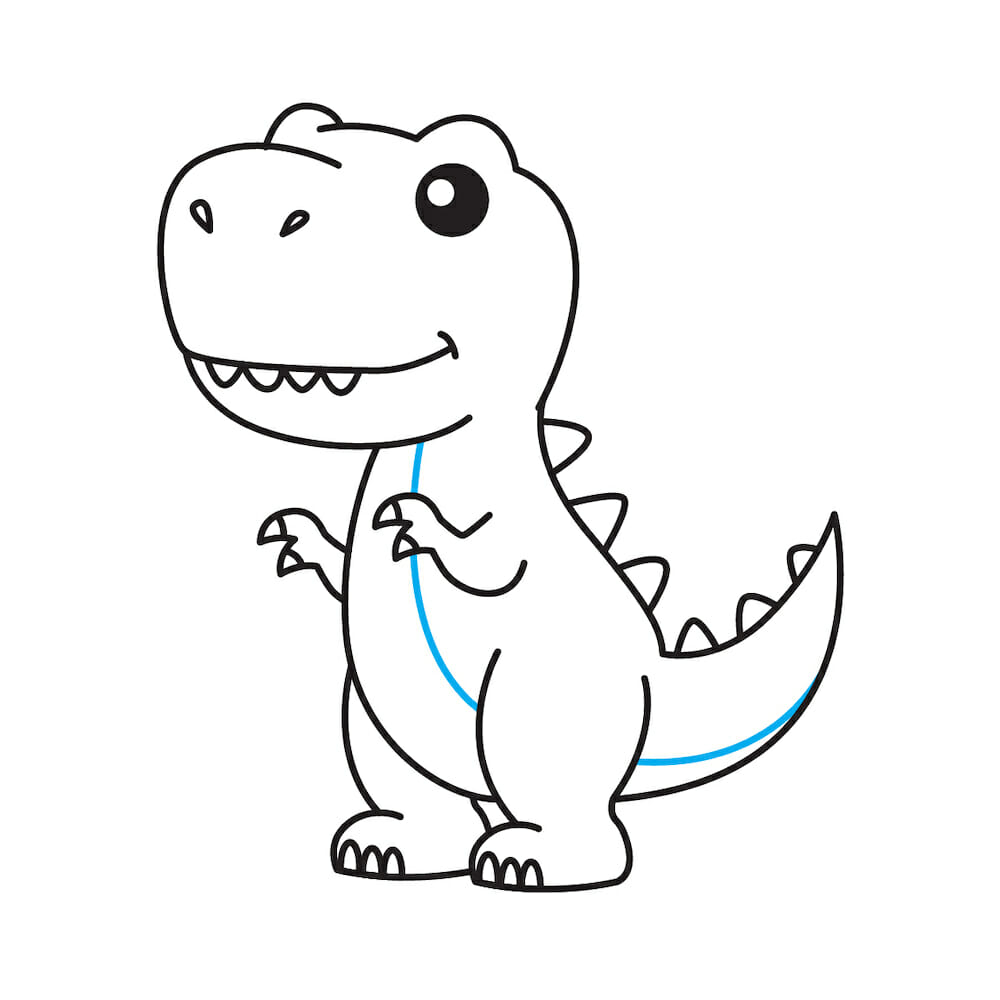
Step 13: Add 3D Effect to Your Dinausor 🌐
Video & Image: Creating a 3D Effect
- 3D Touch: Draw a curved line that starts under the mouth and goes all the way to the bottom part of the tail. This adds depth and a three-dimensional look to your drawing.
Step 14: The Grand Reveal ✨
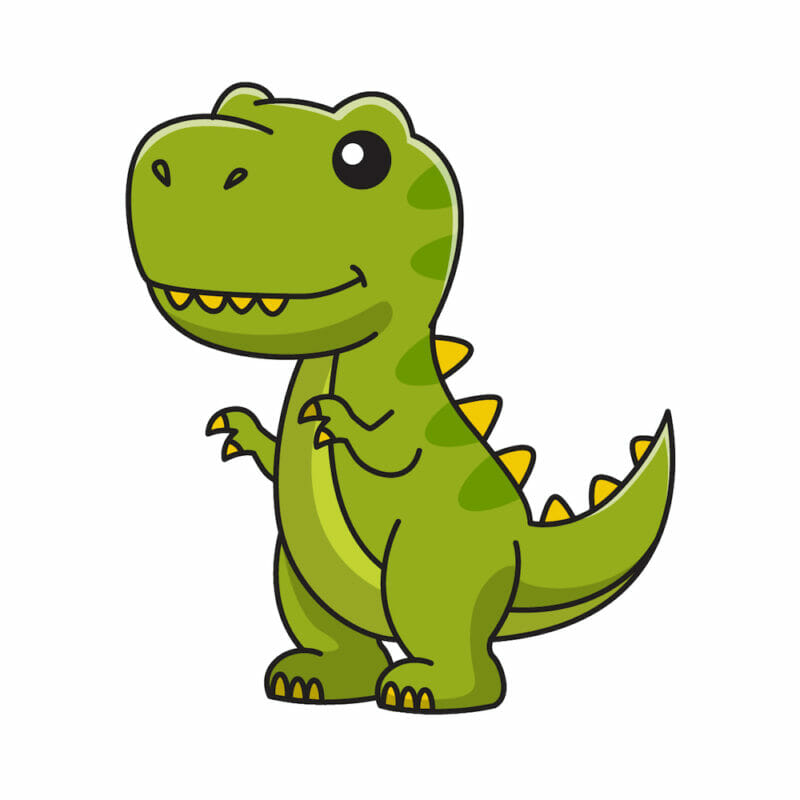
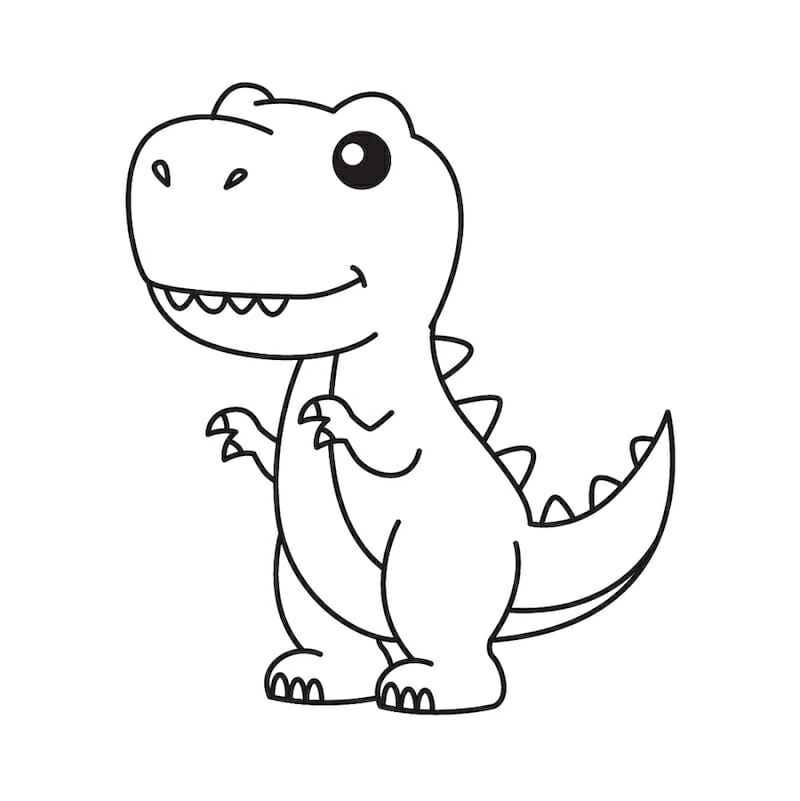
Video & Image: The Completed Dinosaur Drawing
- Voilà, You Did It!: Congratulations, you’ve successfully drawn a dinosaur! Take a moment to admire your work.
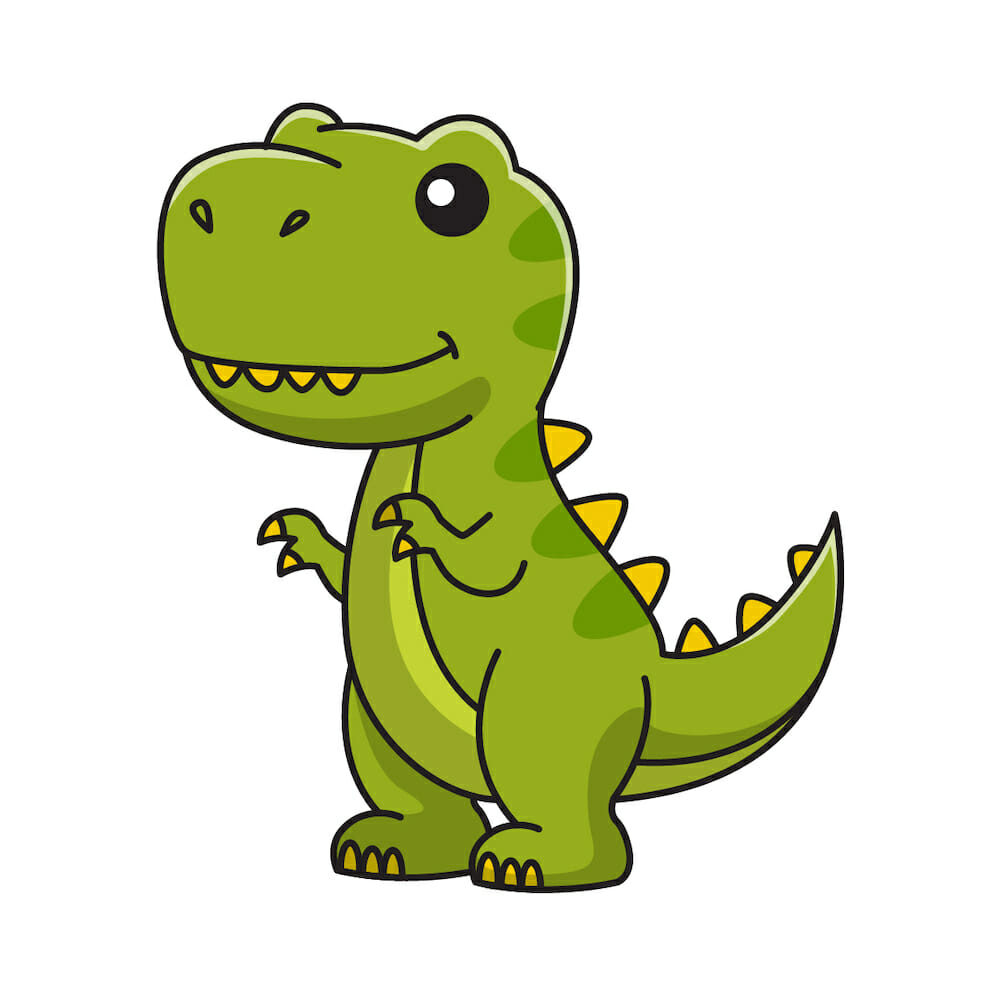
Step 15: Adding Colors to Your Dinausor 🎨
- Time to Color: The drawing comes to life once you add color. Here’s a sample color palette for your reference.
How to Draw a Dinausor Full Video Tutorial
More Drawing Tutorials
- How to Draw Pokemon
- How to Draw Sonic
- How to Draw Eyes Step-by-Step
- How to Draw a Unicorn
- How to Draw a Cartoon-Style Dragon
- How to Draw Fire
- How to Draw Naruto
- How to Draw a Snowflake Easy
- How to Draw a Bunny
- How to Draw a Cow Easy
- How to Draw a Fox
- How to Draw a Tiger
- How to Draw a Penguin
- How to Draw Godzilla
- How to Draw a Toucan
- How to Draw a Lion
- How to Draw a Butterfly
- How to Draw a Dolphin
And there you have it! You’ve successfully navigated through the Jurassic period of art and come out with your very own dinosaur drawing. We can’t wait to see what you create next! Feel free to share your masterpieces with us. Happy drawing! 🎉

