Hey there, future artists! 🎨 Are you ready to unleash your creativity? Today, we’re diving into the enchanting world of bats! Don’t worry; we’re keeping it fun and simple. This tutorial is perfect for kids and beginners who want to learn how to draw a bat step-by-step. Each stage comes with an easy-to-follow mini video and photo to guide you along the way. So grab your pencil paper, and let’s get started!
Table of Contents
- 1 Easy Steps to Draw a Bat
- 1.1 Step 1: Sketch the Bat’s Head
- 1.2 Step 2: Create the Bat’s Eyes
- 1.3 Step 3: Color the Bat’s Eyes
- 1.4 Step 4: Design the Bat’s Nose and Mouth
- 1.5 Step 5: Add The Bat’s Ears
- 1.6 Step 6: Ear Detailing
- 1.7 Step 7: Draw the Bat Body
- 1.8 Step 8: Add Depth to the Bat Body
- 1.9 Step 9: Sketch the Bat Feet
- 1.10 Step 10: Outline the Bat Wings
- 1.11 Step 11: Complete the Bat Wings
- 1.12 Step 12: Finishing Touches
- 1.13 Step 13: Color Your Masterpiece
- 1.14 More Drawing Tutorials
- 2 How to Draw A Bat Step-by-Step Full Video Tutorial
Easy Steps to Draw a Bat
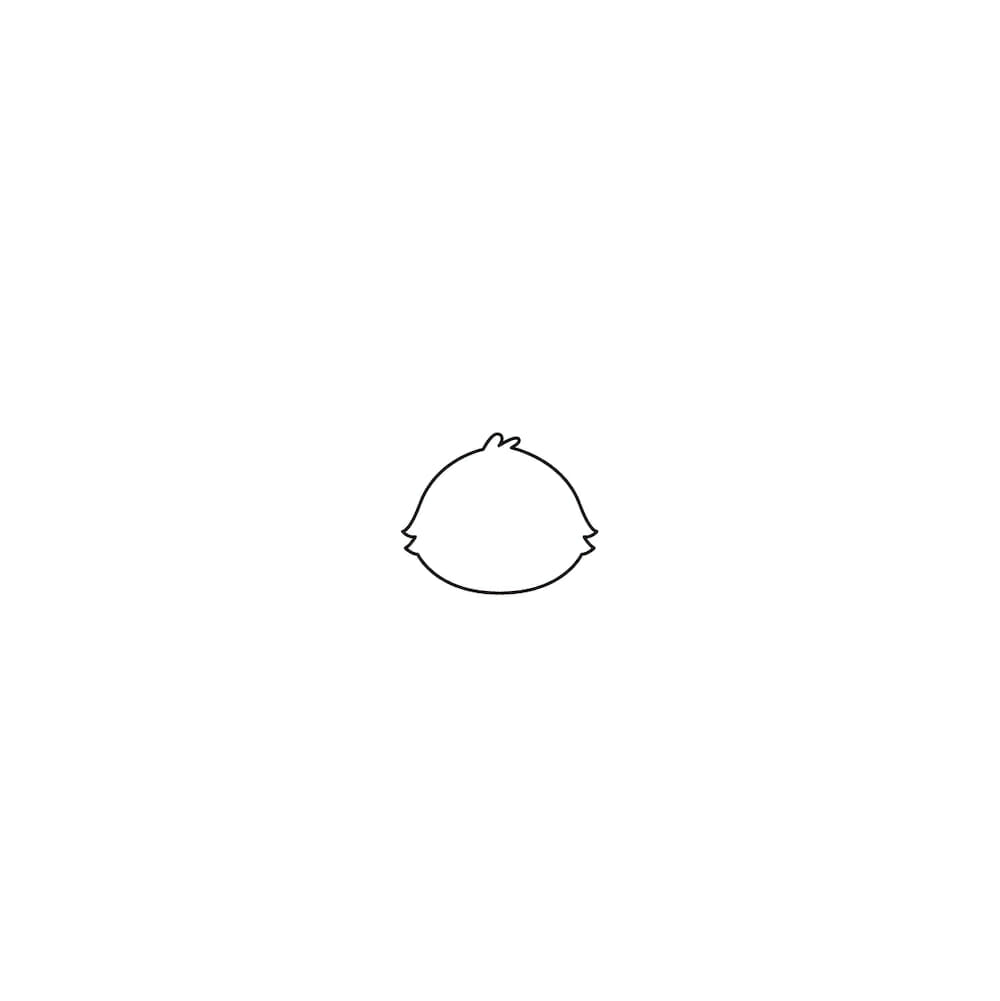
Step 1: Sketch the Bat’s Head
First up, let’s sketch the bat’s head. Draw an egg-like shape for the head, and add some feathery details on three sides to give it texture.
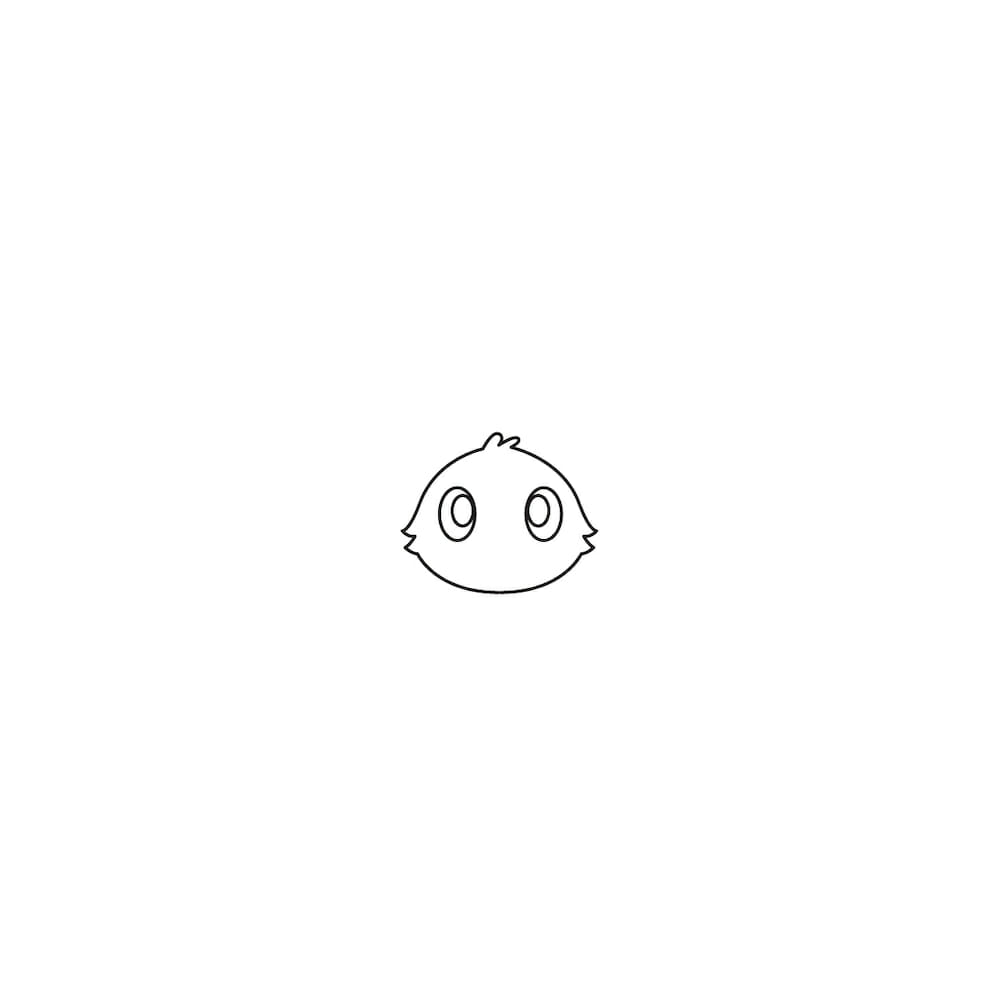
Step 2: Create the Bat’s Eyes
Now, it’s time for the eyes to come alive! Draw two large ovals for the eyes; within those, add two smaller ovals for the irises.
Step 3: Color the Bat’s Eyes
Fill the larger ovals with a dark color, preferably black, to make the eyes pop!

Step 4: Design the Bat’s Nose and Mouth
For the bat’s nose, sketch a small curved line. Then, draw a ‘W’-shaped line for the mouth. Oh, and let’s not forget those fangs! Add a tiny fang at both ends of the mouth.

Step 5: Add The Bat’s Ears
Once you’ve finished with the face, add two rounded “V”-shaped outlines for the ears.

Step 6: Ear Detailing
Let’s give those ears some depth! Add details within the ear area to create a 3D effect.

Step 7: Draw the Bat Body
For the body, draw a circle-like shape and add some small feathery details to give it texture.

Step 8: Add Depth to the Bat Body
Draw additional circle-like shapes below the body to add a sense of depth and volume.

Step 9: Sketch the Bat Feet
Now, let’s give our bat some feet! Draw two small “W”-shaped outlines at the bottom of the body.

Step 10: Outline the Bat Wings
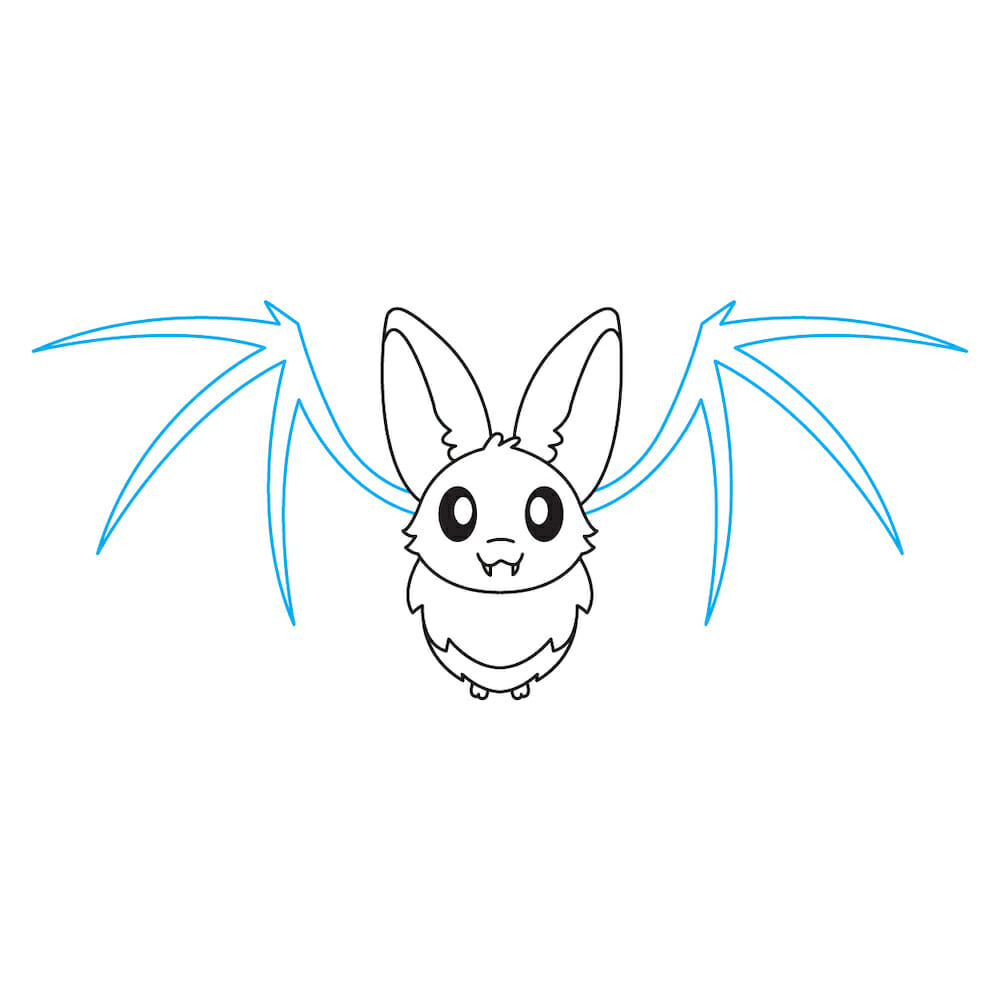
The wings are a bit tricky, but you’ve got this! Start by drawing two curved lines extending from the bottom area near the ears. Then, add three branch-like lines stemming from the end of each curved line.
Step 11: Complete the Bat Wings
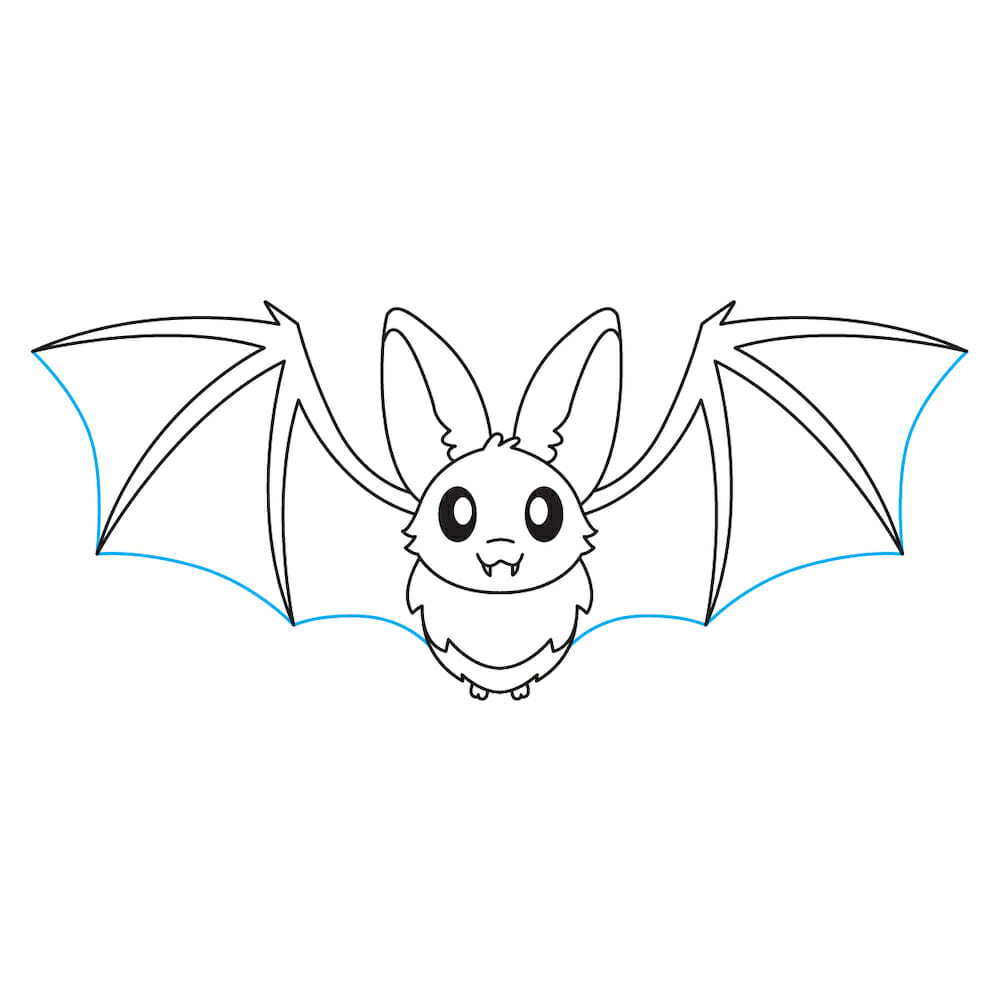
Once you’ve got the basic wing structure, connect the ends of the branches with additional curved lines to make it look more like wings.
Step 12: Finishing Touches
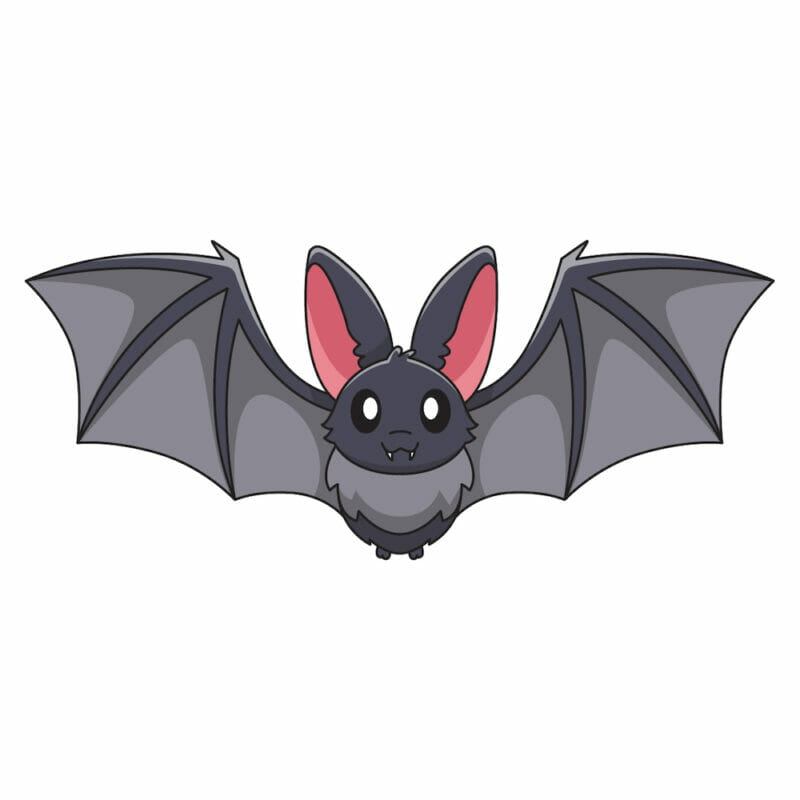
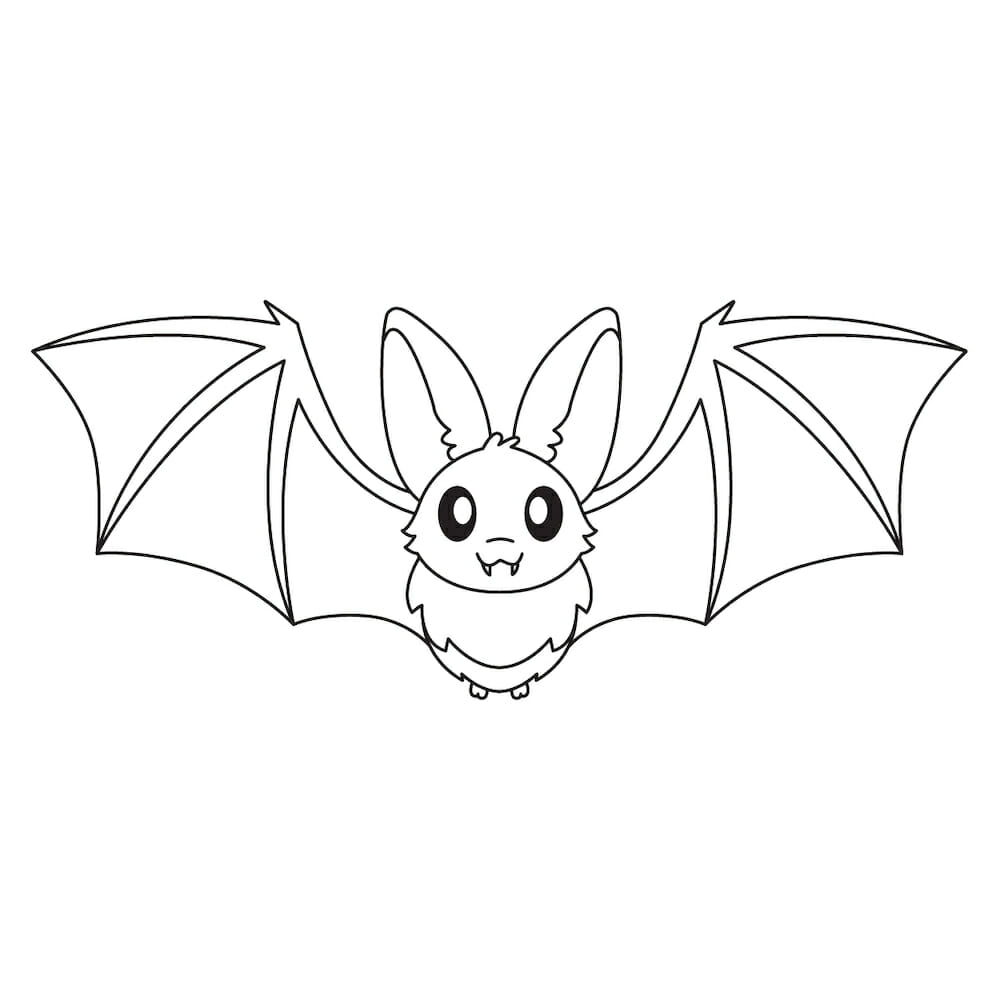
Hooray! You’ve successfully drawn a bat. Give yourself a pat on the back!
Step 13: Color Your Masterpiece
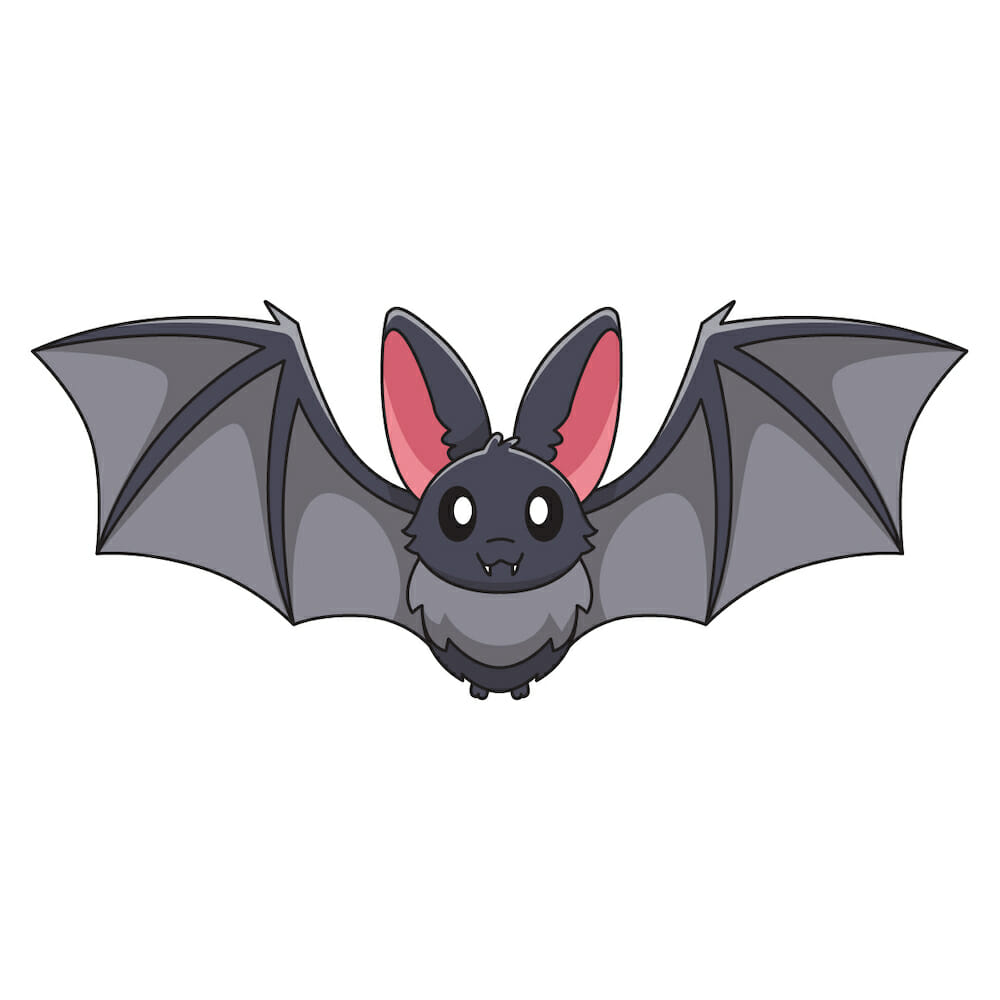
It’s time to bring your bat to life with color. Feel free to let your creativity soar—use any colors you like!
More Drawing Tutorials
- How to Draw Pokemon
- How to Draw Sonic
- How to Draw Eyes Step-by-Step
- How to Draw a Chinese-Style Dragon (Advanced Tutorial)
- How to Draw a Cartoon-Style Dragon
- How to Draw Fire
- How to Draw Naruto
- How to Draw a Dinausor Easy
How to Draw A Bat Step-by-Step Full Video Tutorial
And there you have it, folks! You’ve just drawn an awesome bat. We’d love to see your masterpieces, so be sure to share them with us. Keep practicing and keep creating! 🦇✨

