Welcome to this beginner-friendly tutorial on “How to Draw a Dragon for Beginners.” Whether you’re new to the art world or looking for a creative way to pass the time, this step-by-step guide is designed to make drawing a dragon enjoyable and achievable. We’ve broken down the process into manageable sections, each designed to guide you through the essentials while allowing you to inject your artistic flair.
For those who find this tutorial a little too basic or want to take their dragon-drawing skills to the next level, we have another tutorial entitled “How to Draw a Chinese-Style Dragon.” This advanced tutorial delves deeper into the artistic elements and techniques needed to create an intricate, Chinese-inspired dragon that is both majestic and awe-inspiring.
So grab your favorite drawing tools, and let’s unleash your creativity as we embark on this artistic journey together!
Now, let’s get started on creating your very own dragon!
Table of Contents
- 1 12 Steps To Draw An Easy Cartoon Dragon
- 1.1 Step 1: Sketch the Dragon’s Head Outline
- 1.2 Step 2: Add Horns with Details
- 1.3 Step 3: Craft the Eyes
- 1.4 Step 4: Create the Nose and Mouth
- 1.5 Step 5: Draw the Neck Lines
- 1.6 Step 6: Illustrate the Front Feet
- 1.7 Step 7: Outline the Body and Back Legs
- 1.8 Step 8: Sketch the Tail
- 1.9 Step 9: Add Wings for Flight
- 1.10 Step 10: Add Stomach Details
- 1.11 Step 11: Detail the Scales
- 1.12 Step 12: Time to Color!
- 1.13 More Drawing Tutorials
12 Steps To Draw An Easy Cartoon Dragon
Step 1: Sketch the Dragon’s Head Outline
Begin by lightly sketching the outline of the dragon’s head. This will serve as the base for adding more intricate features later on. Feel free to use simple geometric shapes like ovals or circles to guide you in creating the head’s overall shape.

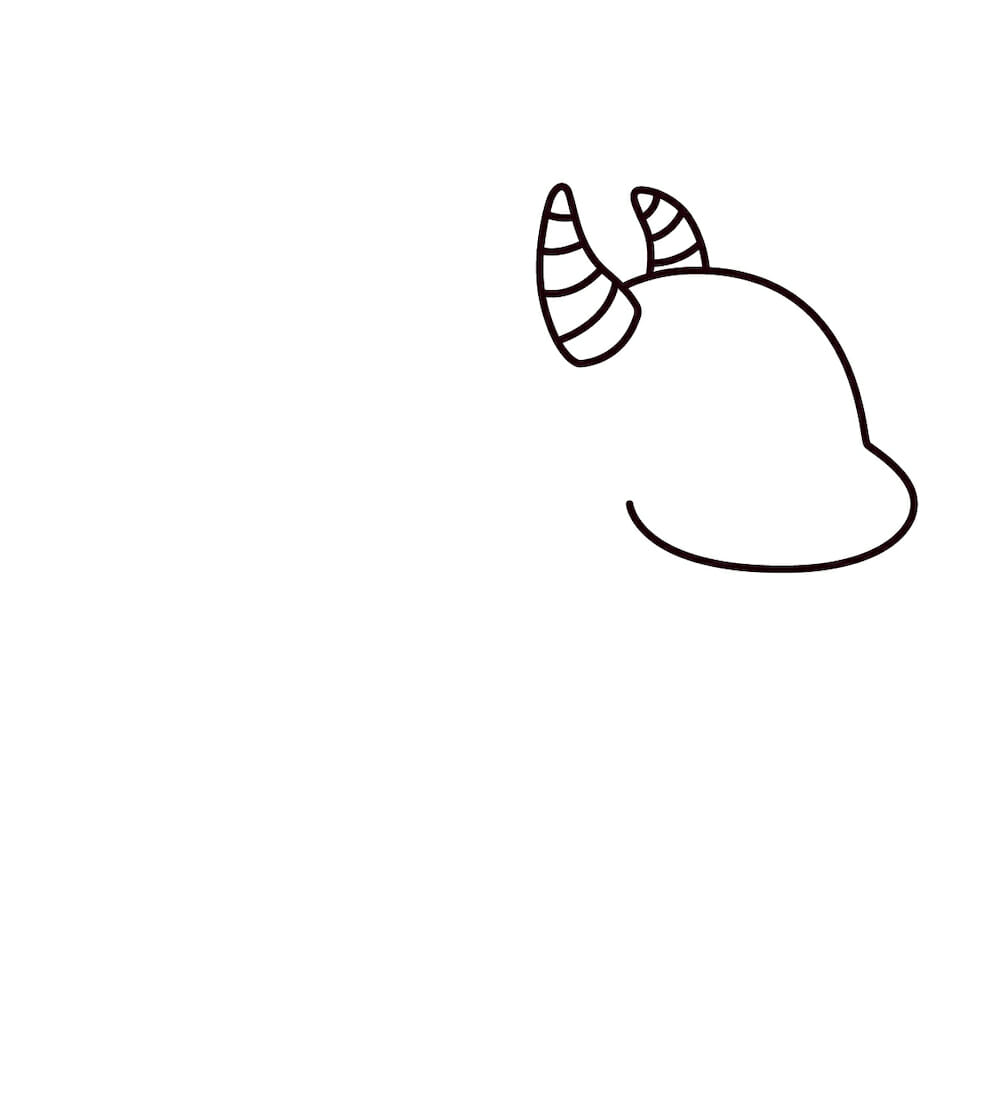
Step 2: Add Horns with Details
Now, it’s time to give your dragon some character by adding horns. Draw two horn shapes on top of the head outline. Make the horns curve upward or sideways, depending on your preference. Once the basic shapes are down, you can add ridges, lines, or other texture details to make the horns more realistic.
Step 3: Craft the Eyes
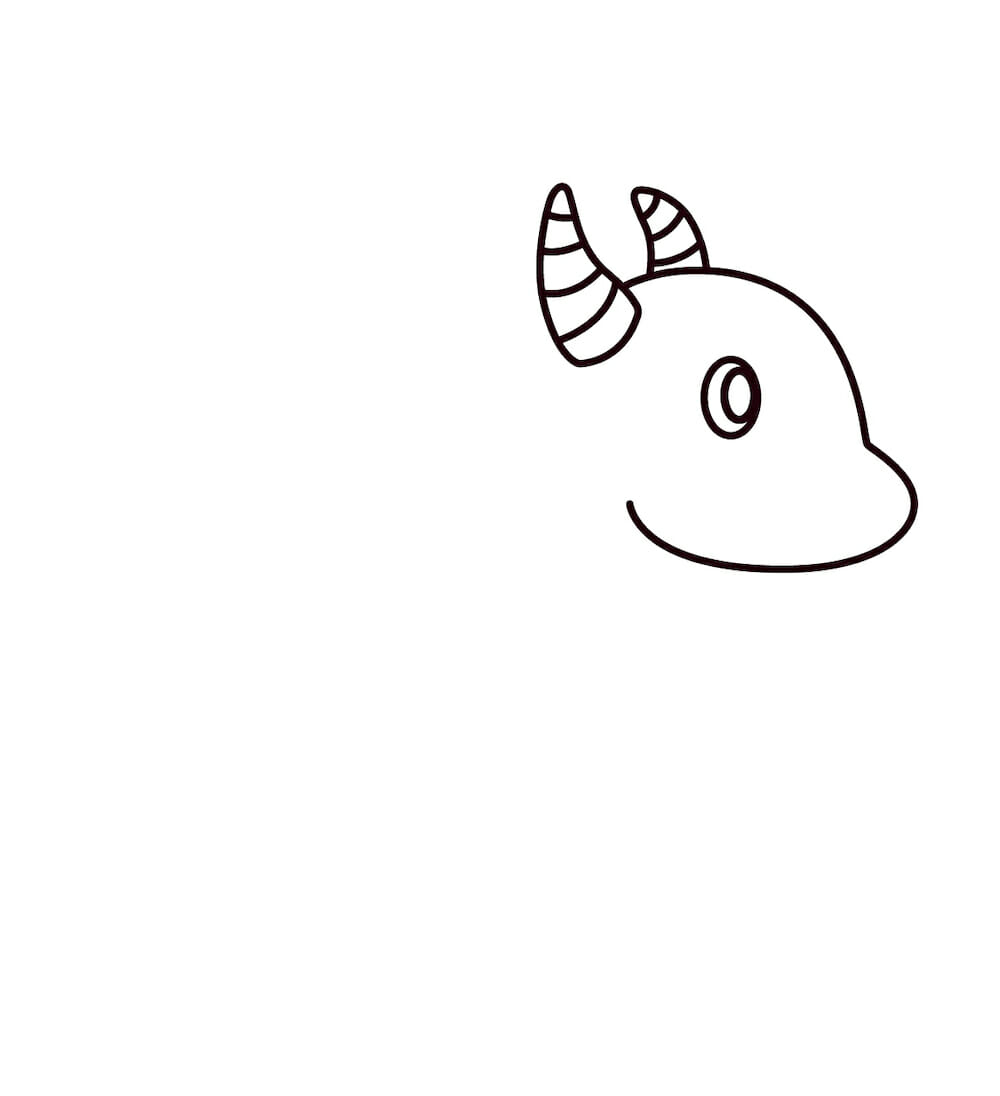
Draw a large circle for the eyes to represent the outer eye area. Within that circle, draw a smaller circle to act as the pupil. This layering will give the eye more depth and expression.
Step 4: Create the Nose and Mouth
To make the nose, sketch a small circle near the top-middle of the face. Then, draw a wavy line extending from one side of the nose circle to form the dragon’s mouth. Once that’s complete, fill in the small circle within the eye with black to make the pupils come alive.

Step 5: Draw the Neck Lines
To attach the head to the body, draw two lines representing the neck. Start one line near the base of the mouth and the other near the base of the horns. Ensure these lines curve slightly to give the neck a more natural, elongated look.
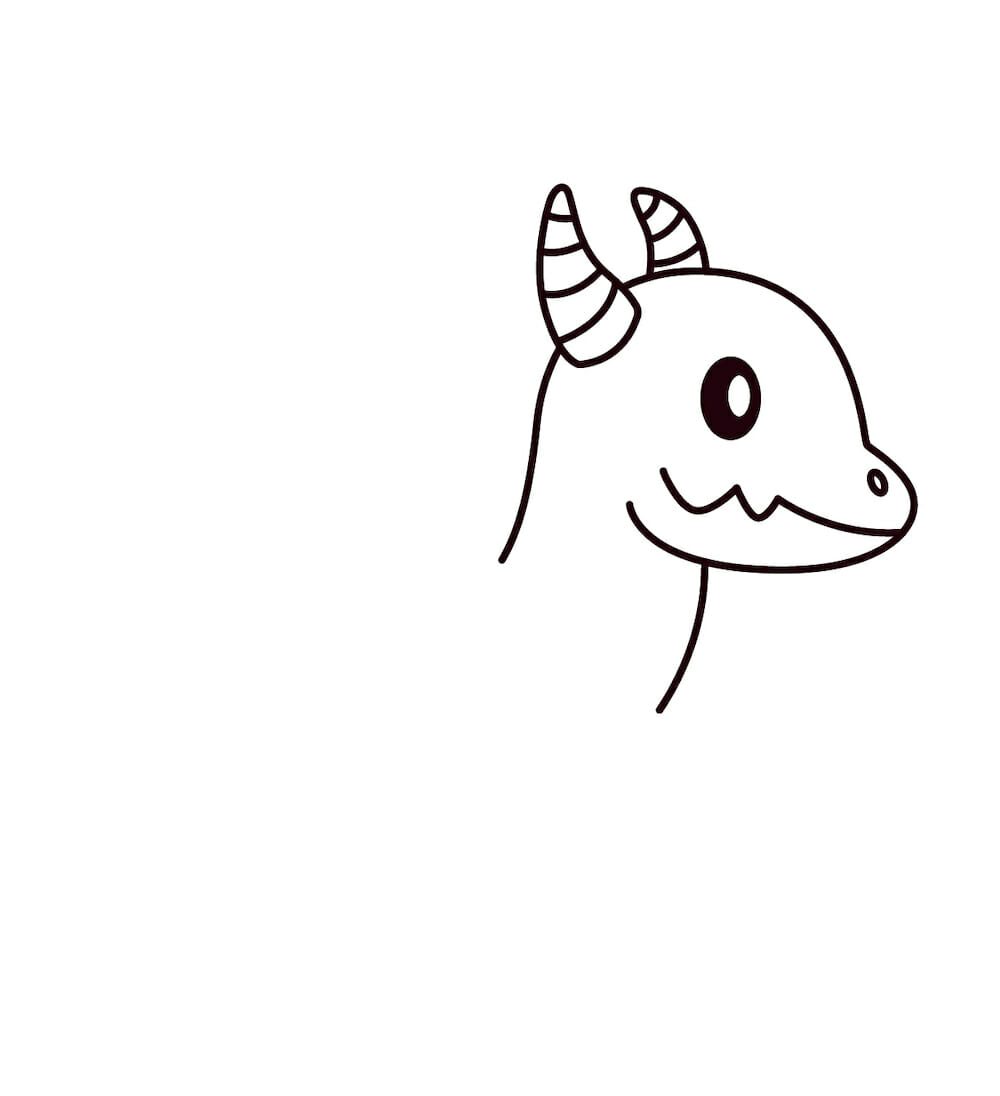
Step 6: Illustrate the Front Feet
Follow the reference picture to sketch two small, curved lines that will serve as the dragon’s front feet. Add details to the feet by drawing toes, which can be as simple as tiny curved lines at the end of each foot.
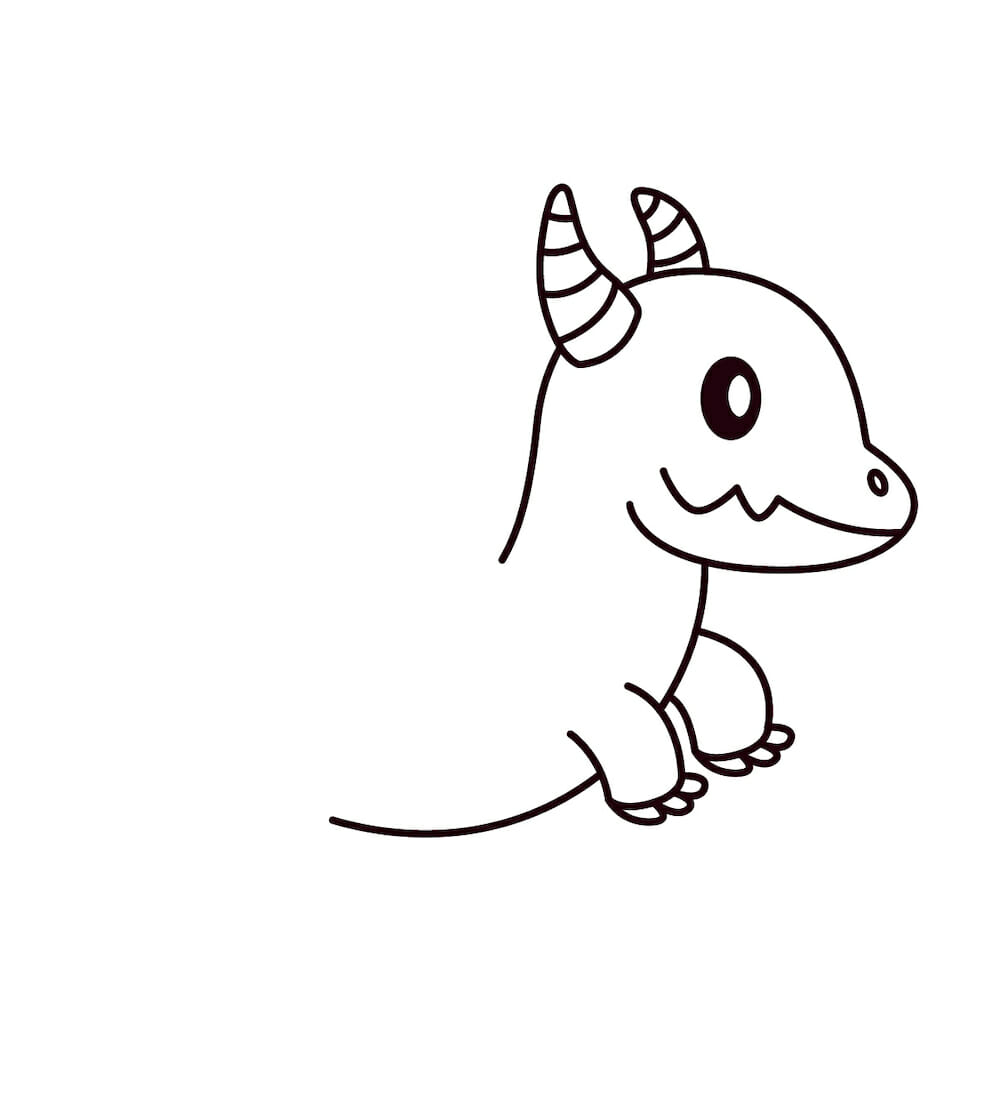
Step 7: Outline the Body and Back Legs
Draw a curved line extending from the neck to form the dragon’s body. Then, add the back legs by drawing them in a manner similar to the front feet, but make them slightly larger. Use your reference picture as a guide for correct positioning and proportions.
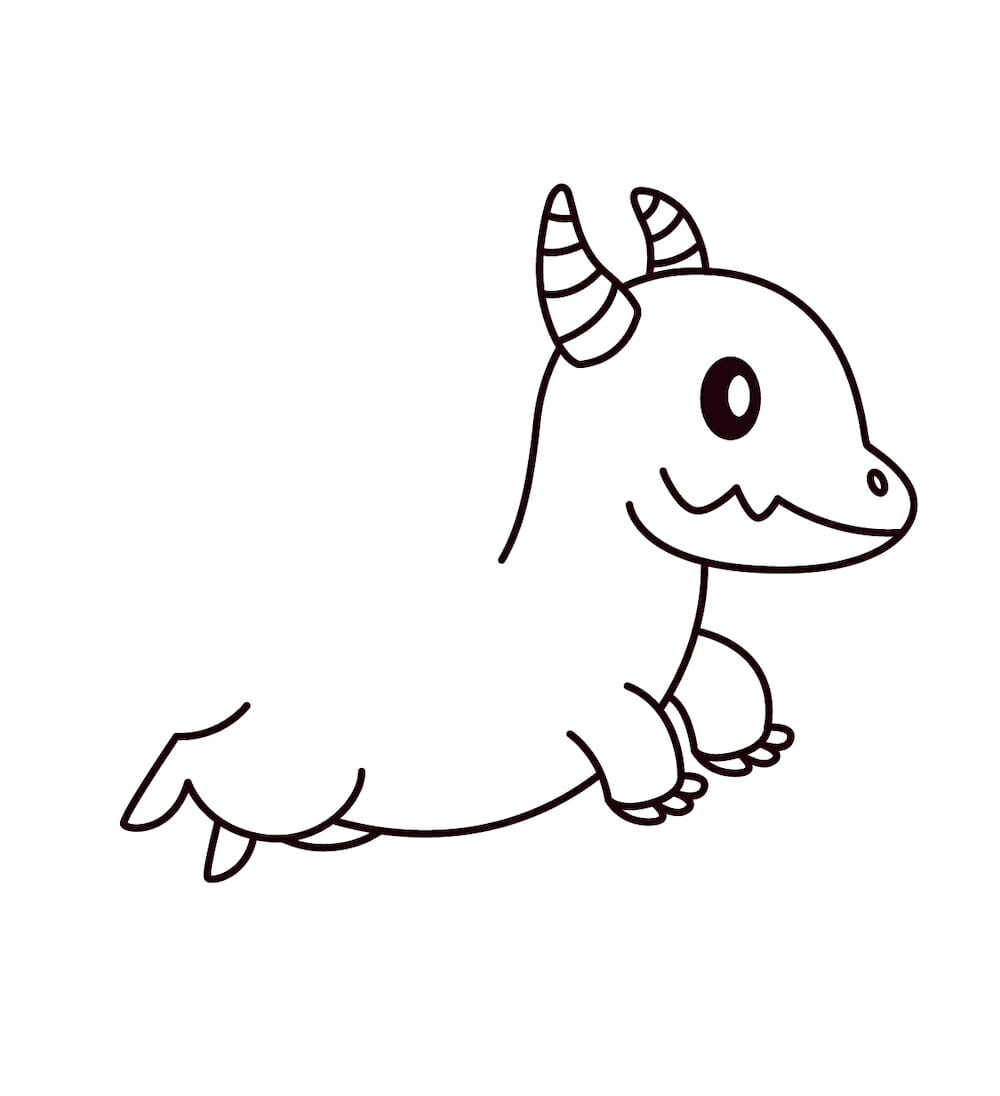
Step 8: Sketch the Tail
Draw a shape resembling a half-crescent moon to act as the dragon’s tail. Make sure the tail curves in a way that balances the overall composition of the drawing.
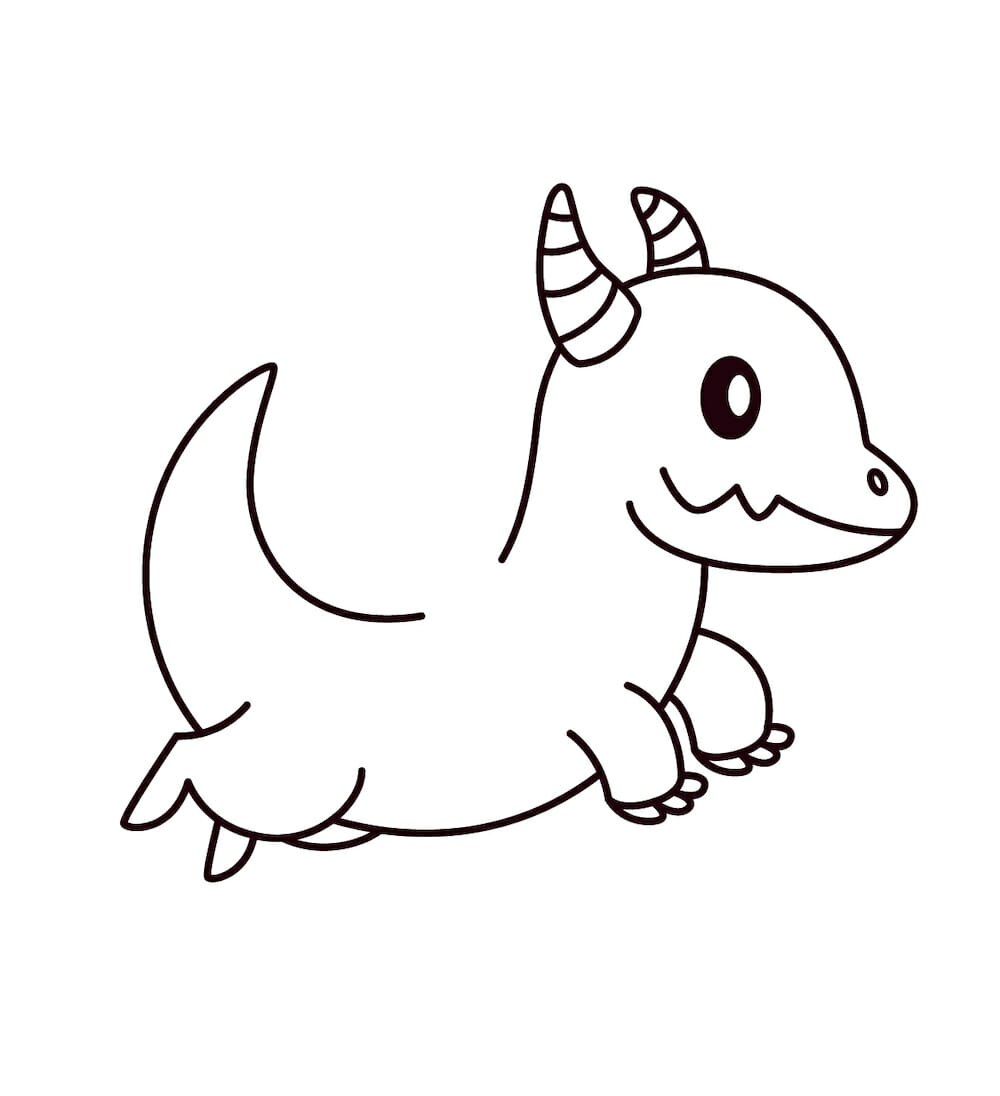
Step 9: Add Wings for Flight
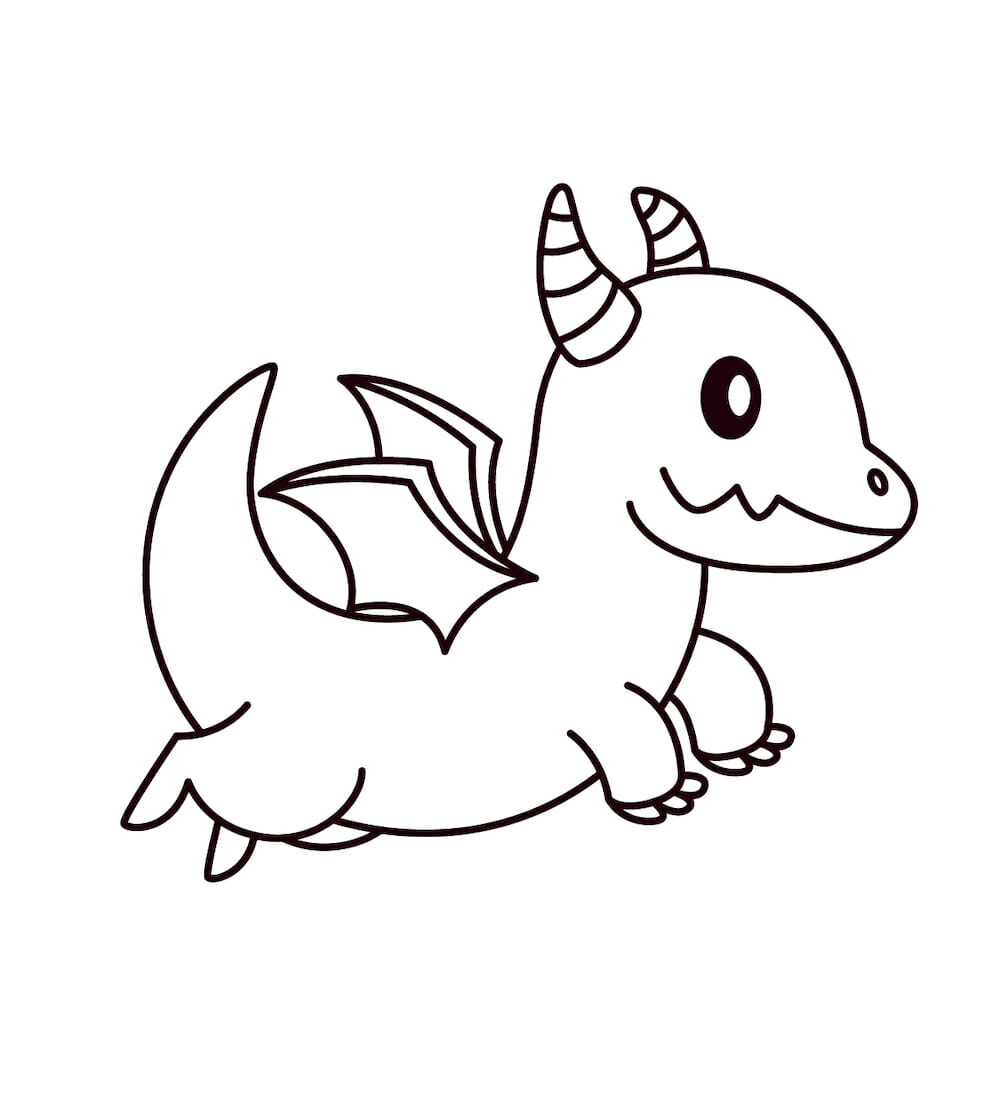
No dragon is complete without wings! Sketch two small wing shapes on the dragon’s back, ensuring they’re proportionate to the body. Feel free to add feather or scale-like details to make the wings look more intricate.
Step 10: Add Stomach Details
Now that the body is complete add some fine lines along the dragon’s stomach area to give it more texture and depth. These lines can be simple, but they will greatly enhance the realism of your dragon.

Step 11: Detail the Scales
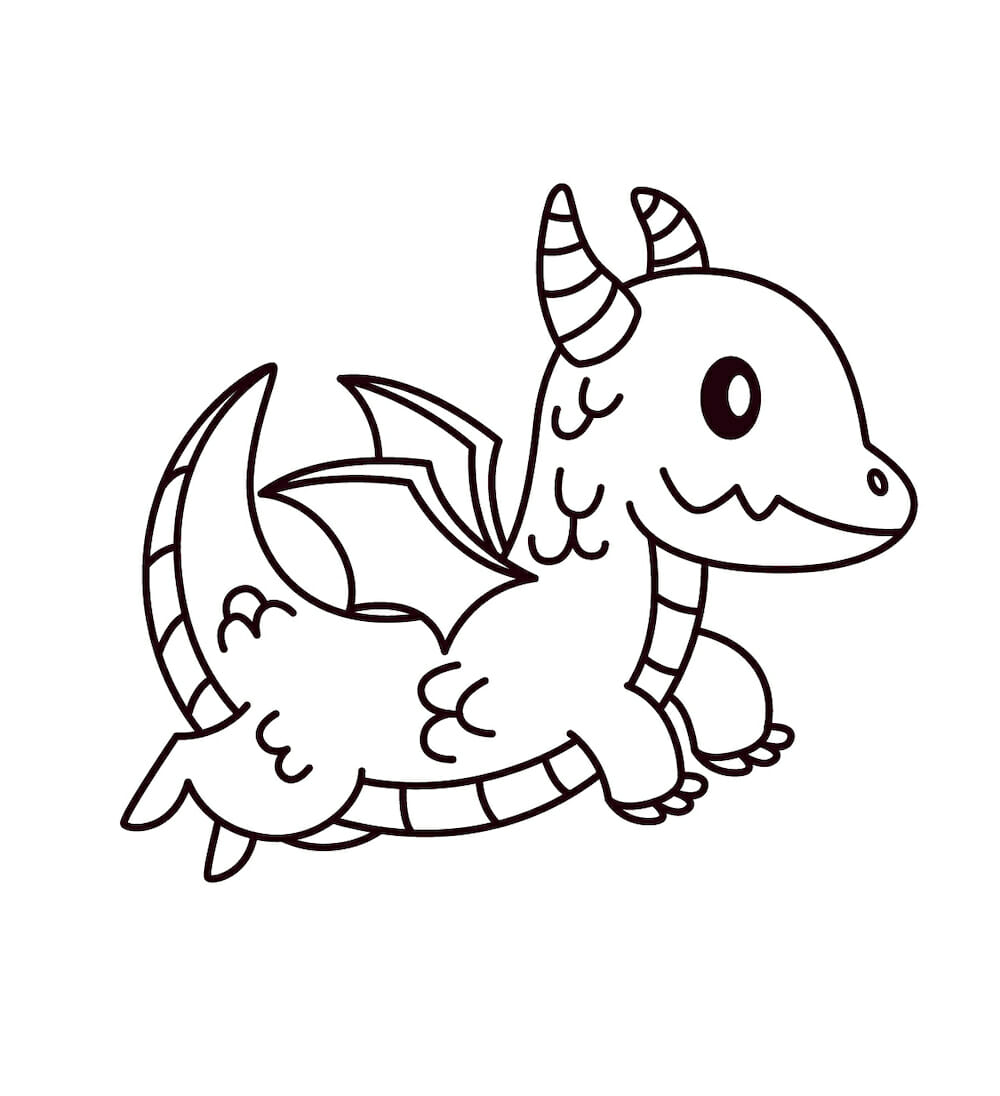
For the dragon scales, draw repetitive patterns of the letters ‘u’ and ‘w’ across the dragon’s body. This will create a scale-like texture and make your dragon appear more lifelike.
Step 12: Time to Color!
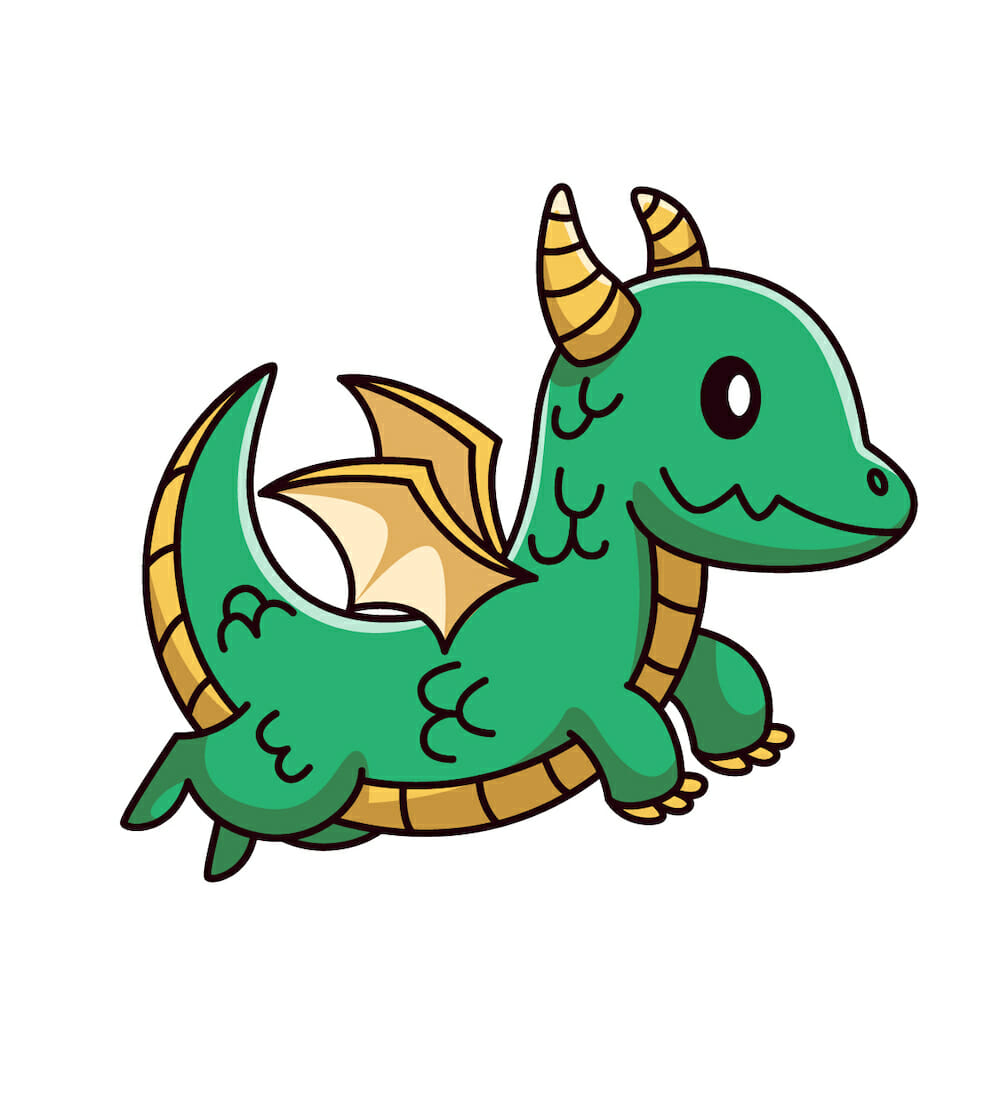
You’ve done all the hard work. Now it’s time for the fun part—coloring! Use your favorite coloring tools to bring your dragon to life. Feel free to experiment with various shades and hues to make your dragon unique.
And there you have it—a complete guide on how to draw a dragon for beginners. Happy drawing!


