Hello, crochet enthusiasts, and welcome to this tutorial! Whether you’re a seasoned crocheter or just starting, today we’re going to create a beautiful scarf perfect for chilly fall and winter days. Not only is it cozy, but it’s also a stylish addition to your winter wardrobe. This tutorial will thoroughly review each step to ensure beginners will understand the techniques involved. By the end, you’ll have created a gorgeous scarf all by yourself! So grab your crochet hook and favorite yarn, and let’s start!
Table of Contents
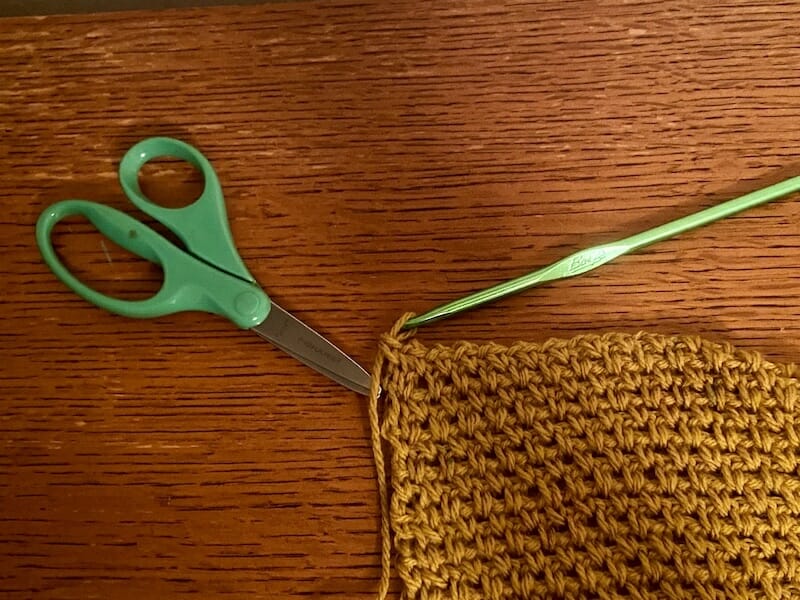
Recommended Materials
- Choice of weight 4 worsted yarn
- Scissors
- Tapestry needle
- (Optional) Stitch marker
Abbreviations
- CH- Chain
- CH SP- Chain space
- SK- Skip a stitch
Tips for Success
Crocheting can be a rewarding experience, but it can also come with its own set of challenges, especially for beginners. Here are some potential issues you might encounter and tips to ensure a successful scarf-making experience.
Potential Issues
- Inconsistent Tension: Your scarf might become too tight or loose, leading to an uneven texture and width.
- Counting Errors: Losing count of your stitches or rows could mess up the pattern and structure of your scarf.
- Running Out of Yarn: If you run out of yarn before you finish, your scarf will be shorter than planned or may have a mismatched section if you buy more yarn later.
- Splitting Yarn: The crochet hook might split the yarn, leading to messy or weakened stitches.
- Incorrect Stitch Placement: Inserting the hook in the wrong part of the stitch could cause your pattern to skew.
- Loose Ends: If you don’t properly secure the ends of your yarn, they might unravel over time.
- Difficulty Following Pattern: For beginners, understanding crochet terminology and following patterns can be a bit confusing.
Related: 6 Best Beginner Crochet Kits in 2023
Tips for Success
- Practice Tension: Before you start your scarf, practice achieving consistent tension. You can do this by making a small swatch and adjusting your grip on the yarn. This will prevent your crochet from curling.
- Stitch Markers: Use stitch markers to keep track of the beginning and end of each row, or for marking critical stitches in your pattern.
- Buy Extra Yarn: Always buy an extra skein of yarn to ensure you have enough, especially if you want to adjust the length or width.
- Quality Hooks: Invest in a good quality crochet hook to make the process smoother and easier on your hands.
- Work Slowly: Don’t rush through your stitches. Take your time to place your hook correctly and double-check your work regularly.
- Check Gauge: Most patterns have a gauge that tells you how many stitches and rows should fit within a certain measurement. Make a gauge swatch to ensure your tension matches the pattern’s specifications.
- Secure Your Ends: When fastening off, leave a long tail and weave it back through your work multiple times to secure it. This makes it less likely to unravel.
- Consult Videos: Sometimes, reading a pattern isn’t enough. Many other video tutorials can help you visually understand the stitches and techniques.
- Take Breaks: Crocheting for a long time can strain your hands and eyes. Make sure to take regular breaks and stretch your hands.
- Ask for Help: Don’t hesitate to ask for advice or help. Online forums, local crafting groups, and social media can offer invaluable support and tips.
- Practice with Scrap Yarn: Practice the pattern with some scrap yarn before diving into your scarf project. This allows you to make mistakes without ruining your main project.
Knowing these potential issues and tips, even a beginner can successfully complete a beautiful, handmade crochet scarf. Happy crocheting!
Related: 30 Free Crochet Scarf Patterns for All Skill Levels
How To Make a Scarf Step-by-Step
I. Beginning Chain
Create a Slip Knot
First things first: Create a slip knot to secure your yarn on your crochet hook. This is the foundational knot that starts your crochet journey.
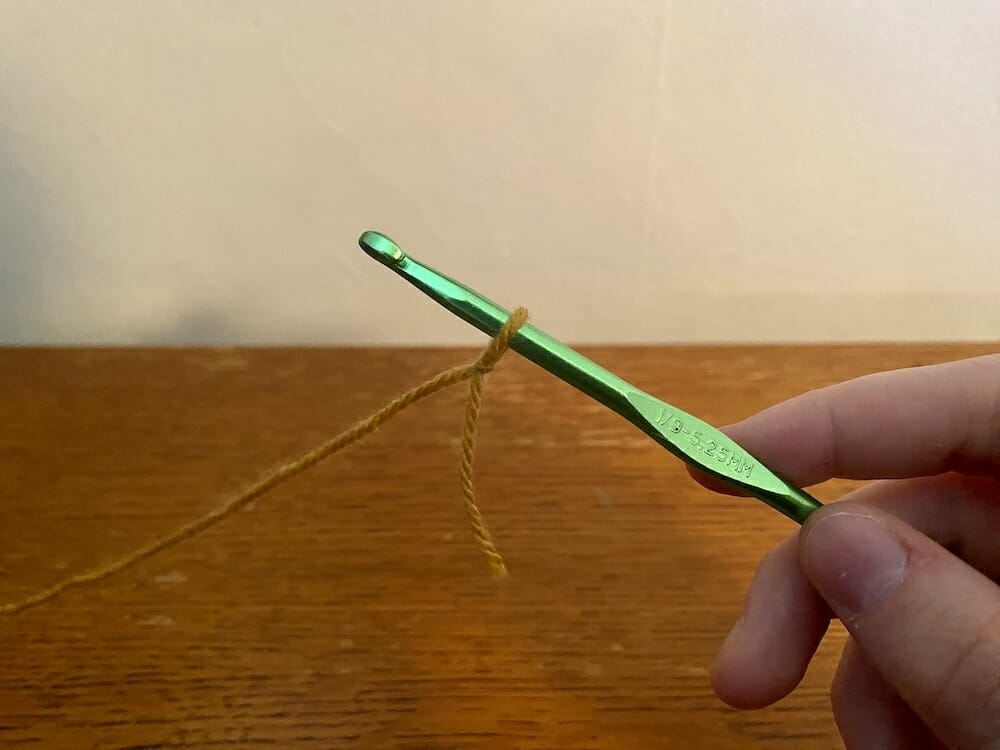
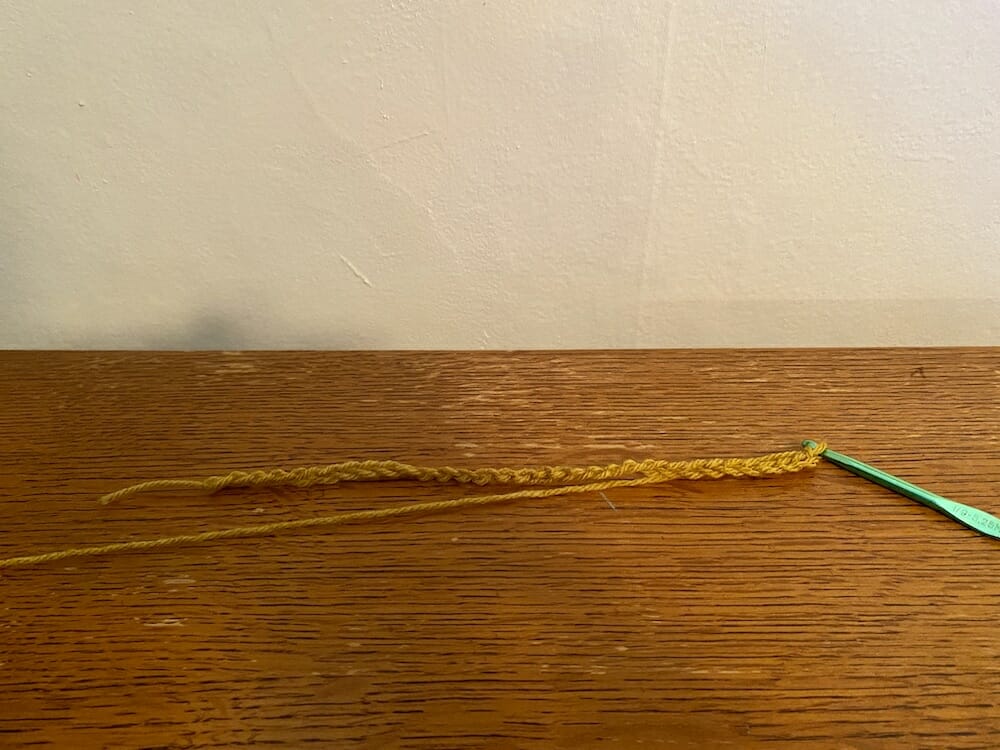
1. Chain 32 (CH 32)
With the slip knot securely on your hook, yarn over (wrap the yarn over your hook), and pull it through the loop you have on the hook. This makes one chain stitch. Repeat this process for a total of 32 chain stitches. This will serve as the base length of your scarf.
II. Row 1
1. Single Crochet in the Fourth Loop from the Hook (SC in the fourth loop from the hook)
Count four loops from the crochet hook, then insert the hook into the fourth loop. Yarn over and pull up a loop, then yarn over again and pull through both loops on the hook. You’ve made your first single crochet!
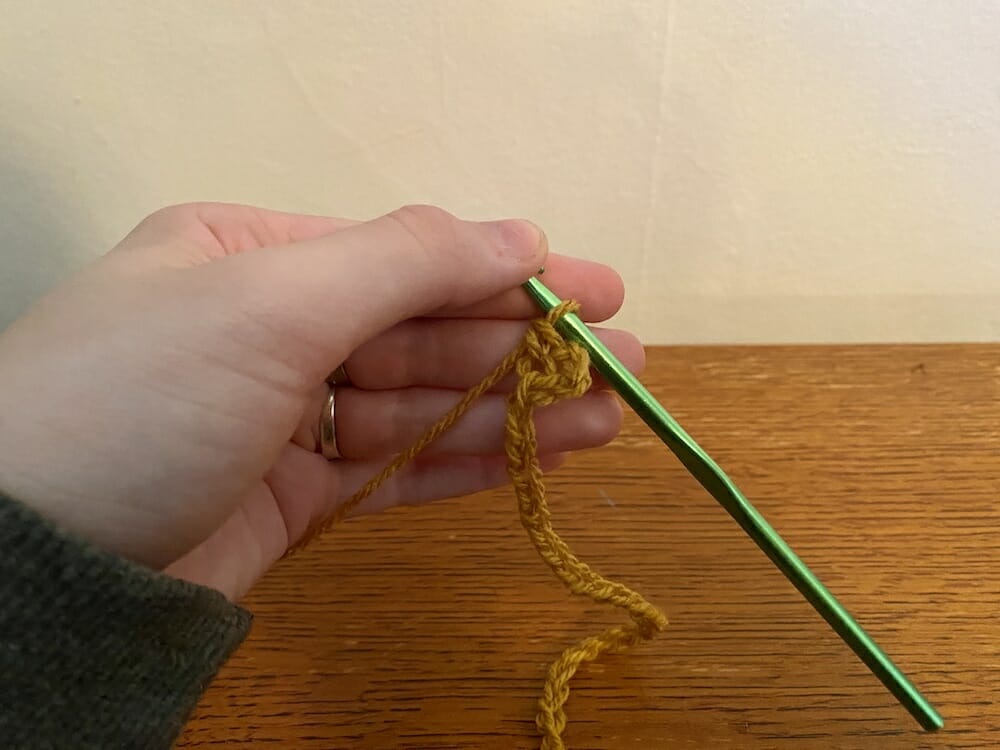
2. Chain 1 (CH 1)
Yarn over and pull through the existing loop on your hook to make one chain stitch.
3. Skip 1 Stitch (SK 1)
Move to the next stitch on your base chain and simply skip over it. This helps to create the spaces in your scarf pattern.
4. Single Crochet in Next Stitch (SC in next stitch)
Insert your hook into the next stitch, yarn over, pull up a loop, yarn over again, and pull through both loops on the hook. Another single crochet completed!
5. Repeat the Steps
Continue this pattern of chaining one stitch, skipping one stitch, and then single crocheting into the next stitch after the skipped stitch until you reach the end of the row. From here on out, you will work only single crochet stitches into the chain spaces created between the single crochets of the previous row.
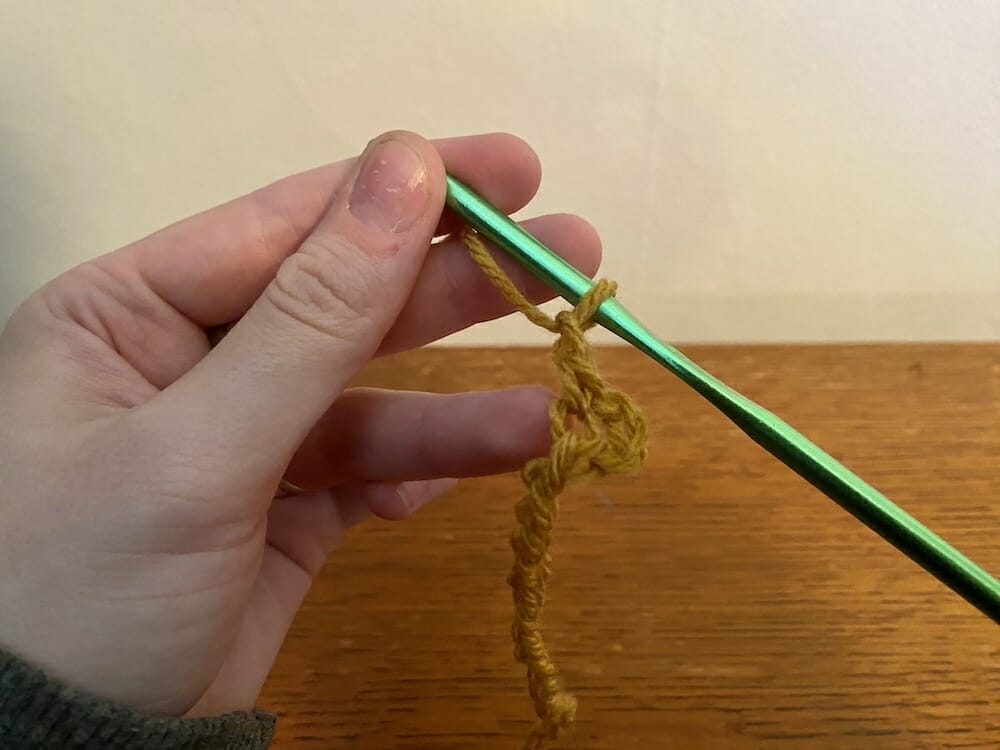
III. Row 2:
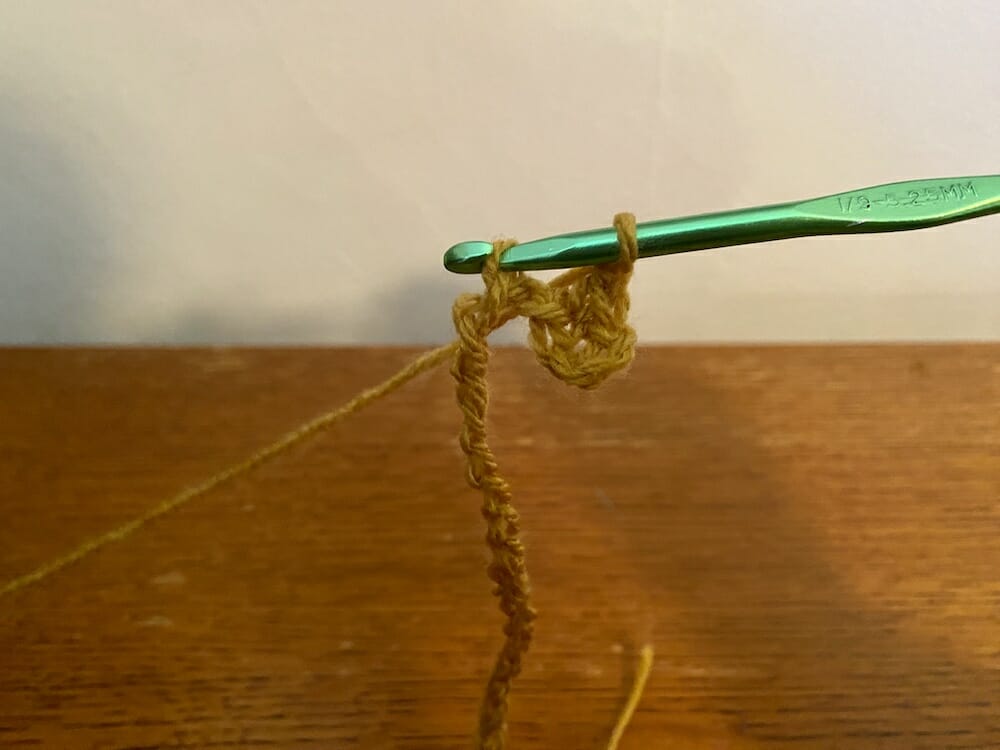
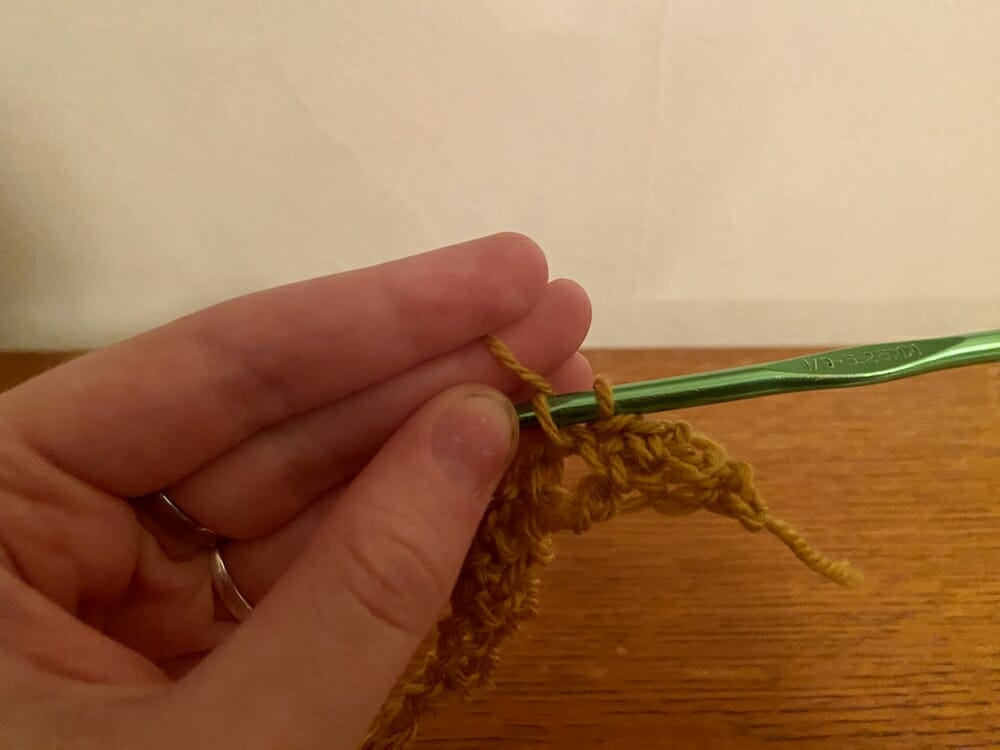
1. Chain 2, Single Crochet into First Chain Space (CH 2, SC into CH SP)
Start the row by chaining two stitches, then single crochet into the first chain space created in the previous row.
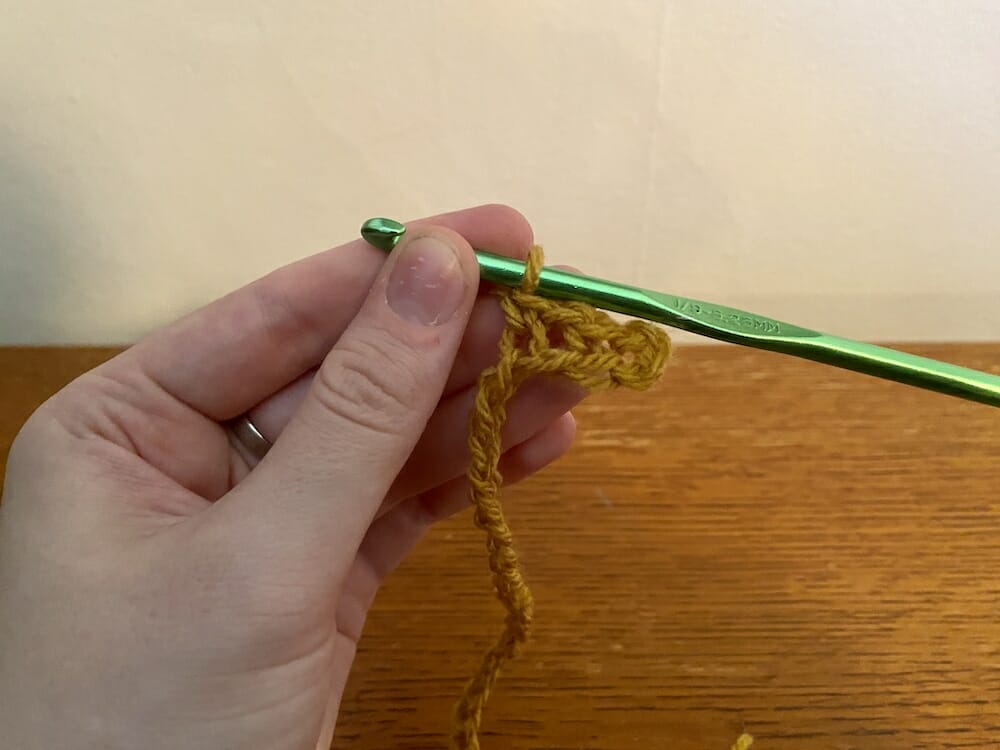
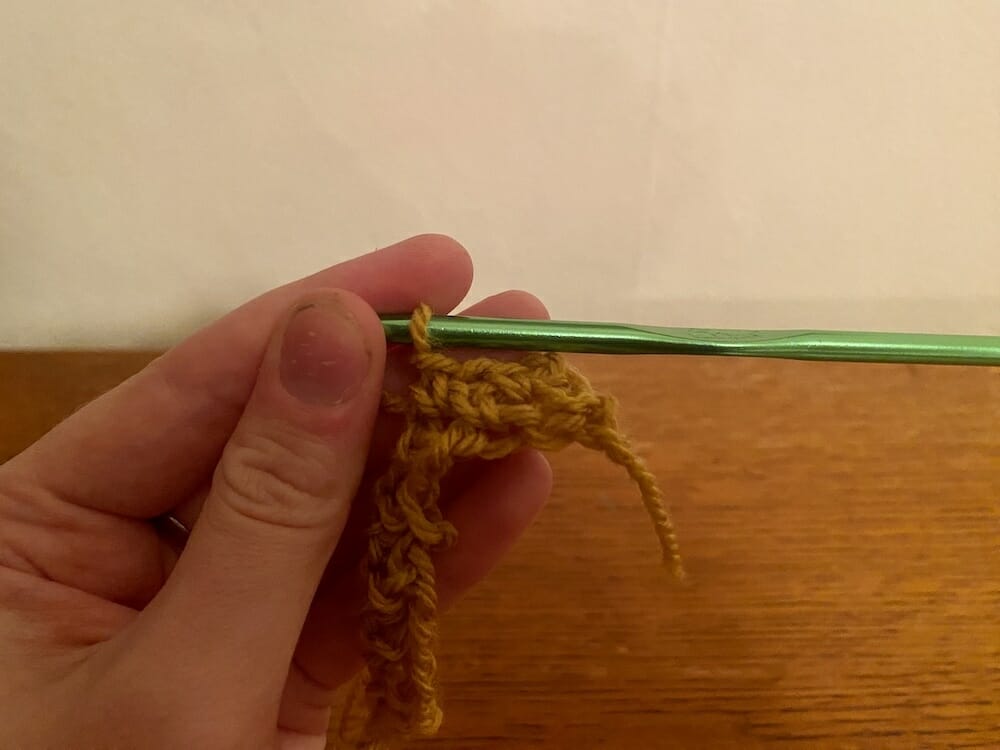
2. Chain 1 (CH 1)
Add another chain stitch as you did in the first row.

3. Skip 1 Stitch (SK 1)
Again, skip over one stitch to maintain your pattern.
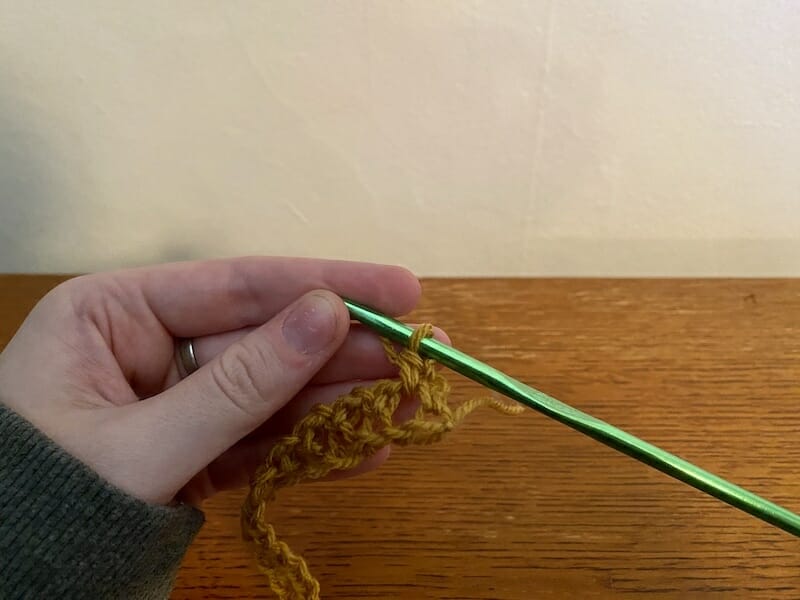
4. Single Crochet in Next Stitch (SC in next stitch)
Make another single crochet in the next stitch.
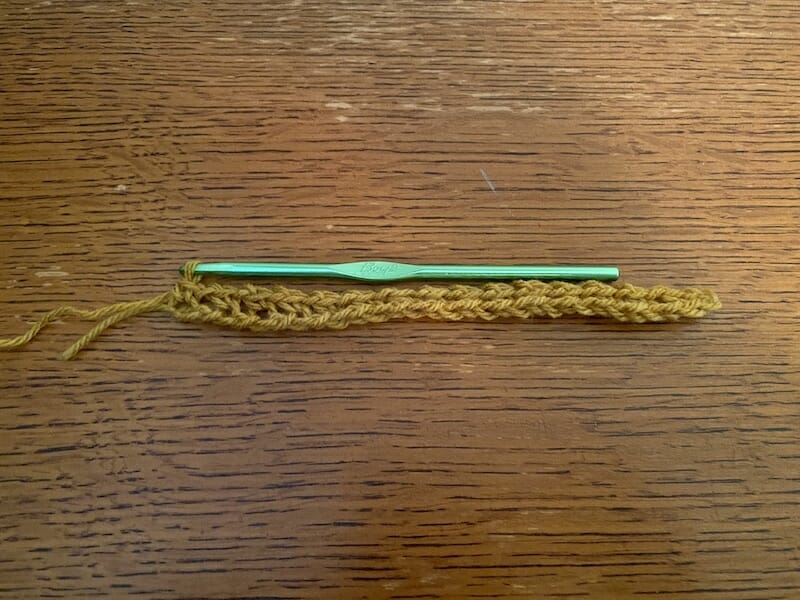
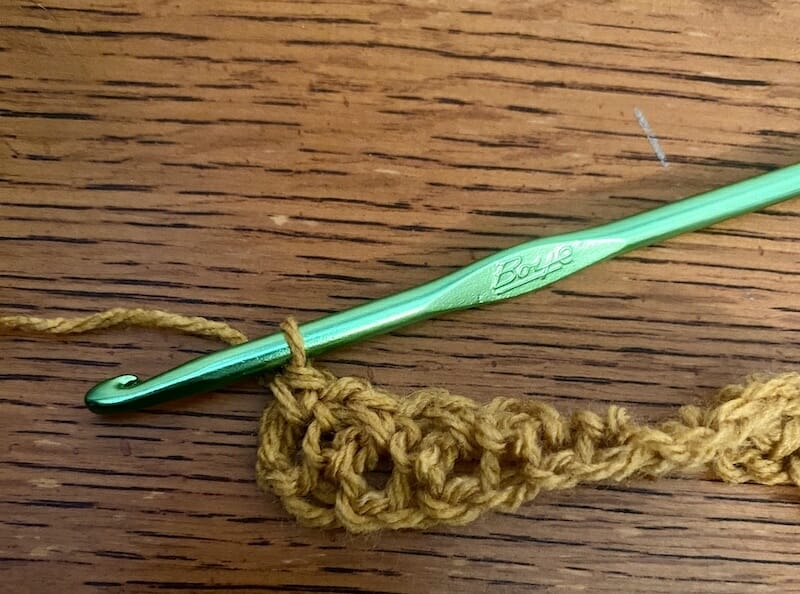
5. Repeat the Steps
Follow the pattern of chaining one, skipping one stitch, and then single crocheting into the next stitch until you reach the end of the row. The last single crochet should be placed in the space created by the initial chain of 2.
IV. Row 3-210:
1. Repeat Previous Steps
Continue the pattern established in Row 2 for a total of 210 rows, or until you reach your desired length.
V. Finishing the Scarf:
1. Single Crochet into the Last Stitch (SC 1)
As you reach the end, place a single crochet into the last stitch to round off your work neatly.
2. Fasten Off Your Yarn
Fasten off your crochet: Yarn over and pull through the last loop on your hook. Cut the yarn, leaving a small tail.
3. Weave in Your Ends
Using a tapestry needle, weave the tail through the stitches to secure it, ensuring that it blends seamlessly into the scarf.
Related: 27 Free Crochet Top Patterns
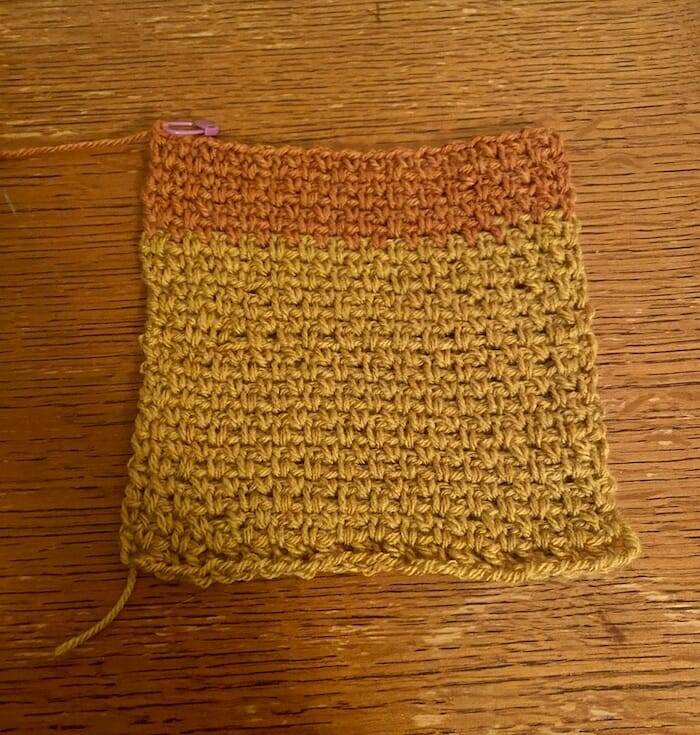
Congratulations!
You’ve done it! You’ve crafted a beautiful scarf that’s perfect for any chilly fall and winter activities. Now, you can either treat yourself to this cozy accessory or gift it to someone special. Happy crocheting!