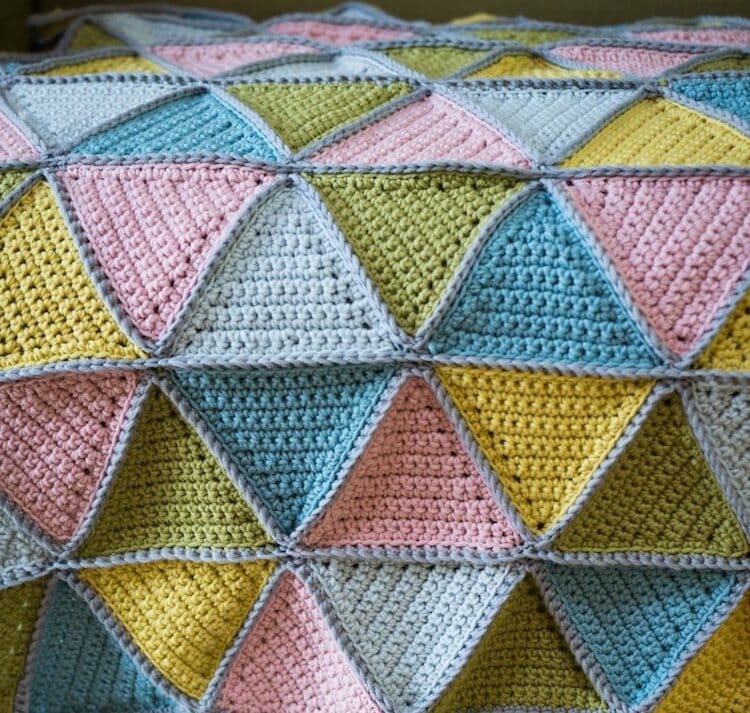
Being able to crochet a triangle is an essential skill any crocheter should know. They are easy to do but can be used to make a myriad of different crafts. Most people use the base skill of making a crochet triangle to make shawls. However, you can also use them like granny squares to make practically anything your heart desires. From blankets to pillows to table runners, you can let inspiration run wild after mastering this very simple crochet pattern.
There are many different ways to crochet a triangle. However, here we are going to focus on how to start at the tip and make your way down. But you can also create the base first, work in rounds, or use a granny triangle pattern for unique designs. Going tip down, however, is one of the easiest and creates the cleanest edges, which makes it perfect for beginners but also for anyone looking to make consistent triangles.
Table of Contents
Materials
To get started with your crochet triangle, you will only need three basic supplies:
- yarn
- Scissors
You may also want a yarn needle to be able to hide the ends of your project easily. Once you’ve gathered those supplies, it’s time to get crafting!
Stitches you need to know
The stitches we will be using throughout this pattern and their abbreviations are as follows:
- Chain=C
- Single crochet = SC
If you are an absolute beginner and this is your first time picking up a crochet hook, don’t worry. There are plenty of helpful online. You can find a lot of beginner-friendly crochet tutorials on Craftbuds. Once you feel confident in your stitches, it’s time to begin.
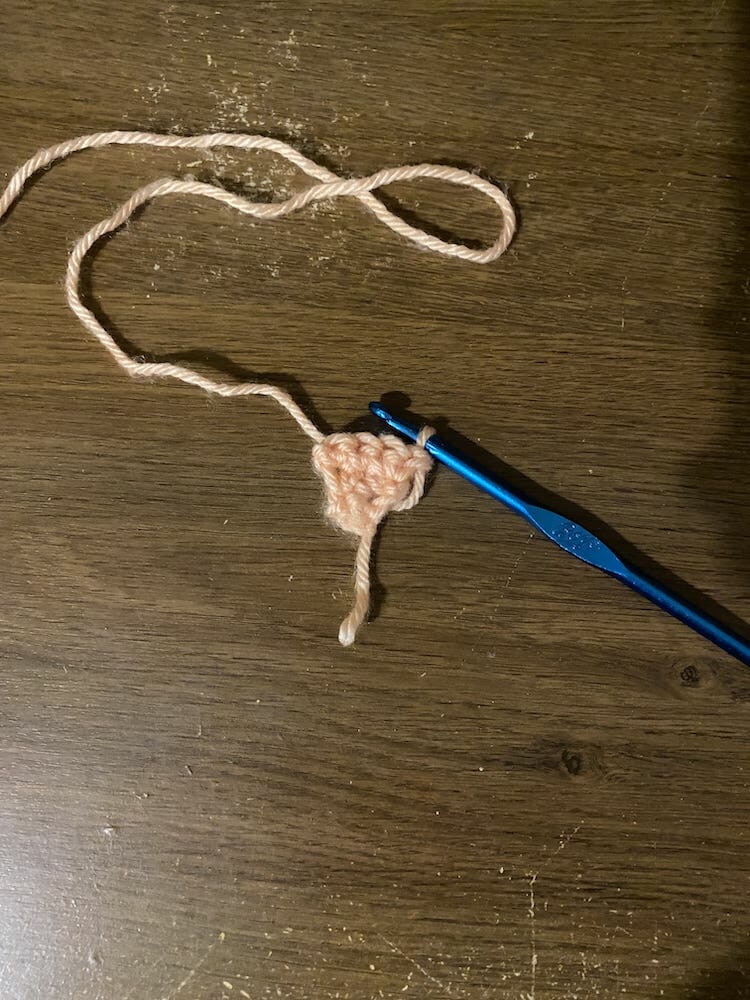
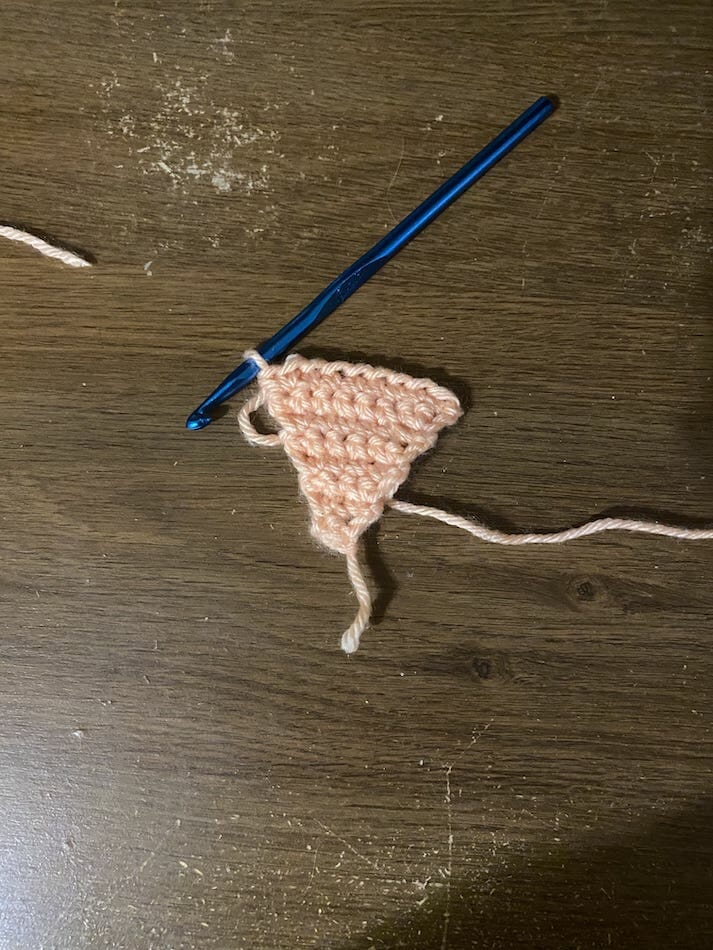
Crochet a Triangle Step-by-Step
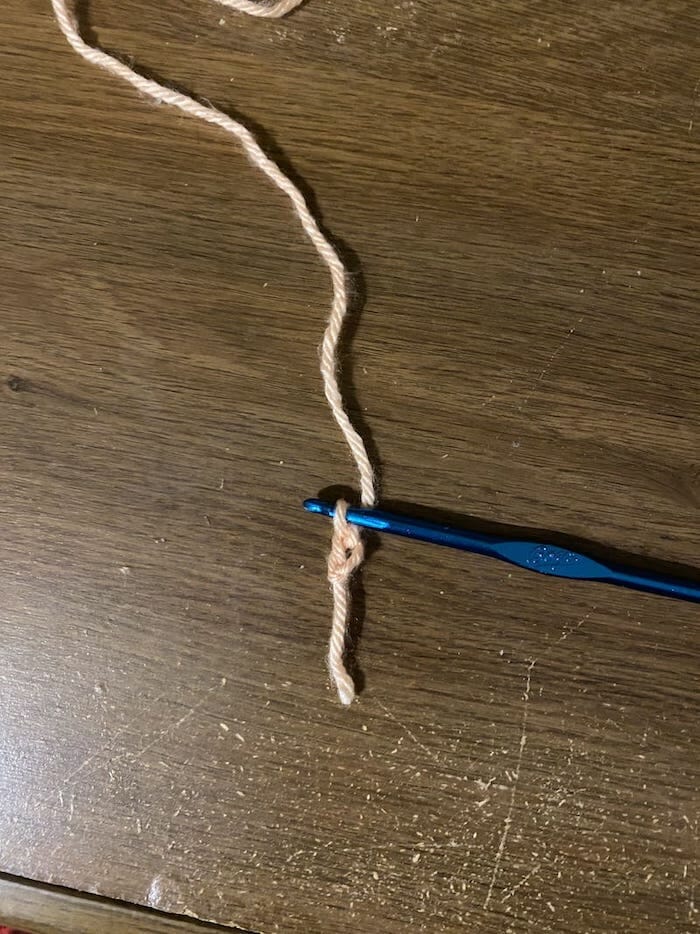
Row 1: Create a slip knot and C 2
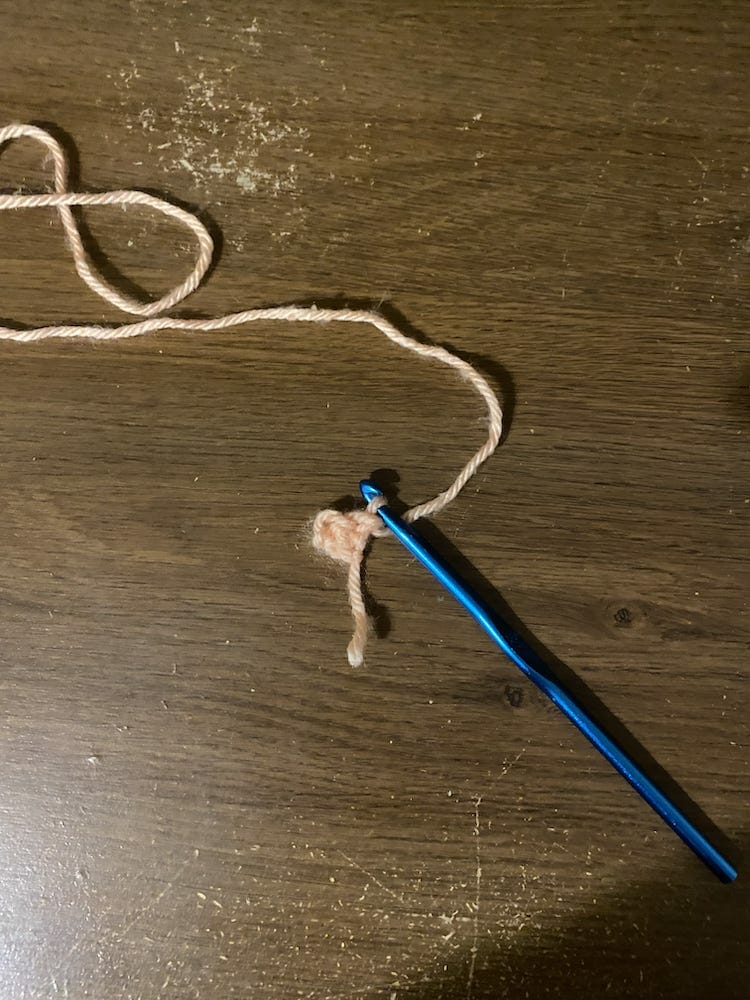
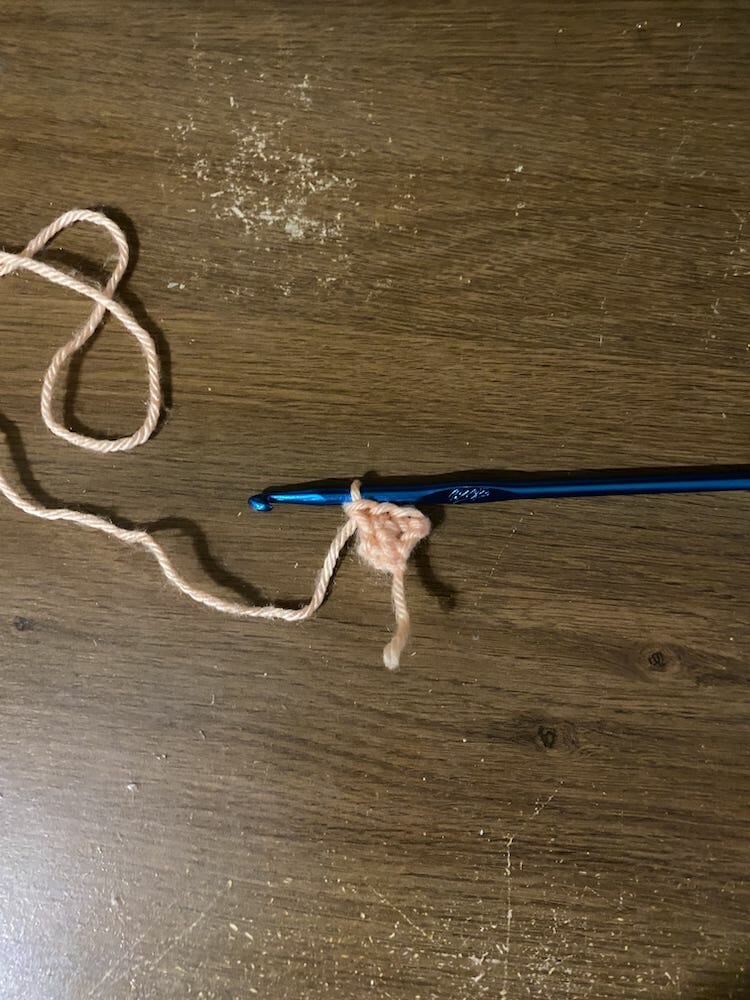
Row 2: In the second chain, do 2 SC
Row 3: C, SC, do 2 SC in the last stitch

Row 4: C, SC, SC, 2 SC in the last stitch
Row 5: C, SC, SC, SC, 2 SC in the last stitch
Row 6: C, SC, SC, SC, SC, 2 SC in the last stitch
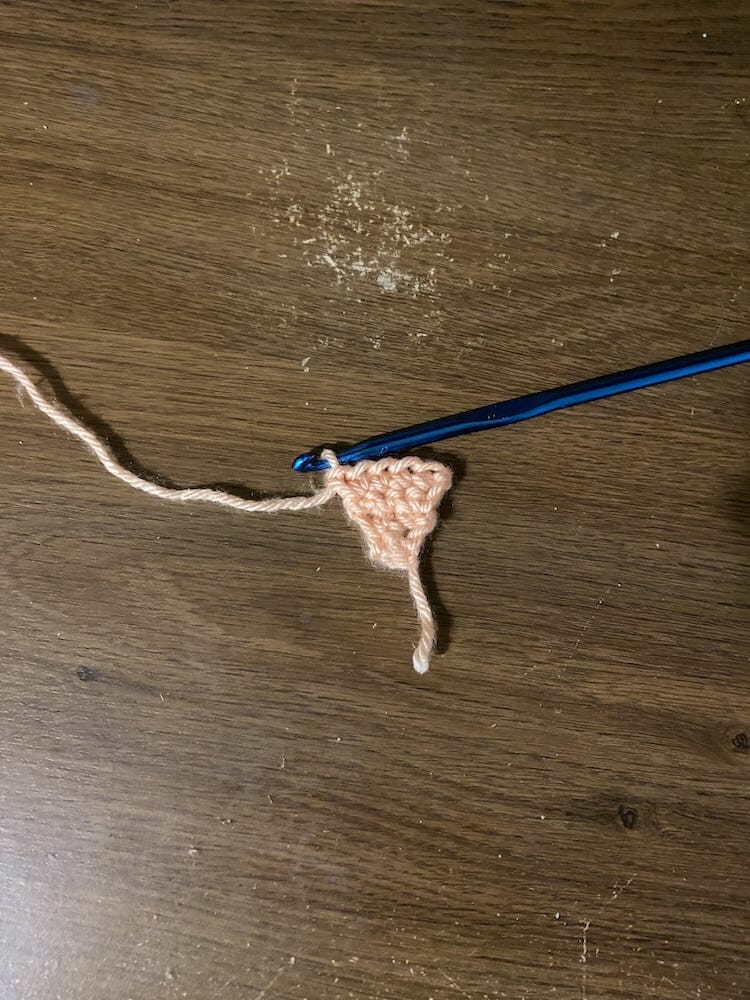
Row 7: C, SC, SC, SC, SC, SC, 2 SC in the last stitch
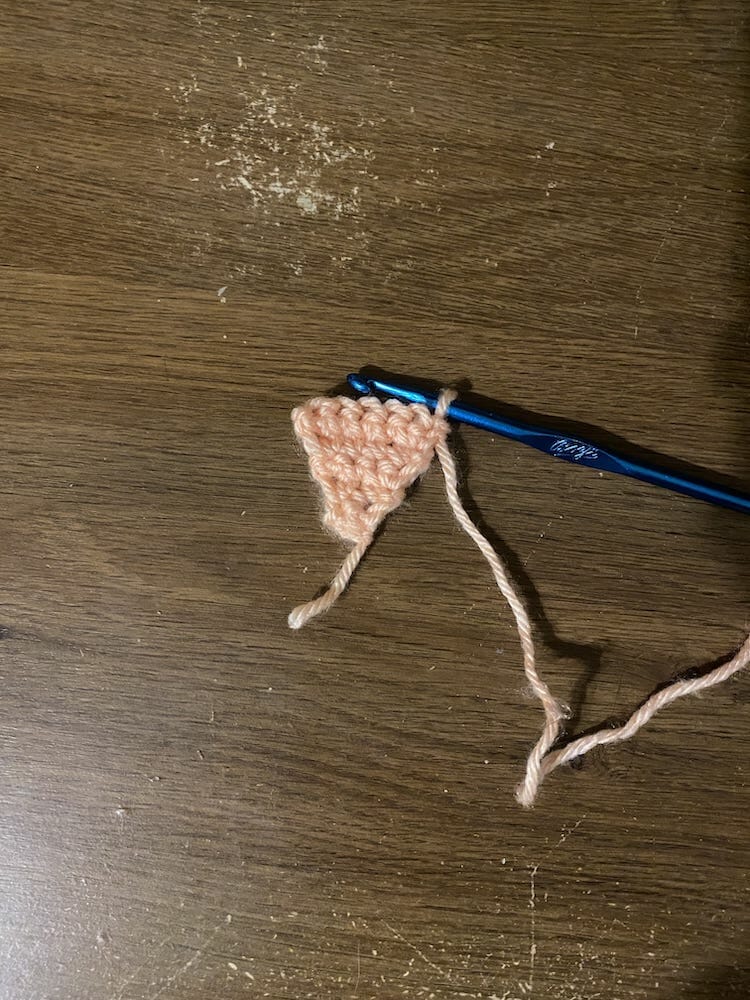
Row 8: C, SC, SC, SC, SC, SC, SC, 2 SC
Row 9: C, SC, SC, SC, SC, SC, SC, SC, 2 SC in the last stitch

Row 10: C, SC, SC, SC, SC, SC, SC, SC, SC, 2 SC in the last stitch
Row 11: C, SC, SC, SC, SC, SC, SC, SC, SC, SC, 2 SC in the last stitch

Row 12: C, SC, SC, SC, SC, SC, SC, SC, SC, SC, SC, 2 SC in the last stitch
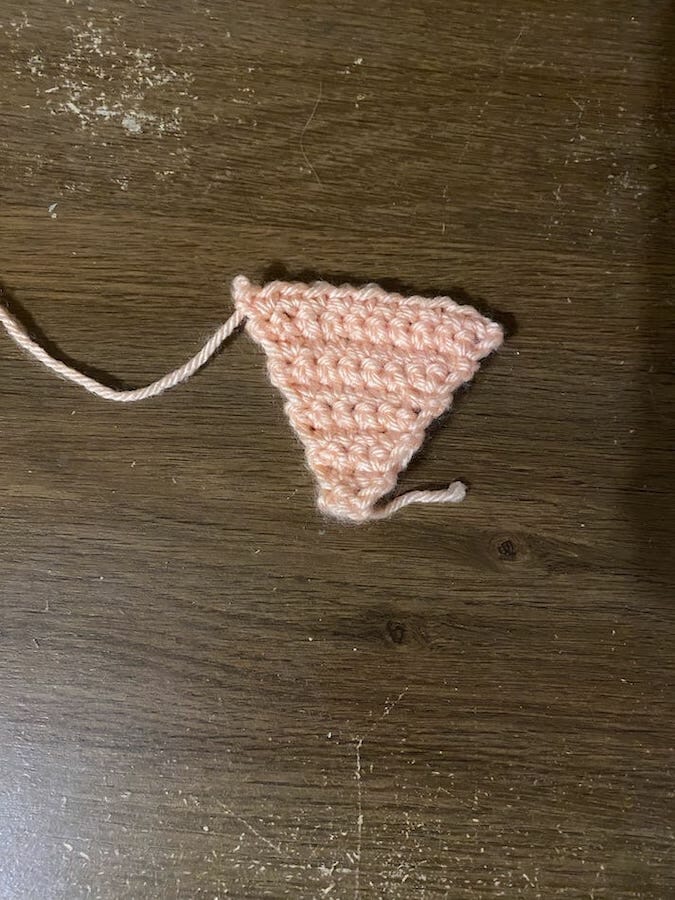
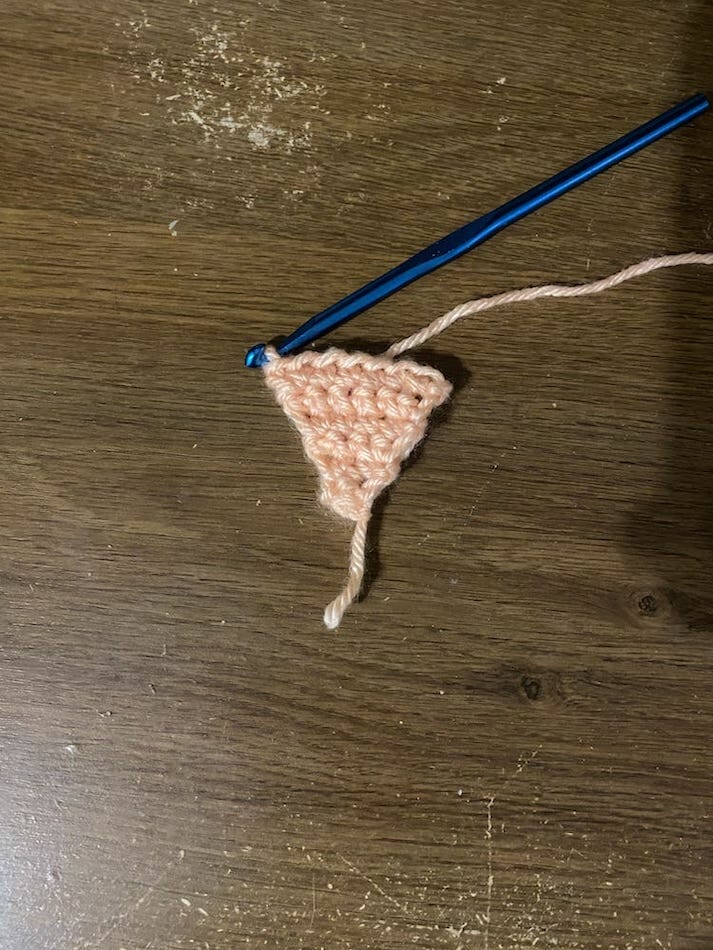
You can continue this pattern of doing a single crochet in all but the last stitch, where you will do two single crochets to make your triangle as big as you need.
Once your triangle is your chosen size, cut the yarn and pull your end through to secure it all together.
How to Crochet a Triangle Full Video Tutorial
More Crochet Tutorials
- How to Crochet a Basic Beanie Hat
- How to Crochet a Tube Top
- How to Crochet a Heart
- How to Crochet a Granny Square
- How to Crochet a Scarf
- How To Crochet a Tube Top
- How to Crochet a Square
- How to change colors in Crochet
- Learn How to Crochet a Purse For Beginners
Troubleshooting Your Crochet Triangle
While crocheting can be relaxing, it isn’t always easy, and things can go wrong, especially when you are first learning a pattern or skill. When things go awry, it is important to take a deep breath and read through these troubleshooting ideas to prevent errors.
Counting
The most important aspect of all crochet patterns is to make sure you are counting. When making a triangle, remember how many stitches you have done in the row and how many you are supposed to do so you know when to do the 2 single crochets. But also, while it can be frustrating, don’t be afraid to go back and re-do any areas if you forgot to add an extra stitch to ensure that the triangle has smooth even edges.
Check your yarn
If you’re having trouble making the triangle, check your yard weight and hook size to ensure they match. And if you are a beginner, it is always easier to work with larger yarn sizes and hooks, as it can be easier to see what is happening!
Take your time
In addition, make sure you are taking your time. Crocheting is supposed to be fun and relaxing, so take a breath, slow down, and enjoy the process. This will also help prevent mistakes or help you catch them right after they happen, so you don’t have to take out rows of stitches.
Making mistakes is not the end of the world or your project. Many things can go wrong when crocheting, but counting, double-checking, and ensuring you have the right materials will help you catch common mistakes everyone makes.
More Free Crochet Patterns
- 27 Free Crochet Top Patterns
- 21 Stylish Free Crochet Crop Top Patterns
- 15 Crochet Bag Patterns & Kits For Beginners
- 30 Free Crochet Scarf Patterns for All Skill Levels
- 15 Free Crochet Halter Top Patterns]
- 32 Free Crochet sweater patterns
Conclusion
Congratulations, you now know how to crochet your very own triangle! You can build on this simple skill to make a variety of projects and crochet to your heart’s intent. If you are looking to turn your triangle into a shawl you can head over to this article here that can walk you through that process! Feel free to share your creations with us over @craftbuds on Facebook!
Happy crafting!